28
WPS-550-BUL-IP Installation Manual
Basic IP Settings, Continued
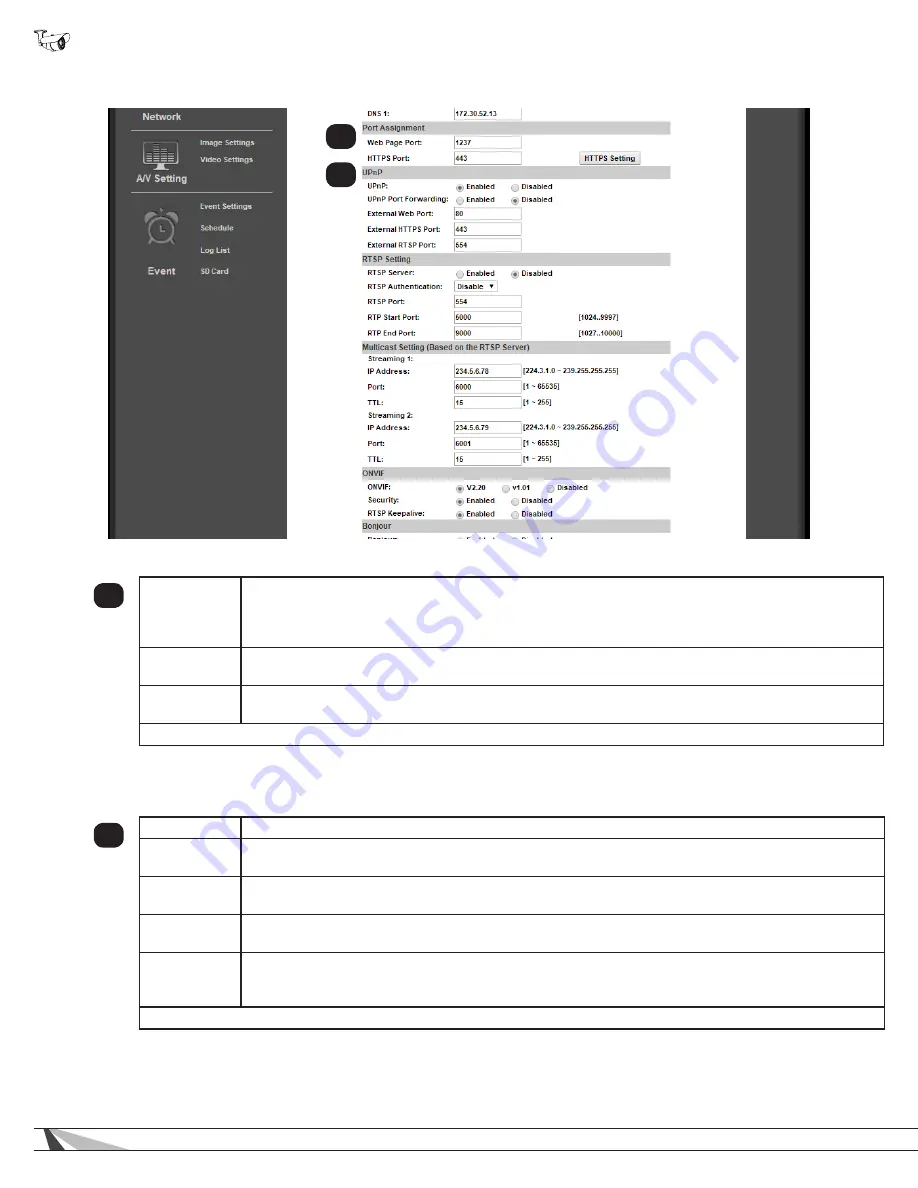
9.3.1.2. Port Assignment
2
Web Page
Port
Port for accessing the camera web interface. Set to 80 by default. Each Camera must have a unique
port number in order to access from outside the local network. To make port numbering easy to
remember, use 4 digits: “8” followed by the last three numbers in the camera’s IP address. This will also
ensure that a port that is commonly used for another well-known service is not assigned to the Camera.
HTTPS Port
Used for access over the HTTPS protocol for better security. Advanced setup is required. See the
section below, “HTTPS Access Setup”.
HTTPS
Setting
Click this button to access HTTPS certificate setup. Advanced setup is required. See the section below,
“HTTPS Access Setup.”
Click “Apply” at the bottom right of the IP Setting page to save modified settings.
9.3.1.3. UPnP
When enabled, UPnP (Universal Plug and Play) allows the camera to appear under the PC network devices. To use this feature,
UPnP must be enabled on the PC. Also contains settings for UPnP Port forwarding for use with compatible routers.
3
UPnP
Enable or disable UPnP. Enable to allow computers to auto-discover the camera on the network.
UPnP Port
Forwarding
Enable or disable UPnP Port Forwarding. Enable this feature to automatically configure port forwarding
on compatible routers.
External Web
Port
External network port to be configured by a compatible router to access the Camera through HTTP.
When available, router status will be displayed to the right of this field.
External
HTTPS Port
External network port to be configured by a compatible router to access the Camera through HTTPS.
When available, router status will be displayed to the right of this field.
External
RTSP Port
External network port to be configured by a compatible router to access the Camera through RTSP.
Also requires the configuration of RTSP. Router status will be displayed to the right of the field when
available.
Click “Apply” at the bottom right of the IP Setting page to save modified settings.
2
3


