background image

Oyster 2 

 Getting Started Guide October 26, 2019: WestcoastGPS


4 | 

P a g e


GETTING ONLINE 

Once the batteries are inserted the internal LED will begin to flash. The Oyster will do the following: 


Connect to the server: if the SIM card works the Oyster will connect and attempt to 
download any firmware and parameter updates then fetch fresh GPS aiding data. 


Get a GPS fix: the Oyster will attempt to get a GPS fix. You can speed this up by moving to an 
area with good GPS signal 

 outdoors with a clear view of the sky. 


Reconnect to the Server: the device will attempt to connect again to upload the result of the 
GPS fix. 

If the Oyster does not complete these steps in 10 minutes it will go to sleep and try again on the next 
heartbeat or the next trip start. 

If the LED flashes but the Oyster does not connect check to ensure the SIM is in the holder correctly. 
Failing that contact us and ask us to check that the SIM is working properly. 


OPENING and CLOSING the HOUSING 

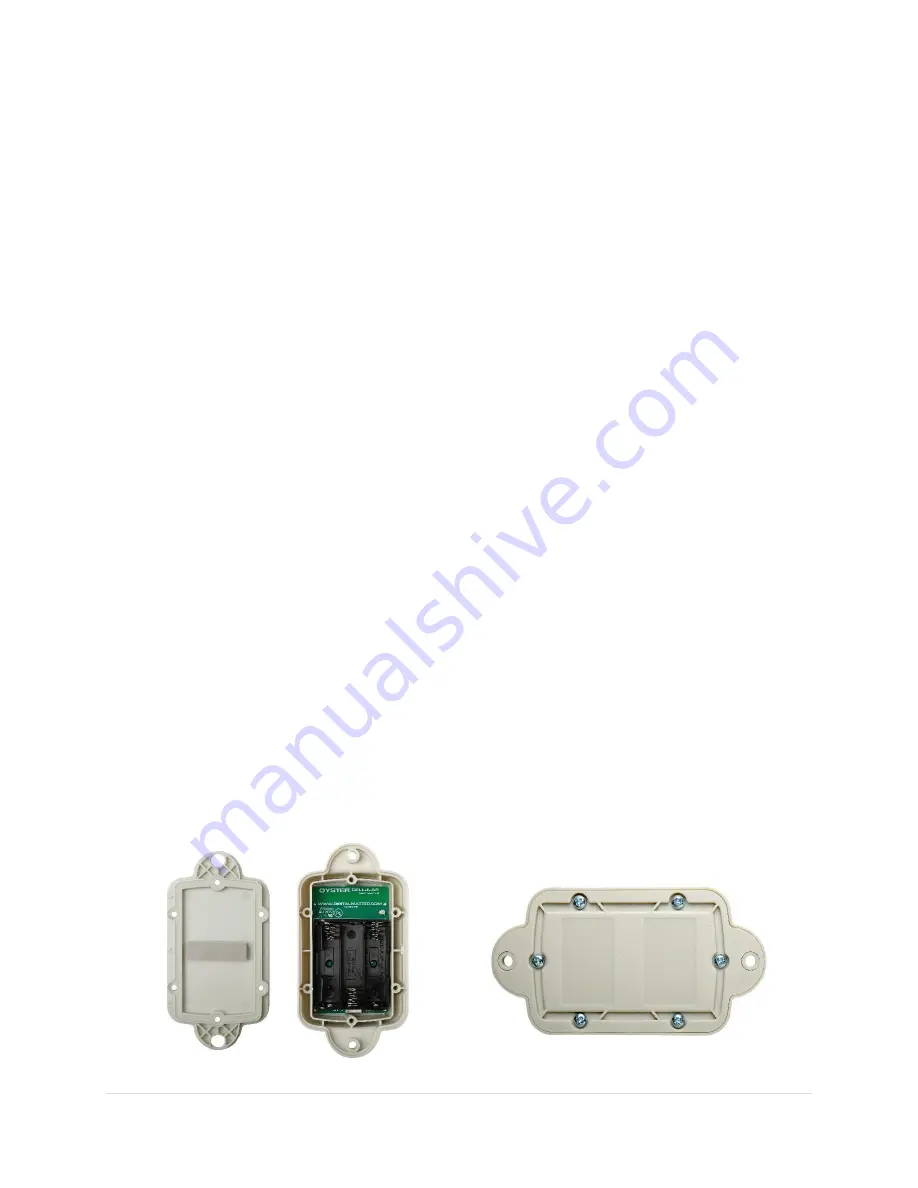
Once online all that remains is to seal the housing. Seal the device carefully to achieve the IP-67 rating. 
Ensure that the clear silicon seal is in good condition, is lying flat, and is not fouled by any plastic debris 
or other material. WestcoastGPS does not warranty against water ingress into the Oyster. 

1.


Close the housing, and gently squeeze it shut. Foam on the lid will compress against the 
batteries holding them firmly in place. 

2.


Tighten the 6 screws to a uniform tightness. On first assembly the screws may be quite stiff. 
Over tightening will crack the lid and the housing. If using an electric screwdriver a torque 
limiting clutch is recommended. The torque setting should be 0.7 Nm. (For reference: the screws 
are a thermoplastic screw 3.5mm x 12mm 

 BN82428) 

3.


If you wish to replace the batteries and open the housing, be sure to check that the silicon seal is 
in good condition before closing the housing again. 

4.


Contact us for replacement seals, housings, and housing lids. 


Содержание Oyster 2

Страница 1: ...t s a great choice where access to external power sources does not exist or is difficult to access and the Oyster is very portable so it can be moved from asset to asset as required This getting start...

Страница 2: ...d out of the housing to insert swap the SIM CAUTION When handling the control board take steps to prevent static discharge which could render the device inoperable DO NOT touch the GPS antenna Slide t...

Страница 3: ...lay 5 2 or 5 3 V Once inserted the LED should flash continuously If it doesn t it means the unit has not yet reset In this case remove the batteries for a minute or two to allow any residual charge to...

Страница 4: ...ct us and ask us to check that the SIM is working properly OPENING and CLOSING the HOUSING Once online all that remains is to seal the housing Seal the device carefully to achieve the IP 67 rating Ens...

Страница 5: ...to those settings Please remember that more frequent tracking will shorten battery life DEVICE INSTALLATION The Oyster2 can be mounted on the asset to be tracked using screws bolts cable ties or indus...

Страница 6: ...s provided to you by WestcoastGPS The App provides basic tracking information including the ability to set up a one time only Movement Alert and to put the asset into Recovery Mode should the asset go...

Страница 7: ...olen and or lost assets The Oyster2 is designed around battery conservation and using as little data as possible but when your asset has been stolen lost Recovery Mode can be used to dramatically incr...

Страница 8: ...urn off after 6 hours If your device has not been recovered in that time frame be sure to activate Recovery Mode again and or contact WestcoastGPS to ensure Recovery Mode does not turn off Recovery Mo...

Страница 9: ...e Address Button which is circled in blue below Then click on the New button Enter the email addresses you anticipate you will use for ALERTS You can use whichever email addresses you want for each AL...

Страница 10: ...ect Geo fences as shown below Begin typing an address and matching options will appear Select the correct one as shown You can now adjust the zoom level using the plus and functions on the bottom righ...

Страница 11: ...click SAVE The name given to your geo fence will now appear in all of your trip history and reports For advanced options click on Show advanced options These are the advanced settings 1 Priority Geo...

Страница 12: ...WestcoastGPS 12 P a g e ALERTS Setting up an Alert is easy From the main menu which you can reach by clicking the WestCoastGPS logo on the top left corner select Alerts as shown below Click on New Al...

Страница 13: ...ses you want the Alert to be sent to ASSET NAME DESCRIPTION You can edit the name of your asset by navigating to the Asset Manage Assets circled in red page and clicking on the Asset name in blue circ...

Страница 14: ...Photo tab please ensure it does not exceed 2MB in size This guide introduces many of the Oyster and Tracking Platform features If you have unique tracking needs have any problems or have questions re...

Отзывы: