Oyster 2
–
Getting Started Guide October 26, 2019: WestcoastGPS
11 |
P a g e
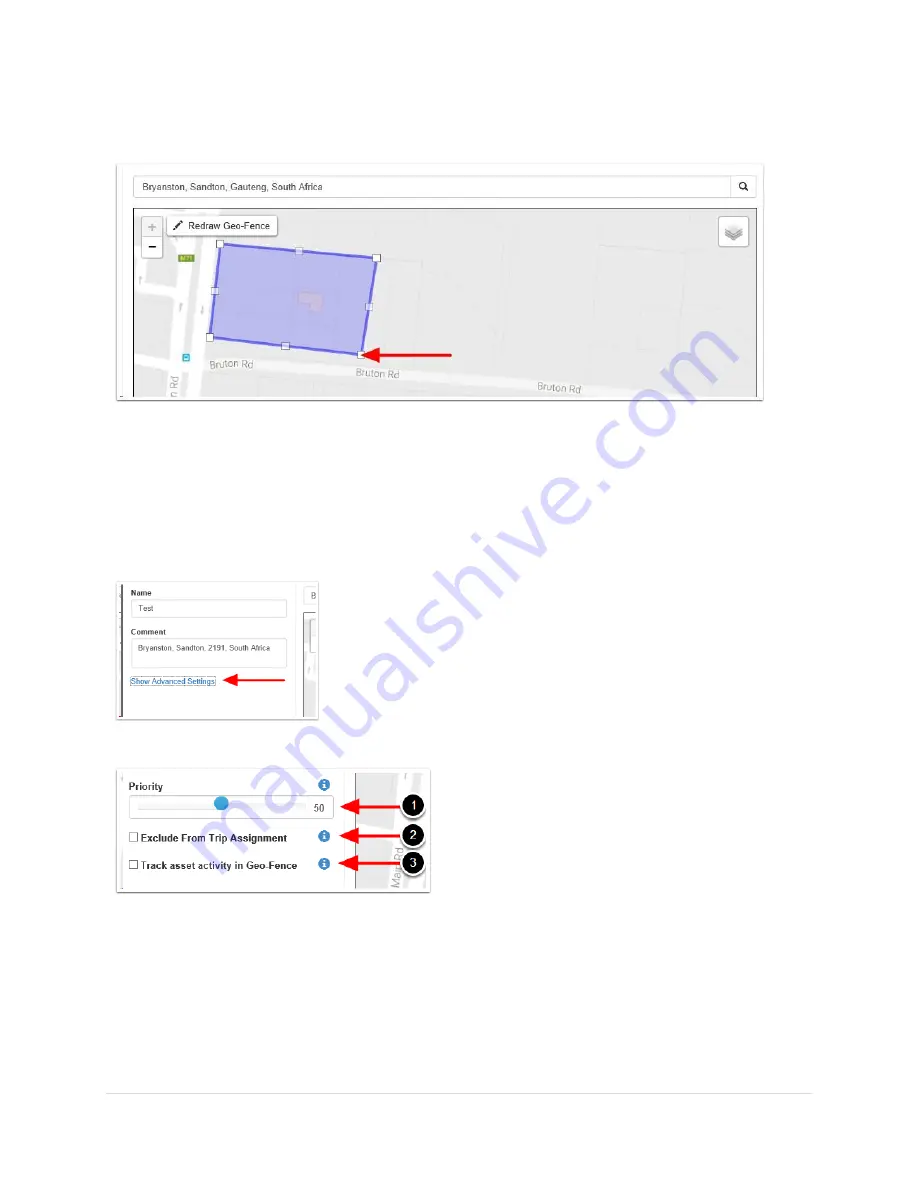
Once you have clicked on your starting point the geo-fence shape will appear and you can adjust the
shape by dragging any of the nodes shown by arrows below:
Remember that at least three points must be defined to create an area. Be sure to click the starting point
to close the shape. A common stumbling block is not completing or closing the area. The Geo Fence will
not save until it is closed.
Lastly, name your geo-fence and then click SAVE. The name given to your geo-fence will now appear in
all of your trip history and reports.
For advanced options click on Show advanced options.
These are the advanced settings:
1.
Priority: Geo Fences with a Higher priority are shown preference over those with a
Lower priority. Where two Geo-Fences overlap with the same priority, the fence with
the smallest area will be shown preference.
2.
Exclude from trip assignment: If selected the Geo-Fence will only be used for setting
up location based alerts. It will not be used when looking up trip start and end
locations
3.
Track asset activity in Geo-Fence: If selected, the system will record statistics for the
asset activity inside this Geo-Fence.


