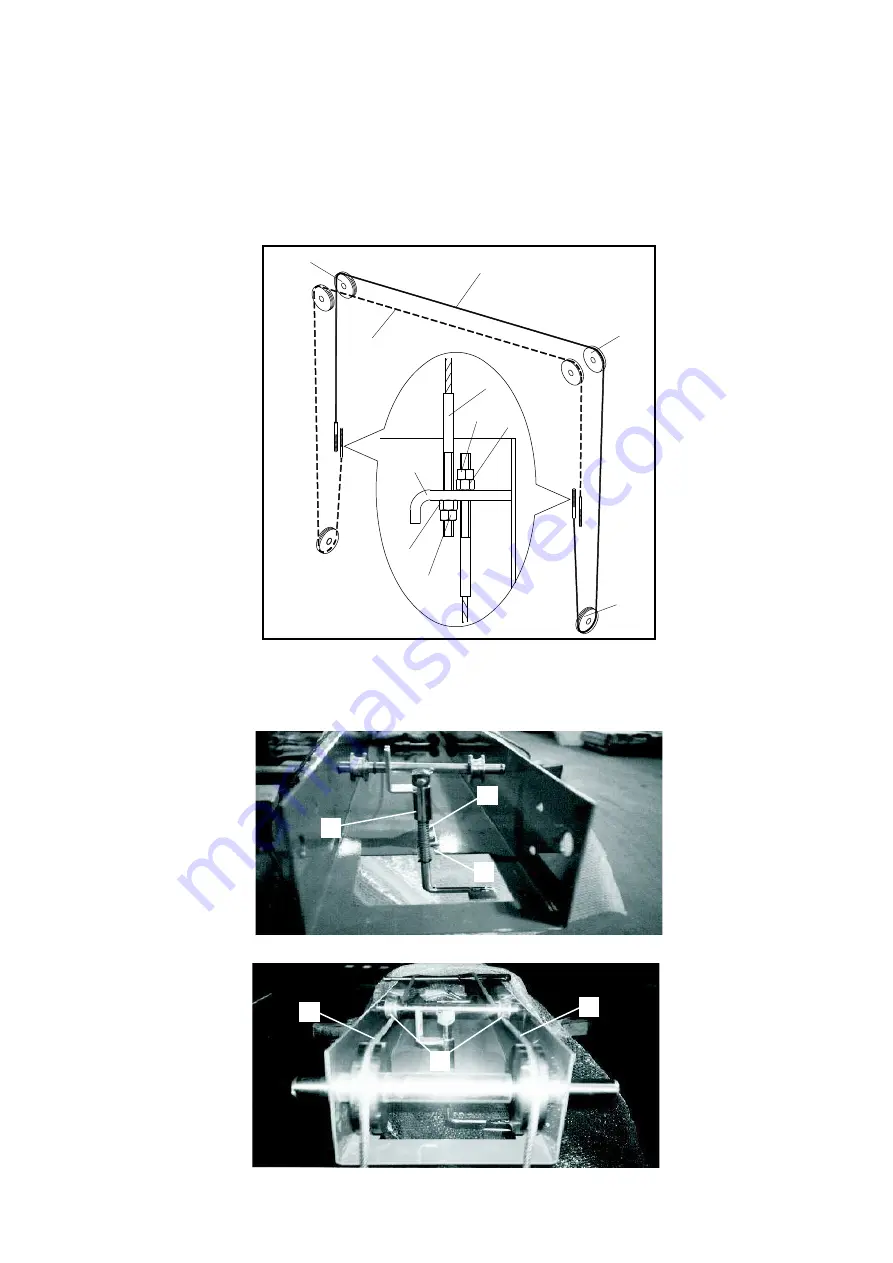
MONTAGGIO DELLE FUNI DI SINCRONISMO (Fig. 43).
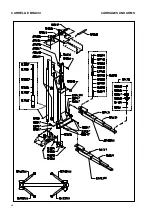
1 - Verificare che i due carrelli siano in posizione completamente
abbassata.
2 - Prelevare una fune (1) dal rotolo e infilarne, dall’ alto verso il
basso, l’ estremità col tirante (2) nel foro più interno dell’ apposito
attacco previsto sul carrello lato servizio (3); quindi montare il
dado (4) e il controdado (5) sulla parte sporgente.
3 - Prendere l’ altra estremità e farla passare all’ interno della co-
lonna e poi nelle gole delle puleggie (6 e 7) poste nella trave supe-
riore; passando poi all’ interno della colonna e del carrello lato co-
mando, avvolgerla per mezzo giro attorno alla puleggia (8) montata
nella parte inferiore della co-
lonna e successivamente infi-
larla nel foro più esterno dell’
attacco saldato al carrello (3).
4 - Montare gli altri due dadi
sulla parte del tirante sporgen-
te al di sopra dell’ attacco
stesso.
5 - Eseguire le stesse opera-
zioni sull’ altro carrello con la
seconda fune (9).
6 - Mettere in tensione le funi
tenendo bloccato il tirante (2)
ed agendo sui dadi (4). La re-
gistrazione va suddivisa in
modo equivalente sui quattro
terminali, verificando che I
carrelli siano livellati. Le funi
devono risultare molto tese
(effetto corda di chitarra), indi-
cativamente I dadi devono es-
sere avvitati con una coppia di
15÷20Nm.
Finita la registrazione blocca-
re con i controdadi (5).
Fig.43
Montaggio delle funi di sincronismo
MONTAGGIO DEL SENSORE CONTROLLO ROTTURA E
ALLENTAMENTO FUNI DI SINCRONISMO.
1-Fissare il sensore (1) sulla
trave superiore (dal lato della
colonna comando) mediante
le viti (2) TE M6x25 ed i relati-
vi dadi
blok (3) M6 in dotazione (Fig.
43a).
Fig. 43a
2-Verificare che le funi (4)
siano alloggiate correttamen-
te nella parte inferiore all’in-
terno delle gole delle due pu-
leggie (5) del sensore (Fig.
43b).
Fig. 43b
ASSEMBLING THE SYNCHRONOUS DEVICE CABLES (Fig.43)
1 - Check the two carriages are in a completely lowered position.
2 - Take one cable (1) from the coil and put the threaded end (2) in
the inner drill of the special support on the service side carriage
(3). Mount nut (4)and counternut (5) on the protruding part.
3 - Take the other end and make it pass inside the post and into
the pulleys (6,7) on the upper beam, then inside the command side
post and carriage. Wrap for half a spin around the pulley (8) at bot-
tom of the post, then insert it in
the outer drill on the plate fixed
to the carriage. (3)
4 - Fix the remaining two bolts
on the cable end protruding
from the plate.
5 - The same operations are to
be made on the second carria-
ge with the other cable. (9)
6 - Put the cables under ten-
sion keeping the tie rod (2) loc-
ked and operating the nuts (4).
The adjustment should be done
in the same way on all four ter-
minals, checking that the car-
riages are levelled. The cables
must be very tight (like a guitar
string); the nuts should be tig-
htened with a torque of approx.
15÷20 Nm.
After adjustment lock with the
lock nuts (5).
Fig. 43 Mounting the synchronous device steel cables.
FITTING UF THE SENSOR WHICH CONTROLS THE
SYNCHRONIZED CABLES LOOSENING AND BREAKING.
1-Fix the sensor (1) on the up-
per beam (from the driven co-
lumn side) by the screws (2) TE
M6x25 and the block nut (3)
M6
(Fig. 43a).
2-Check that the cables (4) are
correctly positioned in the lower
part inside the races of the 2
sensor pulleys(5) Fig. 43b.
24
6
1
9
7
2
4
5
3
4
5
8
3
1
2
5
4
4
Содержание 208I/A
Страница 1: ...I SOLLEVATORE ELETTROIDRAULICO A 2 COLONNE GB 2 POST ELECTRO HYDRAULIC LIFT 208I A...
Страница 2: ......
Страница 39: ...COLONNE E TRAVE SUPERIORE POSTS AND UPPER BEAM 39...
Страница 40: ...CARRELLI E BRACCI CARRIAGES AND ARMS 40...
Страница 41: ...SICUREZZE SAFETY DEVICES 41...
Страница 42: ...QUADRO ELETTRICO TRIFASE THREE PHASE CONTROL PANEL 42...
Страница 43: ...CENTRALINA IDRAULICA K3 HYDRAULIC UNIT K3 43...


