Getting Started
45
Setting Up Websense V-Series Appliances
b.
Click
Save
in the
Websense Email Security Gateway Interfaces (E1
and E2)
area when you are done.
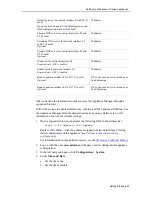
When only E1 is used, it handles both inbound and outbound traffic.
Alternatively, you could use both E1 and E2 such that E1 handles inbound traffic
and E2 handles outbound traffic.
See the Appliance Manager Help for more information about configuring E1 and
E2.
8.
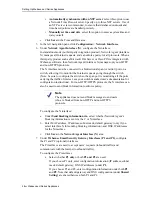
Configure routes if necessary:
a.
In the left navigation pane, click
Configuration > Routing
.
b.
Under Static Routes, use the
Add/Import
button to specify customized, static
routes.
c.
Under Module Routes, use the
Add
button to specify non-management Web
Security or Email Security traffic through the C interface.
d.
For either static or module routes, use the
Delete
button to remove existing
routes, if necessary.
See the Appliance Manager Help for more information about static and module
routes.
9.
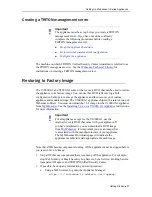
Select the policy mode of this appliance:
a.
In the left navigation pane, click
Configuration > Web Security
Components
.
b.
Specify the role of this appliance with respect to Websense Web Security
policy information.
•
Choose
Full policy source
if Websense Policy Broker and Policy
Database for your deployment will run on the appliance being configured.
(Only one appliance in the network runs these two components, as well as
the other filtering components.) Policy Server must also be run on the
full
policy source
appliance; Policy Server can run in multiple locations.
Note
An existing route cannot be edited. If you want to edit a
route, delete it and then use the
Add/Import
(static) or
Add
(module) button to specify the route with the changes
you want.
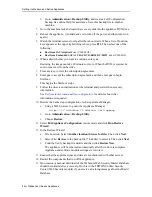
Note
If Policy Broker runs on an appliance, only on-appliance
instances of Policy Server can communicate with Policy
Broker. In this case, Policy Server cannot be installed off-
appliance. If Policy Broker is installed off-appliance,
however, both on-appliance and off-appliance instances of
Policy Server can communicate with it.


