NOTA:
Si la cámara elástica tiene fugas o
se ha roto, no se puede reparar. Hay que
reemplazar el tanque.
LUBRICACIÓN
Los cojinetes que se usan en las bombas
vienen lubricados de fábrica para una
duración permanente y no necesitan
lubricación adicional.
PRECARGADO
En todos los tanques se pierde algo de
aire a través de la cámara elástica. Para
evitar que el tanque falle, examine la
precarga una vez al año.
1. Abra el grifo más cercano al tanque y
deje que drene toda el agua del
tanue.
2. Mida la precarga del tanque en el
pitón de la válvula con un medidor de
presión para llantas.
3. Si es necesario, ajuste con una bomba
de aire la precarga a una presion
entre 1,93 y 2,07 bar en bombas de
1/2, 3/4 y 1 CP.
PARA SACAR EL SELLO USADO
DEL EJE
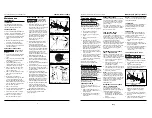
Gire el
interruptor de desconexión a la posición
“off.”
1. Abra el grifo más cercano al tanque y
deje que drene toda el agua del
tanque.
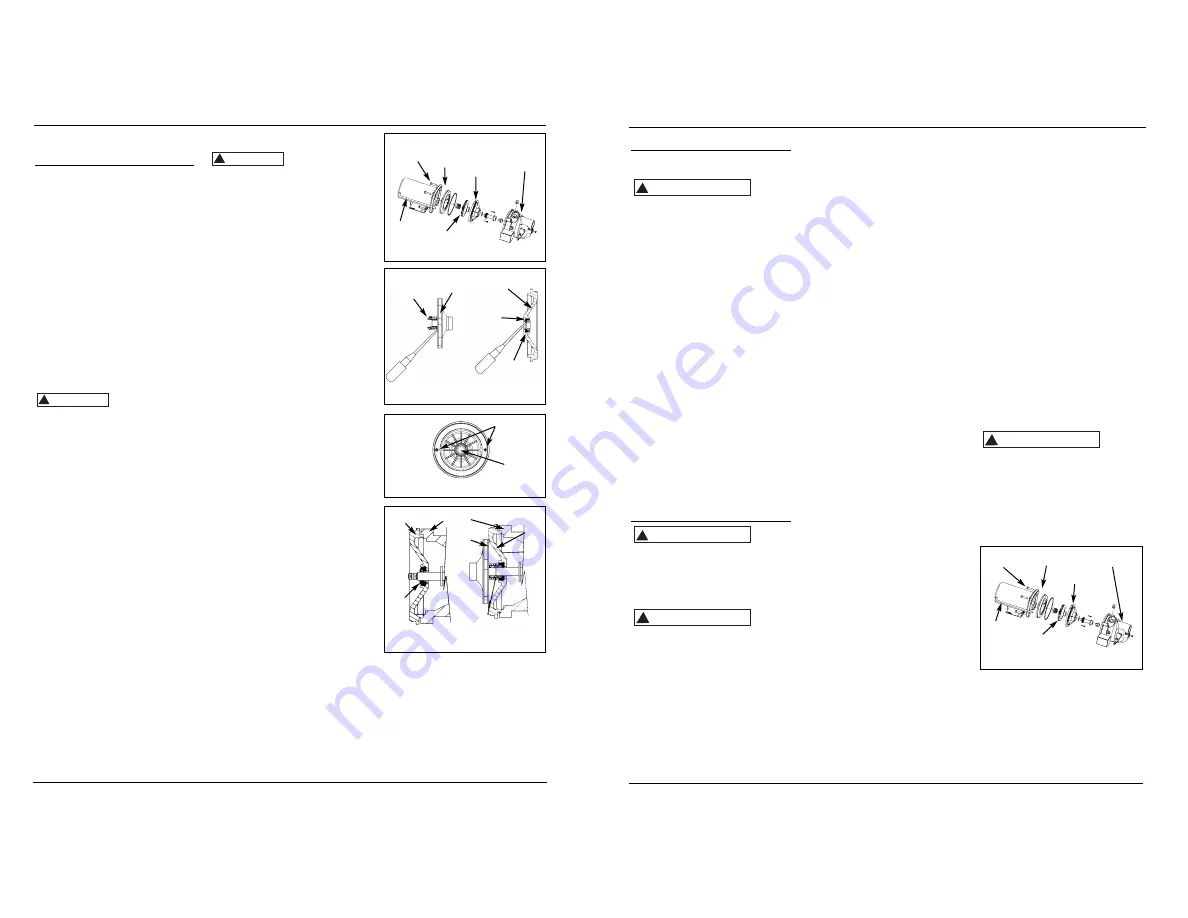
2. Saque los cuatro pernos que
mantienen la cubierta en espiral de la
bomba (voluta) unida al motor
(Figura 9).
3. Separe la cubierta en espiral de la
bomba (voluta) del motor para
exponer el difusor y la placa de
sellado.
4. Retire los dos pernos y el difusor de
la placa de sellado para exponer el
impulsor.
5. Saque la tapa pequeña del extremo
del motor opuesto al impulsor
!
PRECAUCION
Funcionamiento
CEBADO DE LA BOMBA PARA
POZOS POCO PROFUNDOS
Para
evitar
dañar la bomba, no arranque el motor
hasta que la haya llenado con agua.
1. Retire el tapón para cebar (Figura 4
o 5).
2. Llene la bomba y la tubería
completamente con agua.
3. Vuelva a colocar el tapón para
cebar.
4. Abra el grifo para purgar el
sistema.
5. Arranque el motor. El agua
empezará a bombearse en pocos
minutos. Si la bomba no se ceba en
5 minutos, detenga el motor y
vuelva a llenar la bomba con agua.
El tiempo necesario para cebar es
proporcional a la cantidad de agua
en la tubería de ingreso.
6. Deje que el sistema funcione por
varios minutos para que se limpien
todos los tubos.
7. Cierre el grifo y deje que la bomba
desarrolle presión en el tanque.
Cuando la presión alcance el límite
establecido, el motor se detendrá.
El sistema está ahora en
funcionamiento y hará ciclos
automáticos según la demanda.
Mantenimiento
Desco-
necte la
corriente eléctrica y libere toda la presión
del sistema antes de intentar instalar,
darle servicio, mantenimiento o cambiarlo
de lugar. Trabe el desconector de
corriente en la posición de abierto y
rotúlelo para evitar una aplicación
inesperada de corriente.
Proteja
la
bomba para que no se congele durante
los meses de inierno.
DRENAJE DEL BOMBA
Todos los modelos vienen con
aberturas para drenar. Para drenar la
bomba:
1. Saque el tapón de drenaje y el
tapón para cebar a fin de que se
vacíe el sistema.
2. Drene todas las tuberías hasta un
nivel por debajo de la línea de
congelación.
!
PRECAUCION
!
ADVERTENCIA
!
ADVERTENCIA
27 Sp
DRENAJE DEL TONQUE
Los tanques convencionales se pueden
drenar al abrir una salida en el punto
más bajo del sistema. Retire el tapón o
el control de volumen del aire para
vaciar el tanque.
Los tanques precargados fuerzan
prácticamente toda el agua del tanque
cuando se libera la presión del sistema.
No es necesario drenar.
PARA VOLVER A HACER
FUNCIONAR LA BOMBA
Si a la bomba se le ha dad servicio, se la
ha drenado o no se la ha usado por
algun tiempo, cerciorese de que haya
agua en la cubierta en espiral (voluta) y
en la tuberia del pozo. En todo
momento debe haber agua en la
cubierta en espiral de la bomba (voluta)
cuando este funcionando para evitar
danos internos en las piezas de sellado
(Vea las secciones sobre cebado de
pozos poco profundos o de pozos
profundos).
MOVIMIENTO DE AGUA SE HACE
LENTO: CONVENCIONAL
Cuando el sistema de un tanque tiene
una relación inadecuada entre aire y
agua, la bomba arrancará y se detendrá
con frecuencia en forma errática.
1. Desconecte la corriente eléctrica
que va a la bomba.
2. Abra el grifo más bajo del sistema
para liberar toda el agua
presurizada del sistema.
3. Cebe la bomba (Ccebado para pozos
poco profundos o pozos profundos).
4. Vuelva a conectar la corriente
eléctrica a la bomba.
NOTA:
Conforme la bomba vuelve a
llenar el tanque con agua, el control de
volumen de aire suministra al tanque la
relación adecuada de aire y agua para
que el sistema funcione. Si el control del
volumen de aire está bien, la bomba se
parará en el nivel límite que se haya
establecido y se ajustará
adecuadamente.
MOVIMIENTO DE AGUA SE HACE
LENTO: : PRECARDGADO
Si en un tanque precargdo, el
movimiento de agua se hace lento,
habitualmente se debe a que la cámara
elástica tiene fugas o se ha roto.
1. Pruebe el tanque presionando la
válvula de aire. La válvula de aire
expelerá agua si la cámara elástica se
ha roto.
2. Reemplace el tanque.
Manual de instrucciones de operación y piezas
Modelos para pozos profundos
Tornillos de
Casquetes
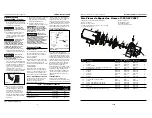
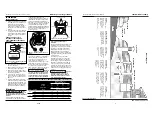
Figura 9 - Bomba Convertible
para Pozos
Placa de
Sellado
Difusor
Cubierta en
Espiral (Voluta)
Impulsor
Motor
Maintenance
(Continued)
LUBRICATION
The bearings used in the pumps are
lifetime lubricated at the factory and
require no additional lubrication.
PRECHARGED TANK
Some air is lost through the bladder in
any tank. To prevent tank failure, check
the tank precharge on a yearly basis.
1. Open a faucet nearest the tank and
allow all water to drain from the
tank.
2. Measure the tank precharge at the
valve stem using a tire gauge.
3. If necessary, adjust the precharge
with an air pump 28 - 30 psi on 1/2,
3/4 and 1 HP pumps.
REMOVING OLD SHAFT SEAL
Turn disconnect
switch to “off”
position.
1. Open a faucet nearest the tank and
allow all water to drain from the
tank.
2. Remove the four cap screws holding
the pump housing (volute) to the
motor (Figure 9).
3. Separate the pump housing
(volute) from the motor to expose
the diffuser and the seal plate.
4. Remove the two cap screws and
diffuser from the seal plate to
expose the impeller.
5. Remove the small end cap on the
end of the motor opposite the
impeller.
6. With a large screwdriver or
adjustable wrench, keep the shaft
from rotating and remove the
impeller by hand (standard right
hand thread). Be sure to hold onto
the seal plate when removing the
impeller from the shaft.
7. Remove the seal plate.
8. Pry the rotating shaft seal member
from the impeller (Figure 10).
9. Push or pry the ceramic seat free
from the seal plate (Figure 10).
10. Remove loose particles from
impeller hub and seal plate.
!
CAUTION
Shallow Well Jet Pump
Operating Instructions and Parts Manual
INSTALLING NEW SHAFT SEAL
Before handling
shaft seal parts
wipe hands clean. Dirt or grease can
damage the seal.
1. Wet the inside of the seal cavity on
seal plate and the rubber cup
enclosing the new ceramic seat with
cooking oil. Be careful not to
scratch the ceramic surface of the
seal seat and push seat enclosed in
rubber into seal cavity on seal plate.
Use a cardboard washer to protect
polished surface when pushing
against ceramic seat with any
object. Be sure to remove
cardboard washer.
2. Carefully slip seal plate over shaft.
Do not disturb seal position in seal
plate. The seal plate must be
orientated during assembly so the
two screw holes are on a horizontal
line across the motor shaft and the (4)
locating pins on the back of the seal
plate line up with the tabs on the
motor housing (Figure 11). This
placement should be done to ensure
proper draining and priming.
3. Place rotating shaft seal member in
position on impeller and press into
place. Take care not to press against
polished seal surface.
4. Position impeller on shaft and tighten
securely (Figure 12).
5. Secure diffuser to seal plate using the
two cap screws. Be sure the screws
are orientated on a horizontal line as
described in Step 2.
6. Carefully position pump housing
(volute) gasket over the diffuser onto
the seal plate. In all shallow well
applications care must be taken that
the o-ring is clean and properly
positioned on the venturi. Cleaning
and positioning makes a good seal
inside the diffuser when assembled.
7. Assemble the pump housing (volute)
to the motor using the four cap
screws. Be sure the pump housing
(volute) gasket is positioned correctly
and tighten the screws securely.
NOTE:
Shaft must rotate freely and
motor end cap should be secured
before operation.
!
CAUTION
Seal
Plate
Seal
Seat
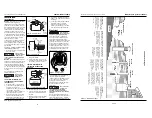
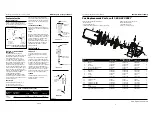
Figure 12 - Motor Shaft
Figure 11 - Seal Plate Replacement
Screw Holes
Motor
Shaft
Motor
Impeller
Seal
Plate
Seal Facing Must
Be Clean For
Proper Seal
Figure 10 - Removing Shaft Seal &
Ceramic Seat
Seal
Plate
Ceramic
Seat
Rotating
Shaft Seal
Member
Rubber
Seat Ring
Impeller
Cap
Screws
Figure 9 - Shaft Seal
Seal
Plate
Diffuser
Pump
Housing
(Volute)
Impeller
Motor
www.waynewatersystems.com
6


