


Document #10-32813 Rev A; June 07, 2019
Page
19
of 69
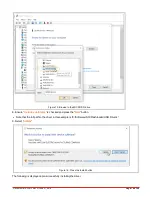
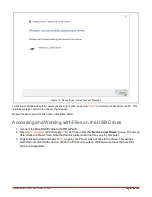
Figure 15: Device Driver Install Success Message
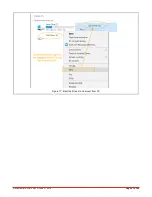
10. Return to Windows Explorer, select the drive, right-click, and select “
Eject
” to unmount the drive from the PC. This
returns exclusive control of the drive to the firmware.
Repeat the above steps for each drive on the RMA PLUS.
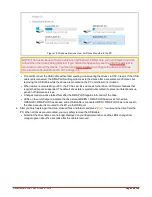
Accessing and Working with Files on the USB Drives
1. Connect the Mini-B USB cable to the RMA PLUS.
2. Open
My Computer
(Windows key + ‘E’) and look under the “
Devices and Drives
” group. The remov-
able drives are shown here. Note that the drive letter and order may vary by computer.
3. Right-click each drive and select
Eject
to give your PC exclusive access to the drives. This sends a
start/stop command to the device. When the PC mounts a drive, all firmware services that use that
drive are suspended.


