


Document #10-32813 Rev A; June 07, 2019
Page
15
of 69
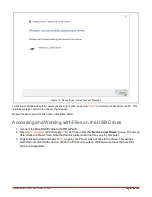
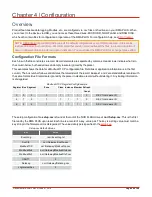
Chapter 3 | Getting Started
About the USB Drives
Files necessary for configuration, operations, and data logging are loaded onto three drives on your RMA PLUS. The
specific contents of these files vary per model number and features purchased, but all RMA PLUS devices contain
these three drives:
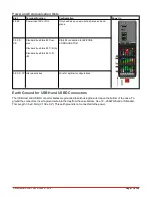
l
NOR Flash drive – to configure internal settings of the RMA
l
Micro SD drive – user data i.e. data logs and supporting utilities
l
RAM Disk drive – dynamic data for system confirmation, i.e. network status
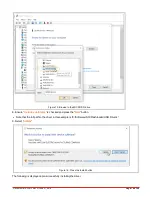
You may connect your RMA PLUS to your PC with a mini-B USB cable and access the files on these drives to con-
figure your RMA PLUS only after you
. (If you have previously installed Watlow USB drivers
using COMPOSER, you do not need to reinstall the drivers).
Installing Device Drivers
You must install Watlow USB device drivers before using the
Micro SD, NOR FLASH, and RAM Disk drives included
. (If you already use a Watlow RM product and have Watlow USB drivers installed, you do not
need to reinstall the drivers and may proceed to
).
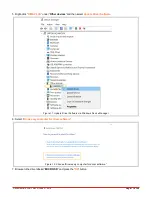
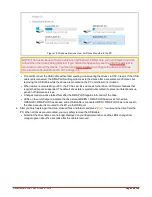
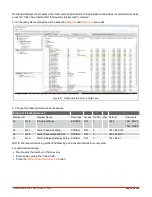
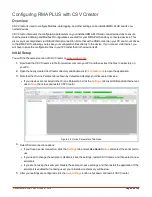
1. Connect your PC to the mini USB Device connector on the RMA PLUS. Windows will attempt to install the drivers,
but the RMA PLUS device driver will not be found.
2. Open
My Computer
(Windows key + ‘E’) and look under the “
Devices and Drives
” group. With your RMA PLUS con-
nected via the USB cable, you should see its three drives listed. In this image, the drives are labeled with letters E, D,
and F, but your computer may have different letters for the drives.
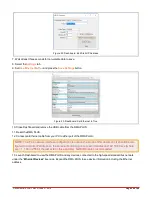
If the drives do not appear, check the "View" settings of Windows Explorer. Click the
View
tab of Windows
Explorer, then make sure "
Hidden Items
" is checked, and/or uncheck "
Hide empty drives in the com-
puter folder
" (if using Windows 7) or uncheck "
Hide empty drives
" (if using Windows 10).
Figure 8: Drives Not Mounted to PC, Viewed in Windows Explorer
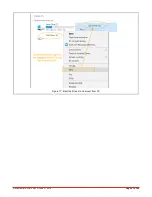
3. Right-click each drive and select the “
Eject
” option. "Eject" is used to mount and unmount the drives from the PC.


