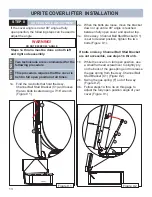
5
UPRITE COVER LIFTER INSTALLATION
STEP 1
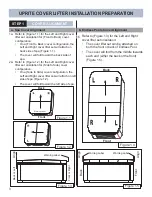
ATTACH SIDE ASSY
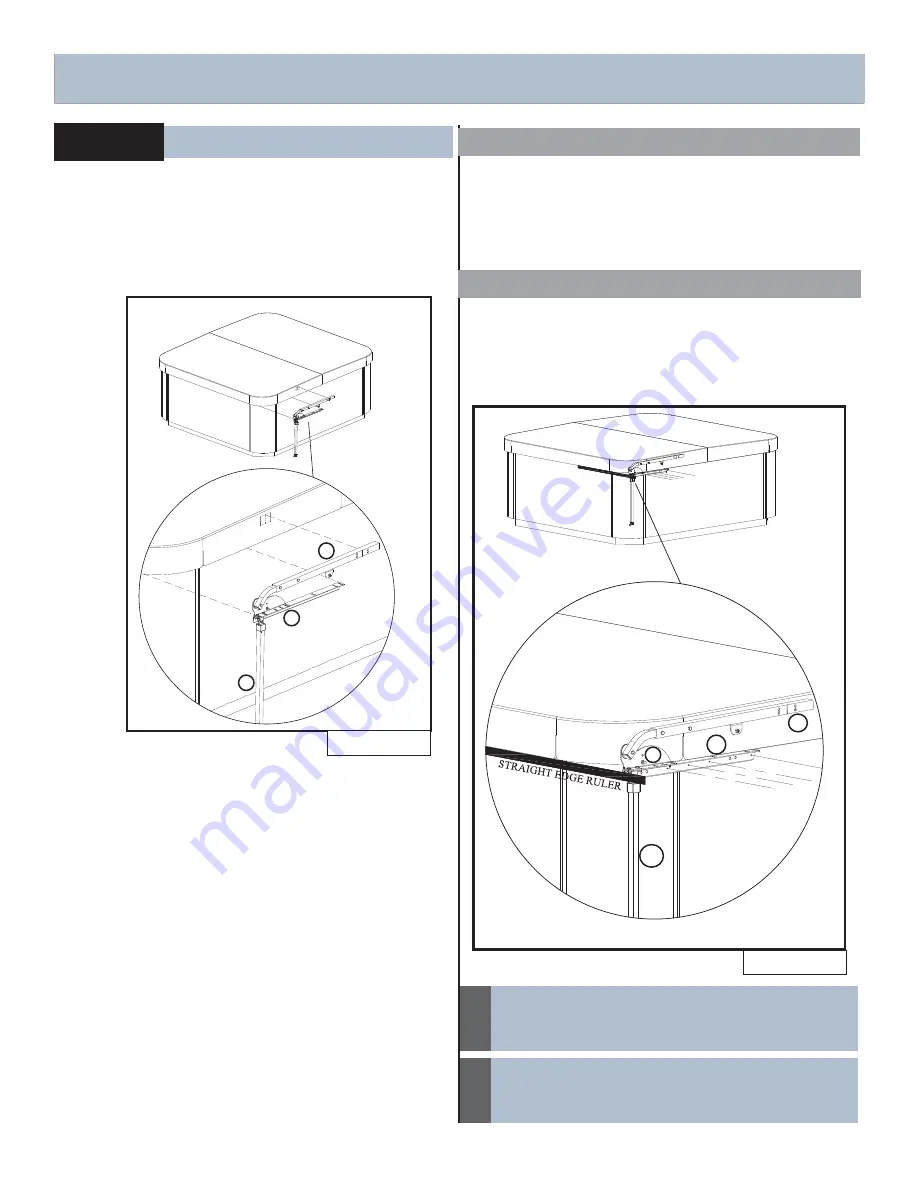
Figure 2.1
D
Figure 2.2
D
H
C
A
Spacers (Y) will be required in the following
steps. Spacers (Y) are provided in Bag #4.
NOTE
All spacers come with pre-drilled holes
NOTE
C
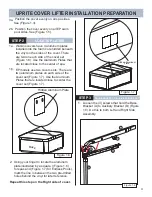
1. Align (Left Side Assembly) against the lip
of the Spa Shell, making sure to align the
Scribe on (Side Assembly Channel (C))
with line traced on top the aluminum plate
(Figure 2.1)
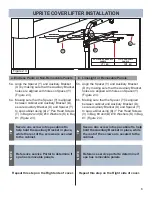
2. Using the marks made on the spa cabinet
on previous step, drill 1/8” (3mm) holes
at a depth of 1/2” (12.5 mm) max into spa
cabinet (Figure 2.2).
H
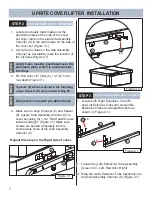
1. Place a straight edge ruler under the spa
shell lip on the back-left part of the spa.
Align the back of the Auxiliary Bracket (D)
with the straight edge ruler (Figure 2.2).
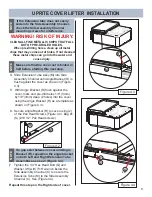
2. While holding in place the straight
edge ruler aligned with the back side of
Auxiliary Bracket (D) and using the small
holes on the Auxiliary Bracket (D), mark
(4) holes. Mark the holes starting from
the hole pointing toward the middle of the
spa, working your way towards the edge
of the spa (Figure 2.2).
2. Using the marks made on the spa cabinet
on previous step, drill 1/8” (3mm) holes at
a depth of 1” (25 mm) max into Endless
Pools cabinet (Figure 2.2).
2
3
4a
4b
b. Endless Pools pre-drill depth
a. Spa pre-drill depth
Содержание UPRITE
Страница 15: ...14 NOTES ...
Страница 16: ...62732 D 01 20 ...

