background image


Page 

9

 of 

12


Viewing and Setting 
Parameters 

Using the 

Left-Hand Side Button (MENU) 

one press at a 

time, will in turn cycle through the parameters that are 
set.  
If there are parameters at a particular display that might 
need to be set, do the following left button sequence. 
Press the 

Left-Hand Side Button (Menu) 

for > (more 

than) than 5 seconds. You will notice that the numbers 
start flashing.  
At this time you can make the desired change, in the 
selected parameter interface screen, if required. These 
setting will be discussed further on in this text.


To return to the parameter setting interface displays; 
Press the Press the Left-Hand Side Button for more than 
5 seconds again. (The parameter numbers stop flashing) 
Setting value will be conserved by controller. 


Viewing and Setting 
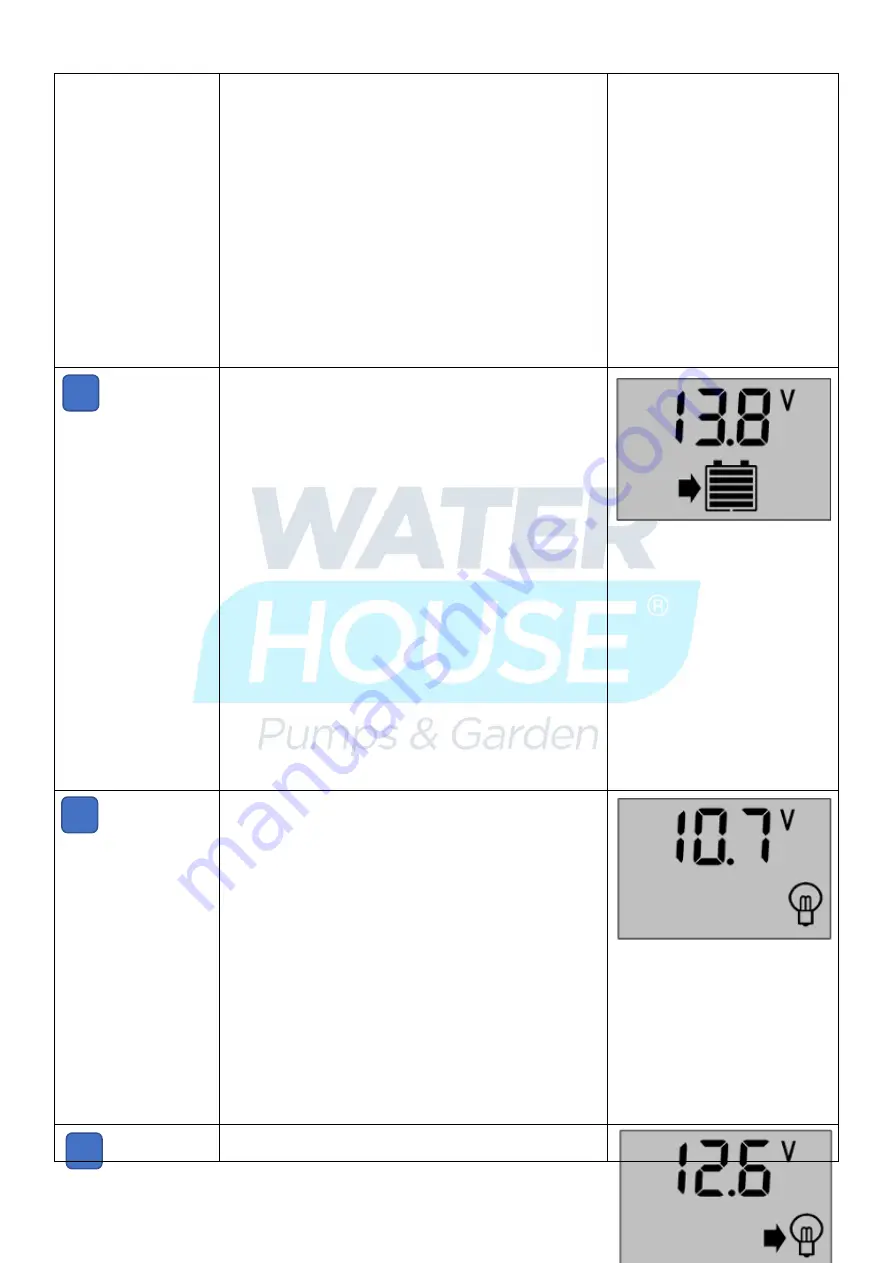
Float Voltage 
 

As pictured at the right. 
The floating charge voltage is showed.  
When the battery reaches the floating voltage, the 
controller will maintain the voltage values by PWM 
charging mode to avoid overcharge.  
Press the Left-Hand Side Button for more than 5 
seconds.  
The numbers will start flashing, this means that the 
device is ready to accept the change. 
Pressing the Left-Hand Side Button, one press at a time, 
increments the setting, one decimal digit at a time /  
Pressing the Right-Hand Side Button, one press at a time, 
Decrements the setting parameter one decimal digit at a 
time. 
To complete and conserve, the new setting of floating 
voltage values and use the SET

MENU button to adjust 

the parameter; calling off the parameter interface after 
long press the button MENU again. (The numbers stop 
flashing) The floating voltage value will be conserved by 
controller.  
Caution 

 Do Not change these settings without the 

knowledge, as you can damage your Battery by setting 
these parameters to the incorrect values. 


Float Voltage 


Viewing and Setting  
Under-voltage 
Protection 

As pictured at right, the value for under-voltage 
protection is showed. The controller will cut off load 
circuit when batter voltage is lower than this value, in 
order to avoid over discharge of the battery. 
long press the button MENU 

(>

5seconds

numbers 

start flashing

to enter the setting interface of under-

voltage protection and use the SET

MENU button to 

adjust the parameter; long press the button MENU again 
(The numbers stop flashing) to call off the parameter 
interface after finish setting. Setting value will be 
conserved by controller. 


Under Voltage Protection 


As pictured at right, the recovered voltage is showed. 
After the controller performs the function of under-


Содержание FL-800

Страница 1: ...Page 1 of 12 Continuous Use Amphibious 12v DC Pump and Solar Kit Installation Instruction Booklet...

Страница 2: ...Placement and Volt Drop 4 Mounting Structures 4 Solar Charge Controller 4 Features of the Charge Controller 5 System Connection 5 Fuses 5 Digital Display 6 Charge Controller Buttons 6 Configure your C...

Страница 3: ...ents 1 2 1 X Solar Panel 50 Watt 2 3 1 X 12 Volt Gel Acid Battery P N 12 AH 6 CNF 12 3 1 X PWM Solar Charge Controller 4 1 X 12 Volt Continuous Use Amphibious Pump P N FL 800 5 1 X length of Red and B...

Страница 4: ...omised use an Average Inclination 35 to 45 degrees Static Placement and Volt Drop Try to keep all the Kit components as close together as possible As the distance increases between components so shoul...

Страница 5: ...orrectly Red is Positive and Black is Negative Even if certain suppliers use different colours one should by deduction determine which wires and connection points are or Positive of negative Make sure...

Страница 6: ...g State D4 The bars in the battery indicator provide a sense on how much charge your battery has Zero Bars Battery has no Charge 5 Bars the battery is fully charged use this in conjunction with D3 and...

Страница 7: ...entally upwardly The Right Button Does the opposite 3 Selection Function To enter programming mode 4 To exit programming mode if a setting has been changed the new setting will be saved or if no setti...

Страница 8: ...e battery charging for about a day of two Always switch off your load as described in 1 1 of this table when you are bringing your battery s up to a serviceable level The little lamp bulb Icon will di...

Страница 9: ...nd Side Button one press at a time increments the setting one decimal digit at a time Pressing the Right Hand Side Button one press at a time Decrements the setting parameter one decimal digit at a ti...

Страница 10: ...after the amount of the set hours has elapsed 0 H represents Light Control Mode Load will switch ON after darkness Sunset and then the Load will be switched OFF at dawn Sunrise Hold the Left Hand Sid...

Страница 11: ...ickly enough Check Panel Direction Should be True Northerly Direction Use Google Maps to orientate your property to the direction north is the top of the Map Your Panel is in the shade Your Panel is i...

Страница 12: ...ch does not allow air or and Air Water mixture 8 It is always best to have a position in the pool pond or fountain which allows a secure immoveable positioning of the pump 9 The suction should not dra...

Отзывы: