

MODEL
E-2.0
User Guide
5
Our system is designed in Canada and is recognized by most insurers
1.
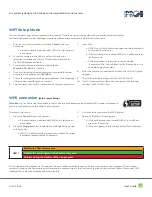
To enter Wi-Fi mode, press and hold the
Cancel
button for
3 seconds.
a. If the manoeuvre was successful, LEDs 1 to 4 light green
in sequence.
2. When the mode is ready, LEDs 1 and 2 and then 3 and 4
light green in sequence and a Wi-Fi network named Water-
ProTec AP becomes available.
3. Connect your computer, tablet or phone to the
Water-ProTec AP
Wi-Fi network.
4. Once connected, open a web browser and type the following
numbers in the address bar:
192.168.4.1
5.
The router configuration web page is displayed in the language
of the browser used (English or French).
6. Find the name of your Wi-Fi network and enter your password.
7. Press Save.
a. LEDs 1 to 4 will light yellow in sequence while attempting
to connect to your router.
b. If the connection is successful, LEDs 1 to 4 will flash green
for 10 seconds.
c. If the connection to the router is not made after
15 seconds, LEDs 1 to 4 will flash red for 10 seconds. In this
case, start again from step 1.
8. When the system is connected to a router, the Wi-Fi LED lights
up green.
9.
If no Wi-Fi network is configured, the Wi-Fi LED is off.
10.
If a Wi-Fi network is configured to your system but it cannot
connect, the Wi-Fi LED is red.
To activate this mode:
1.
Press the
Cancel
button for 3 seconds..
a. If the manoeuvre was successful, LEDs 1 to 4 light green
in sequence.
2. Press the
Program
button (located on the left side of the panel)
for 3 seconds.
a. LEDs 1 to 4 will light yellow in sequence while WPS mode
is activated (approximately 30 seconds).
3. Find your router and press the WPS button.
4. Return to the Water-Protec system.
a. If the configuration is successful, LEDs 1 to 4 will flash
green for 10 seconds.
b. If the configuration failed, they flash red for 10 seconds.
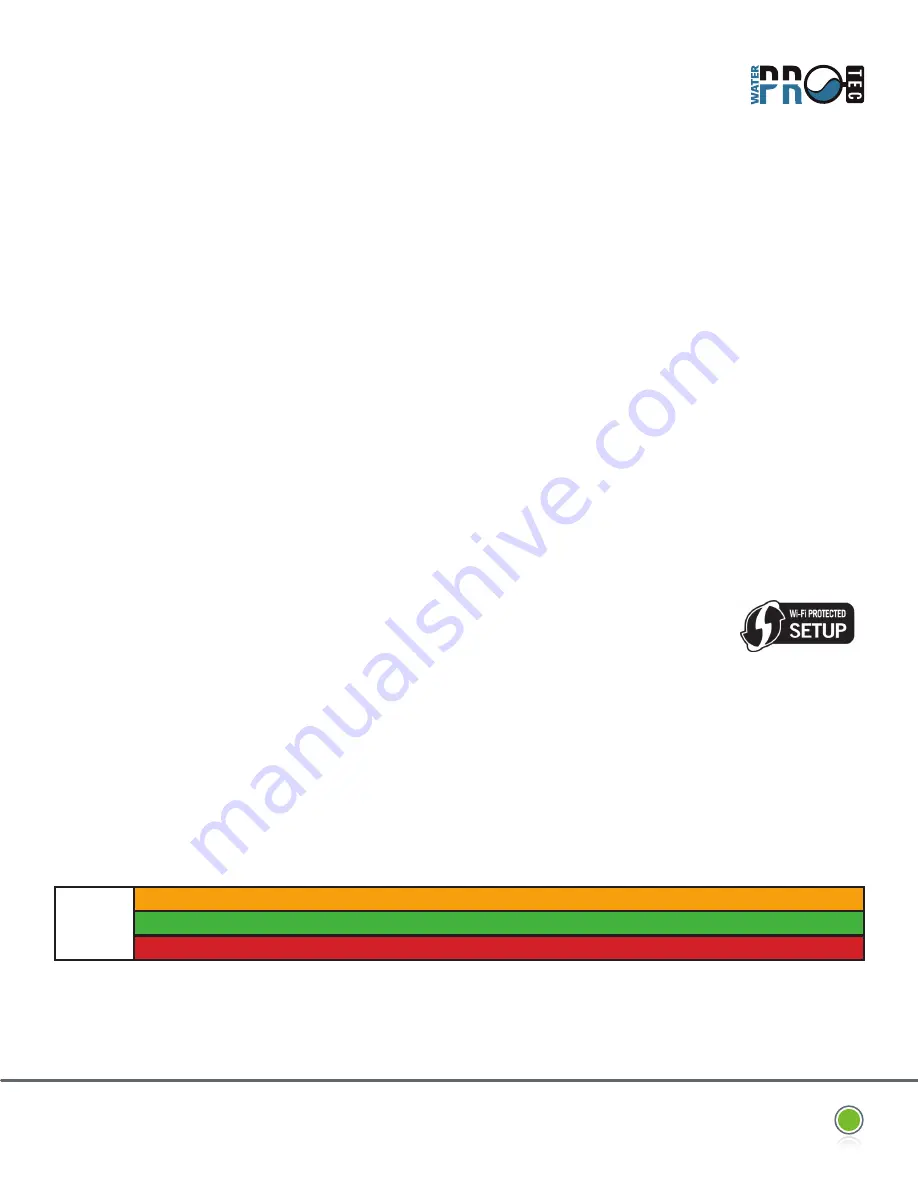
LED 1
Deleting the final memory area
Transfer the new program to the final memory area
Problem during the transfer of the new program
WiFi Setup Mode
WPS connexion
(Wifi Protect Setup)
Attention :
You must have a compatible router to use this connection mode. Enabling WPS mode will erase any
previous configuration on the Water-Protec system.
You can choose to connect your system to the Internet. This allows you to view its status from a secure portal and receive
notifications by email or text message. It is also possible to share your system status with other users.
When updating the program via the website, the panel will automatically open and close to activate the new program. This activation
consists in copying the new program in the temporary memory area to the final memory area. During this time (about 15 seconds), LED 1
indicates the operations progress by flashing rapidly.


