63
Figure 6-3
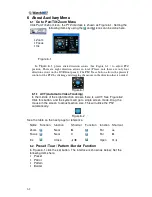
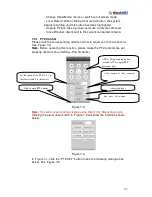
In Figure 6-1, click page switch button, see the interface in Figure 6-4.
Activating the following functions can be found here:
•
Preset
•
Tour
•
Pattern
•
Aux On
•
Aux Off
•
Auto Scan
•
Auto Pan
•
Light On
Figure 6-4
6.2.1 Preset Setup
Note:
The following setup is usually operated by the menus in Figure 6-1,
493H
Figure 6-3 and
494H
Figure 6-4. In Figure 6-1, use the eight direction arrows to
adjust camera to the proper position. In
496H
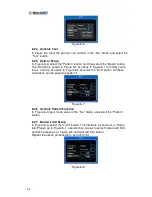
Figure 6-3, select the “Preset” button
and input the preset number. The interface is shown in
497H
Figure 6-5. Now the
preset can be added to one tour.
Figure 6-5
6.2.2 Activate Preset
In
498H
Figure 6-4 input the preset number in the “No.” blank, and select the
“Preset” button.
6.2.3 Auto Tour Setup
In
499H
Figure 6-3, click “Auto Tour” button. The interface is shown as in
500H
Figure
6-6. Input preset number and then add this preset to one patrol.
Содержание EL12004RT
Страница 1: ......
Страница 61: ...61 Figure 5 378 ...


