Using the LCD monitor
PerfectView M70L
28
The purple cable (
10,
) serves as a signal cable to activate the normal/inverted image
function when using the RV-24/N, RV-27/N, RV-30K or RV-30K-F cameras. If these
cameras are used, a normal picture is generated if the violet cable is connected to
earth
.
If the RV-20/M and RV-20/CFM cameras are in use, the cable is not used.
➤
Insulate the purple cable if you are using a RV-20/M or RV-20/CFM camera.
➤
If necessary, connect the Mini-DIN socket (
7
) of the connection cable to the
Mini-DIN plug of video source 1 (e.g. DVD player).
➤
If necessary, connect the Mini-DIN socket (
8
) of the connection cable to the
Mini-DIN plug of video source 2 (e.g. DVD camera).
7
Using the LCD monitor
7.1
Switching on the monitor
➤
When the monitor is switched off, press the “M” button (fig.
0
1, page 6), to
switch it on.
✓
The picture appears.
7.2
Switching off the monitor
➤
Press the button (fig.
0
1, page 6) to switch off the monitor.
✓
The picture disappears.
7.3
Adjusting the monitor
(fig.
0
, page 6
)
To set the monitor to suit your requirements, proceed as follows:
➤
Press the “M” button (
4
), to set the required parameters.
✓
The parameters are displayed in the following sequence:
– Brightness (“BRT”)
– Colour (“COL”)
– Contrast (“CON”)
– "TINT" function
– Picture format (16 : 9 or 4 : 3)
➤
Press the “–” button (
2
) or the “+” button (
3
) to move the cursor
)
to the required
parameter.
➤
Press the “M” button (
4
), to activate the required parameter.
✓
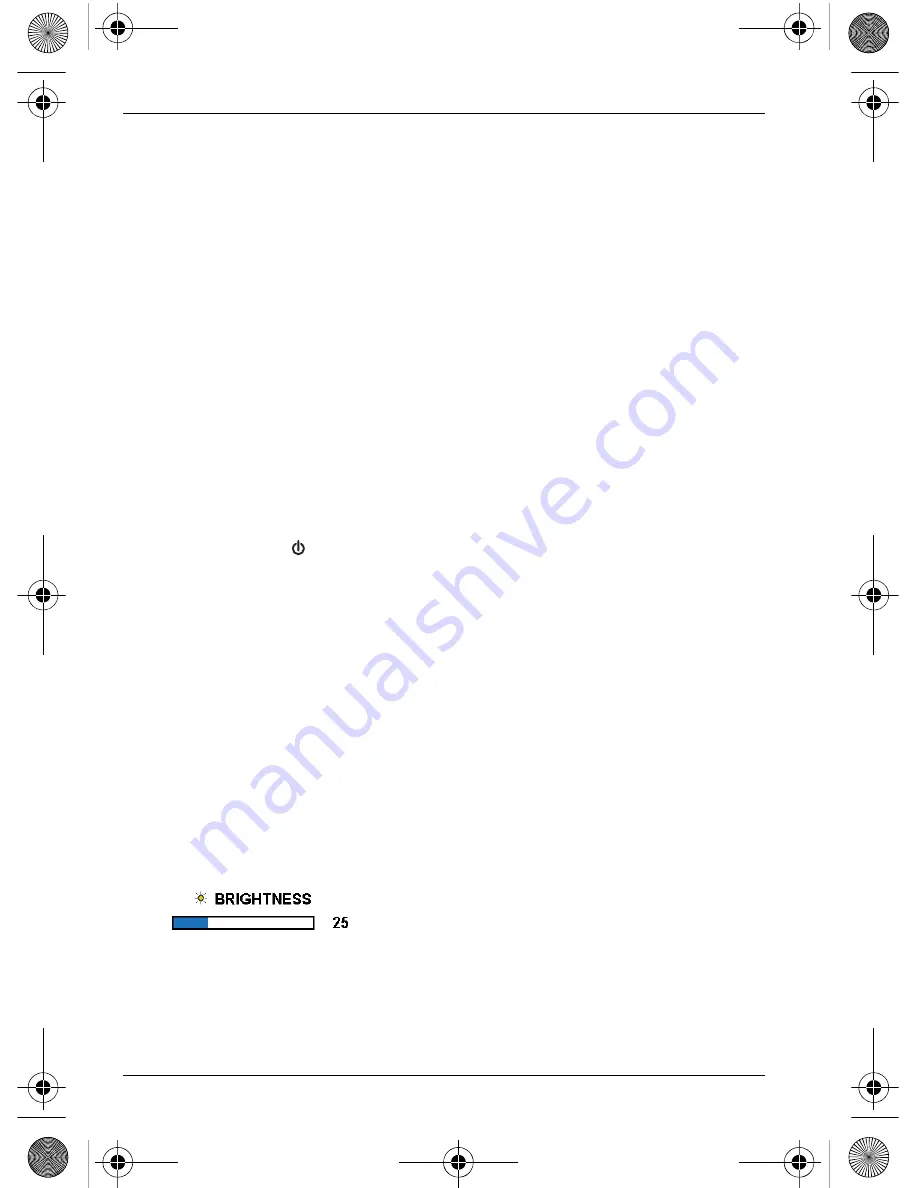
The current parameter value is shown, for example Brightness:
➤
Press the “–” button (
2
) to
reduce
the value of the selected parameter.
➤
Press the “+” button (
3
) to
increase
the value of the selected parameter.
_RV-71_EB_10s.book Seite 28 Freitag, 2. Februar 2007 1:21 13


