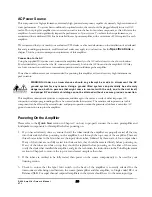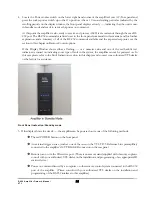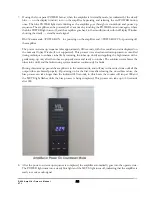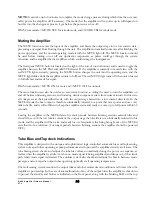
Changing Top Cover Screws
When the amplifier is first shipped from the factory, the top cover is installed with locking screws. These screws can be
removed and replaced once the amplifier is setup in the listening area so that the top cover can be removed easily
without any hand tools.
Once the locking screws are removed, please put them in the Spare kit that came with the amplifier. You will need to
put these screws back when shipping or moving the amplifier to ensure that the top cover is securely fastened.
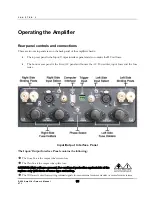
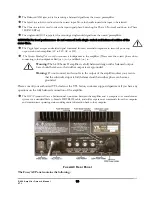
The top cover of the amplifier is fitted with long screws (6-32x5/8 Phillips head and 6-32x7/8 socket head) in three
strategic locations along the top cover. To remove the top cover, these three screws must be removed first. Two of the
long screws (socket heads) are located on the right side panel, screw #2 and #7 counting from the side closest to the
front panel. The third screw (Phillips head) is located on the top right hand corner of the back panel.
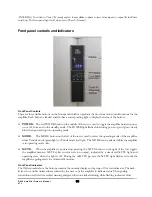
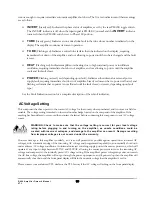
After the three long screws are removed, gently lift up the top cover. Enclosed in the spare package are the shorter
replacements screws. Replace the right side panel #2 and #7 screws with two 6-32x3/8” socket head screws. Replace
the back panel screw with the 6-32x3/8” flat head screw. Tighten the screws without overdriving them. Put the top
cover back onto the amplifier. You can now remove or replace the top cover easily without using any tool.
WARNING: there are high temperatures and hazardous voltages inside the
unit. If any household members might accidentally be exposed to these
temperatures or voltages, then the cover shipping screws should be left in
place to prevent accidental removal of cover.
S-400 Amplifier Owner’s Manual
VTL
10

