TURBO BOOST FEATURE
This clipper is equipped with a turbo boost button. When activated,
this will boost the motor of the clipper, by providing 20% more
cutting power. This is especially useful for cutting through thicker
hair.
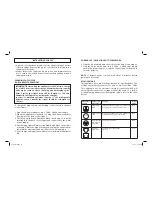
USING THE TELESCOPIC COMB GUIDES
Your clipper comes assembled with the 3mm – 18mm telescopic
comb guide attachment already installed. The integrated comb
length control guide allows you to change the cutting length of
your clipper with ease. For longer styles, simply remove the shorter
comb guide and attach the 21mm – 36mm comb guide.
IMPORTANT: Always remove and attach the comb guides BEFORE
turning the clipper on.
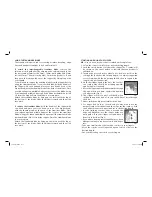
To remove the comb guide
, fi rst adjust the cutting length to the
shortest setting (3mm for the 3mm – 18mm comb guide and 21mm
for the 21mm – 36mm comb guide). Switch the product off and
then push the comb guide out of the support by lifting it up with
your thumb.
(NB – When using the clipper without the comb guide attachment,
the cutting length will be below 3mm. The length setting shown on
the side of the product will no longer be relevant when the comb
guide is removed).
To attach the comb guide
, fi rst adjust the cutting length to the
shortest setting (3mm for the 3mm – 18mm comb guide and 21mm
for the 21mm – 36mm comb guide). Switch the product off and
place the comb guide on the support by adjusting both sides to
ensure they are correctly in place. Push the comb guide onto the
bottom of the support until it clicks into place. The comb guide
should then be secure on the support.
22 Cutting Length Settings (3mm – 36mm)
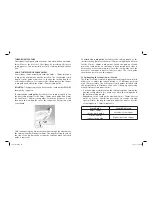
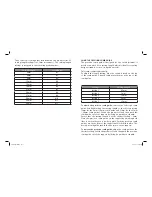
The Turbo-Pro Clipper uses an integrated comb length control which
allows you to adjust the length setting to 22 different positions
with 1.5mm accuracy. The 2 telescopic comb guides included with
this product help to eliminate the need of changing and storing
many different attachment combs.
• To use the clipper, simply adjust the cutting length by turning the
grooved rotary wheel up or down to position the comb guide to
the desired cutting length.
• Depending on the comb guide attached: 3mm – 18mm (shorter
comb), or 21mm – 36mm (longer comb), an orange coloured
arrow will show the length setting on either the right or left side
of the clipper (in 1.5mm increments):
Comb Guide
Length Displayed
3mm – 18mm
shorter comb guide
Left side of the clipper
21mm – 36mm
longer comb guide
Right side of the clipper
VS7702A-IB.indd 8-9
VS7702A-IB.indd 8-9
4/2/09 4:13:52 PM
4/2/09 4:13:52 PM


