42
7.7. CALIBRATION
To comply with the accuracies during measurements, the measuring device must be calibrated before
any measuring series or when larger deviations are found.
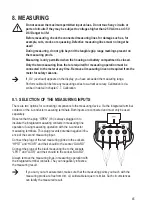
Calibration comprises of two parts: calibration with open measuring inputs and calibration with closed
measuring inputs “SHORT”. The two calibration steps are performed in sequence. They can be
performed with or without measuring lines but should be calibrated in the constellation you also use in
measuring operation. The
fi
gures show both possibilities each.
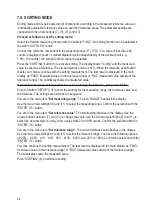
To start calibration, keep the button “CAL” (4) pushed for approx. 2 s. The calibration ,mode is con-
fi
rmed with a signal sound.
The symbols “CAL” and “OPEn” are displayed.
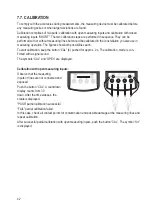
Calibration with open measuring inputs:
Observe that the measuring
inputs or lines are not connected and
exposed.
Push the button “CAL”. A countdown
display counts from 30
down. After the time elapses, the
status is displayed.
“PASS” partial calibration successful.
“FAIL” partial calibration failed.
In this case, check all contact points for contamination and possible damage at the measuring lines and
repeat calibration.
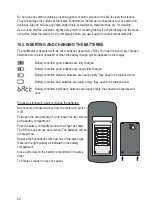
After successful partial calibration with open measuring inputs, push the button “CAL”. The symbol “Srt”
is displayed.


