VMS TOURING 7000 SERIES Скачать руководство пользователя страница 5


Quick User Guide

page 5 

protected CDs which do not conform to the audio CD industry standard.

• Use discs with MP3/WMA files written in a format compliant with this unit.

To customers using CD-R / CD-RW

• If a CD-R/CD-RW cannot be played, make sure the last recording session was 

closed (finalised).

• Finalise the CD-R / CD-RW if necessary, and attempt playback again.

Installation Location

Make sure the unit will not be installed in a location subjected to:

• Direct sun and heat

• High humidity and water

• Excessive dust

• Excessive vibrations

BACK UP SD MEMORY CARD DATA

DATA REDUNDANCY

Memory Cards utilized in this product is of an automotive grade. However, data 

corruption may still occur. To ensure data redundancy, we recommend backing up 

the data onto a computer.

• Back up the original data.

• Back up your own data.

BACK UP DATA FROM MEMORY CARD TO A COMPUTER

1. Insert Micro SD card into a SD card reader on the computer.

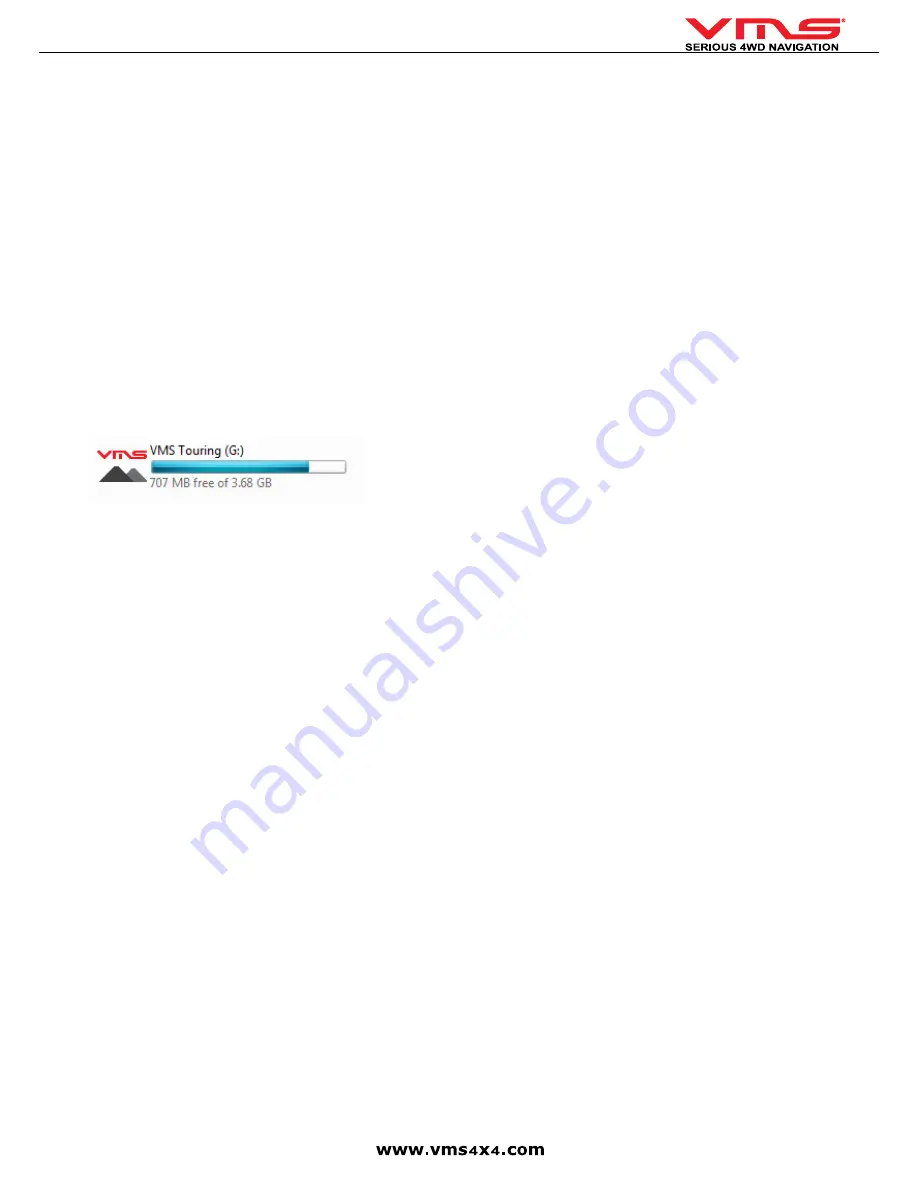
2. In My Computer, the SD card will appear as a removable drive. For easy 

identification, all VMS Touring SD cards are programed to appear with a VMS 

icon.

3. Select all the data on the SD card & select COPY.

4. Paste the data on to the computer.

5. If the data on the SD card becomes corrupt, the sd card can be formatted and 

the backup data on the computer can be copied onto the card.

PLEASE NOTE: 

The data on the SD card is encrypted. Copying the data onto 

a different SD card is not possible. The system will only work with the genuine 

memory card.

Loss or corruption of data on the memory card is not covered 

under warranty. Ensure the data is backed up onto another form 

of media as soon as the possible.

If you are not sure on how to back up data contained on the 

memory card, contact your VMS dealer before any attempts are 

made. Backing up data is not VMS or the dealer’s responsibility. 

You may also request VMS to back up the DATA onto a DVD-R 

disk. A service charge of $55 (excluding postage) apply. To 

access this service, please call VMS on 03 9017 5568. 

Business Hours: 9am to 5pm Monday to Friday, AEST.

VMS will not accept responsibility for items sent to the office 

that do not contain an RA number which, is given to you over the 

phone. 

Содержание TOURING 7000 SERIES

Страница 1: ...TOURING 7000 SERIES QUICK USER GUIDE...

Страница 2: ...Quick User Guide page 2...

Страница 3: ...CONTROLS 13 SETTINGS 14 MEMORY MAP 15 MENU TOOLBAR 15 WAYPOINTS 15 PLACING A WAYPOINT 15 GO TO A WAYPOINT 15 BROWSING THE MAP 15 PLANNING A ROUTE 15 CREATING A ROUTE 15 NAVIGATING ALONG A ROUTE 15 MAN...

Страница 4: ...45 C 113 F before turning your unit on Moisture Condensation You may notice the disc playback sound wavering due to condensation If this happens remove the disc from the player and wait about an hour...

Страница 5: ...For easy identification all VMS Touring SD cards are programed to appear with a VMS icon 3 Select all the data on the SD card select COPY 4 Paste the data on to the computer 5 If the data on the SD ca...

Страница 6: ...up or down 3 AV Cycles through all AV functions 4 DIMM Press to increase decrease screen brightness 5 MENU Go to System Menu 6 OPEN Open Close the front panel 7 ANGLE Press to activate front panel ang...

Страница 7: ...s the OPEN button 2 Press the EJECT button and the disc will automatically be ejected from the loader Remove the disc 3 Close the front panel by pressing the OPEN button ADJUSTING FRONT PANEL ANGLE Du...

Страница 8: ...gation is displayed up front with either radio or iPOD playback through the vehicle sound system All controls for rear seat dvd are accessible via the touchscreen To access Rear Entertainment controls...

Страница 9: ...le Shuffle and or repeat on the iPOD 3 Connect the iPOD with the cable 4 When next track is selected the iPOD will now shuffle or repeat your selection PLAYLIST 1 Disconnect the iPOD from the cable 2...

Страница 10: ...TPMS setup menu Pair TPMS sensors Copyright system info menu TPMS Tyre Pressure Monitoring System TPMS SETUP MENU TEMP SETTING Set min temperature TEMP UNIT Set Celsius or Fahrenheit MAX TYRE PRESSUR...

Страница 11: ...is format Ozi Explorer Pros Can accept a wider format of maps Many users may already have maps in Oziexplorer format Offers advanced users more flexibility Ozi Explorer Cons Harder to use compared wit...

Страница 12: ...if no house number is required Go to an intersection by entering another street name By default Street Navigation displays the country state and suburb of where you are If needed tap the button with t...

Страница 13: ...ap to switch to a keyboard of symbol charac ters Tap MAP VIEW 6 4 Map View Toggle 3D 2D map view Detour menu Go to Cursor Navigation Menu Next turn indicator GPS signal strength Current road name Next...

Страница 14: ...urrent GPS position If the map has been rotated in 3D mode automatic map rotation is also re enabled Tilt and zoom preset buttons available in Advanced mode only Tap one of the preset buttons to set t...

Страница 15: ...ack to your position Icon Description Select the data box and tap on the map to see grid coordinates and route track information Use the Menu Overlay Settings command to set your preferred units of me...

Страница 16: ...the Kbd keyboard button on the right of the window Ensure that the cursor is in the Find box and start typing It s best to type part of the word to maximise search results In this instance Alice was...

Страница 17: ...ock your current position will be displayed on a map There is no need to manually open a map file However you can open a map file manually for trip preparation ON SCREEN FUNCTION FINDING MORE OR LESS...

Страница 18: ...rking a camp site vehicles location a hazard or even your favourite fishing spot Waypoints can be marked prior to or during your trip either by manually entering coordinates or simply by marking them...

Страница 19: ...s information about each waypoint Button s Description Load a Waypoint File Select a waypoint file wpt to load onto the map Save Waypoints to File All waypoints currently on the map are saved to a way...

Страница 20: ...erties Dialog The properties dialog displays a list of the route waypoints Load a Route the selected route is loaded to the map Save Route to File The currently loaded route is saved as a rt2 file Sho...

Страница 21: ...Exposure to liquid or infiltration of foreign particles e Servicing or modification of the product by any one other than by VMS AUSTRALIA f Use of product with other accessories attachments product s...

Страница 22: ...Quick User Guide page 22...

Страница 23: ...Quick User Guide page 23...

Страница 24: ...er 2009 Rev 1 0 Printed in Australia VMS is a trademark of XIA GROUP PTY LTD registered in Australia and other countries and may not be used without the express permission of XIA GROUP Pty Ltd copyrig...

Отзывы: