


Quick User Guide
page 4
SAFETY PRECAUTIONS
This symbol means important
instructions. Failure to heed them
can result in serious injury or death.
WARNING
INSTALL THE PRODUCT CORRECTLY SO THAT THE DRIVER CAN-
NOT WATCH TV / VIDEO UNLESS THE VEHICLE HAS STOPPED
AND THE PARKING BRAKE IS APPLIED.
It is dangerous for the driver to watch the TV/Video while driving the vehicle. The
driver may be distracted from looking ahead and an accident could occur. If the
product is not installed correctly, the driver will be able to watch the TV/Video
whilst driving the vehicle and may be distracted from looking ahead causing an
accident. The driver or other people could be severely injured.
DO NOT OPERATE ANY FUNCTIONS THAT CAN CAUSE
DISTRACTIONS WHILE DRIVING.
Any function that requires your prolonged attention should only be performed
after coming to a complete stop. Always stop the vehicle in a safe location before
performing these functions. Failure to do so may result in an accident.
KEEP SMALL OBJECTS OUT OF THE REACH OF CHILDREN.
Swallowing Small objects may result in serious injury. If swallowed, consult a
physician immediately.
DO NOT DISASSEMBLE OR ALTER THE PRODUCT.
Doing so may result in an accident, fire or electric shock
.
DO NOT USE THIS PRODUCT FOR MOBILE 12V APPLICATIONS.
Use of this product other than its designed application, may result in fire, electric
shock or other injury.
USE ONLY IN CARS WITH A 12 VOLT NEGATIVE GROUND.
(Check
with your dealer if you are not sure.) Failure to do so may result in fire, etc
.
DO NOT BLOCK VENTS OR RADIATOR PANELS.
Doing so may cause
heat to build up inside and may result in fire
.
MINIMISE DISPLAY VIEWING WHILE DRIVING.
Viewing the display
may distract the driver from looking ahead of the vehicle and cause an accident.
DO NOT WATCH VIDEO / TV WHILE DRIVING.
Watching the video may
distract the driver from looking ahead of the vehicle and cause an accident.
KEEP THE VOLUME AT A LEVEL WHERE YOU CAN STILL HEAR
OUTSIDE NOISE WHILE DRIVING.
Failure to do so may result in an accident.
HALT USE IMMEDIATELY IF A PROBLEM OCCURS.
Failure to do so may cause personal injury or damage to the product. Return it to
your authorised VMS dealer or the nearest VMS Service Centre for repairing.
DO NOT PLACE HANDS, FINGERS OR FOREIGN OBJECTS IN
INSERTION SLOTS OR GAPS.
Doing so may result in personal injury or damage to the product.
DO NOT MIX NEW BATTERIES WITH OLD BATTERIES. INSERT
WITH THE CORRECT BATTERY POLARITY.
When inserting the batteries, be sure to observe proper polarity (+ and –) as
instructed. Rupture or chemical leakage from the battery may cause fire or
personal injury.
Product Cleaning
Use a soft dry cloth for periodic cleaning of the product. For more severe stains,
please dampen the cloth with water only. Anything else has the chance of dis-
solving the paint or damaging the plastic.
Temperature
Be sure that the temperature inside the vehicle is between 0°C (+32°F) and
+45°C (+113°F) before turning your unit on.
Moisture Condensation
You may notice the disc playback sound wavering due to condensation. If this
happens, remove the disc from the player and wait about an hour for the mois-
ture to evaporate.
Damaged Disc
Do not attempt to play cracked, warped, or damaged discs. Playing a bad disc
could severely damage the playback mechanism.
Maintenance
If you are experiencing problems, do not attempt to repair the unit yourself.
Return it to your VMS dealer.
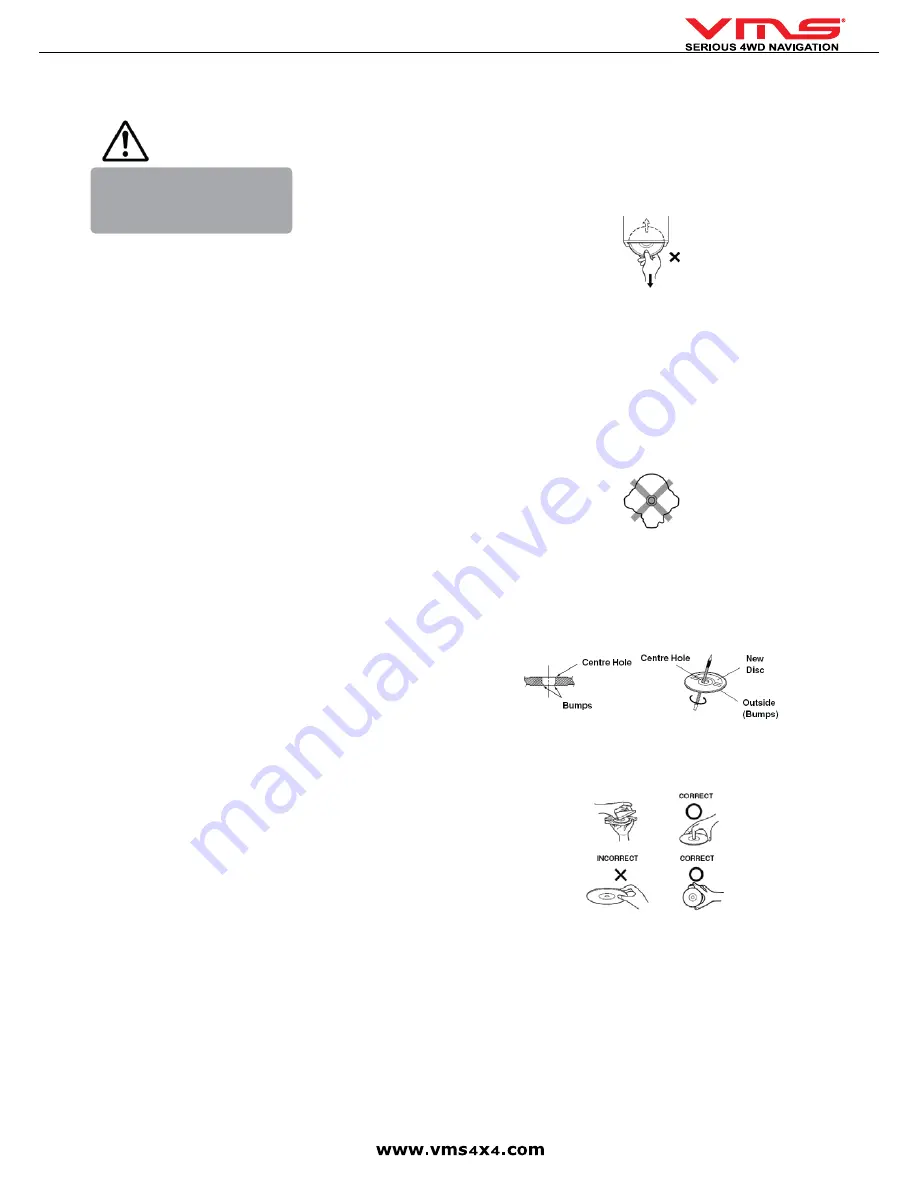
Never Attempt the Following:
Do not grip or pull out the disc while it is being pulled back into the player by the
automatic reloading mechanism.
Do not attempt to insert a disc into the unit when the unit power is off. Doing so
may cause damage to the DVD / CD mechism.
Inserting Discs
Your player accepts only one disc at a time for playback. Do not attempt to load
more than one disc.
Make sure the label side is facing up when you insert the disc.
Your player will automatically eject any disc that is inserted incorrectly. If the
player continues to eject a correctly inserted disc, push the Power button.
Playing a disc while driving on a very bumpy road may result in skips, but this
will not scratch the disc or damage the player.
Irregular Shaped Discs
Be sure to use round shaped discs only for this unit and never use any special
shaped discs. Use of special shaped discs may cause damage to the mecha-
nism.
New Discs
As a protective measure to prevent the Disc from jamming, the DVD player will
automatically eject discs with irregular surfaces or which have been inserted
incorrectly. When a new disc is inserted into the player and ejected after initial
loading, using your finger, feel around the inside of the centre hole and outside
edge of the disc. If you feel any small bumps or irregularities, this could inhibit
proper loading of the disc. To remove the bumps, rub the inside edge of the hole
and outside edge of the disc with a ball-point pen or other such instrument, then
insert the disc again.
Correct Handling
Do not drop the disc while handling. Hold the disc so you will not leave finger
-
prints on the surface. Do not affix tape, paper, or gummed labels to the disc. Do
not write on the disc.
Disc Cleaning
Fingerprints, dust, or soil on the surface of the disc could cause the DVD player
to skip. For routine cleaning, wipe the playing surface with a clean, soft cloth
from the centre of the disc to the outer edge. If the surface is heavily soiled,
dampen a clean, soft cloth in a solution of mild neutral detergent before cleaning
the disc.
Using compact discs (CD/CD-R/CD-RW)
If you use unspecified compact discs, correct performance cannot be guaran
-
teed.
You can play CD-Rs (CD-Recordable)/CD-RWs (CD Re Writable) which have
been recorded only on audio devices.
You can also play CD-Rs/CD-RWs containing MP3/WMA formatted audio files.
• Some of the following discs may not play on this unit:
Flawed discs, discs with fingerprints, discs exposed to extreme temperatures or
sunlight (e.g., left in the car or in unit), discs recorded under unstable condi-
tions, discs on which a recording failed or a re-recording was attempted, copy
Содержание TOURING 7000 SERIES
Страница 1: ...TOURING 7000 SERIES QUICK USER GUIDE...
Страница 2: ...Quick User Guide page 2...
Страница 22: ...Quick User Guide page 22...
Страница 23: ...Quick User Guide page 23...


