background image

3

21

ADJUSTING THE AUDIO SETTINGS

To adjust the audio settings:

1.  Press the 

Menu button on the 

remote. The on-screen menu  

is displayed.

2.  Use the 

Arrow buttons on the 

remote to highlight 

Audio and 

press 

OK. The AUDIO menu  

is displayed.

3.  Use the 

Arrow buttons to 

highlight the setting you wish 

to adjust, then press 

Left/

Right Arrow buttons to change  

the setting:
•  Speakers - Turns the built-in 

speakers On or Off.

•  Volume Control Display - Toggle between On or Off to 

hide or display the on-screen volume slider that appears 

when volume is adjusted.

•  Surround Sound - Surround sound uses DTS TruSurround


to deliver an immersive surround sound experience from 

the TV’s internal speakers. TruSurround completes the 

entertainment experience by providing deep, rich bass 

and by delivering crisp details and clear, intelligible dialog. 

Select 

On or Off.

•  Volume Leveling  -  Volume  leveling  uses  DTS  TruVolume


to maintain consistent volume levels during transitions 

between program content, AV formats, and input sources. 

Select 

On or Off. In a few cases, volume leveling may 

artificially  suppress  volume  increases,  making  it  difficult  to 

hear dialog or flattening sudden noises. If this occurs, turn 

volume leveling off.

When the TV speakers are set to 

On, DTS signals 

cannot be passed through digital audio outputs.

•  Balance - Adjusts the loudness of the audio output from the 

left and right speakers.

•  Lip Sync - Adjusts the synchronization between the display 

image and the accompanying audio track.

•  Digital Audio Out - Changes the type of processing for 

digital audio out and  HDMI ARC output when connected to a 

home theater audio system. Select 

Auto, PCM, Dolby D or 

Bitstream.

•  Analog Audio Out - Sets the volume control properties for 

the RCA connector when connected to a home theater audio 

system. Select 

Variable if you are controlling the volume with 

the TV’s volume controls, or select 

Fixed if an external audio 

device (sound bar or AV receiver) will control the volume.

4.  When you have finished adjusting the audio settings, press the 

Exit button on the remote.

You must select 

Bitstream for audio with more than 

two channels (3.0, 5.0, or 5.1, for example).

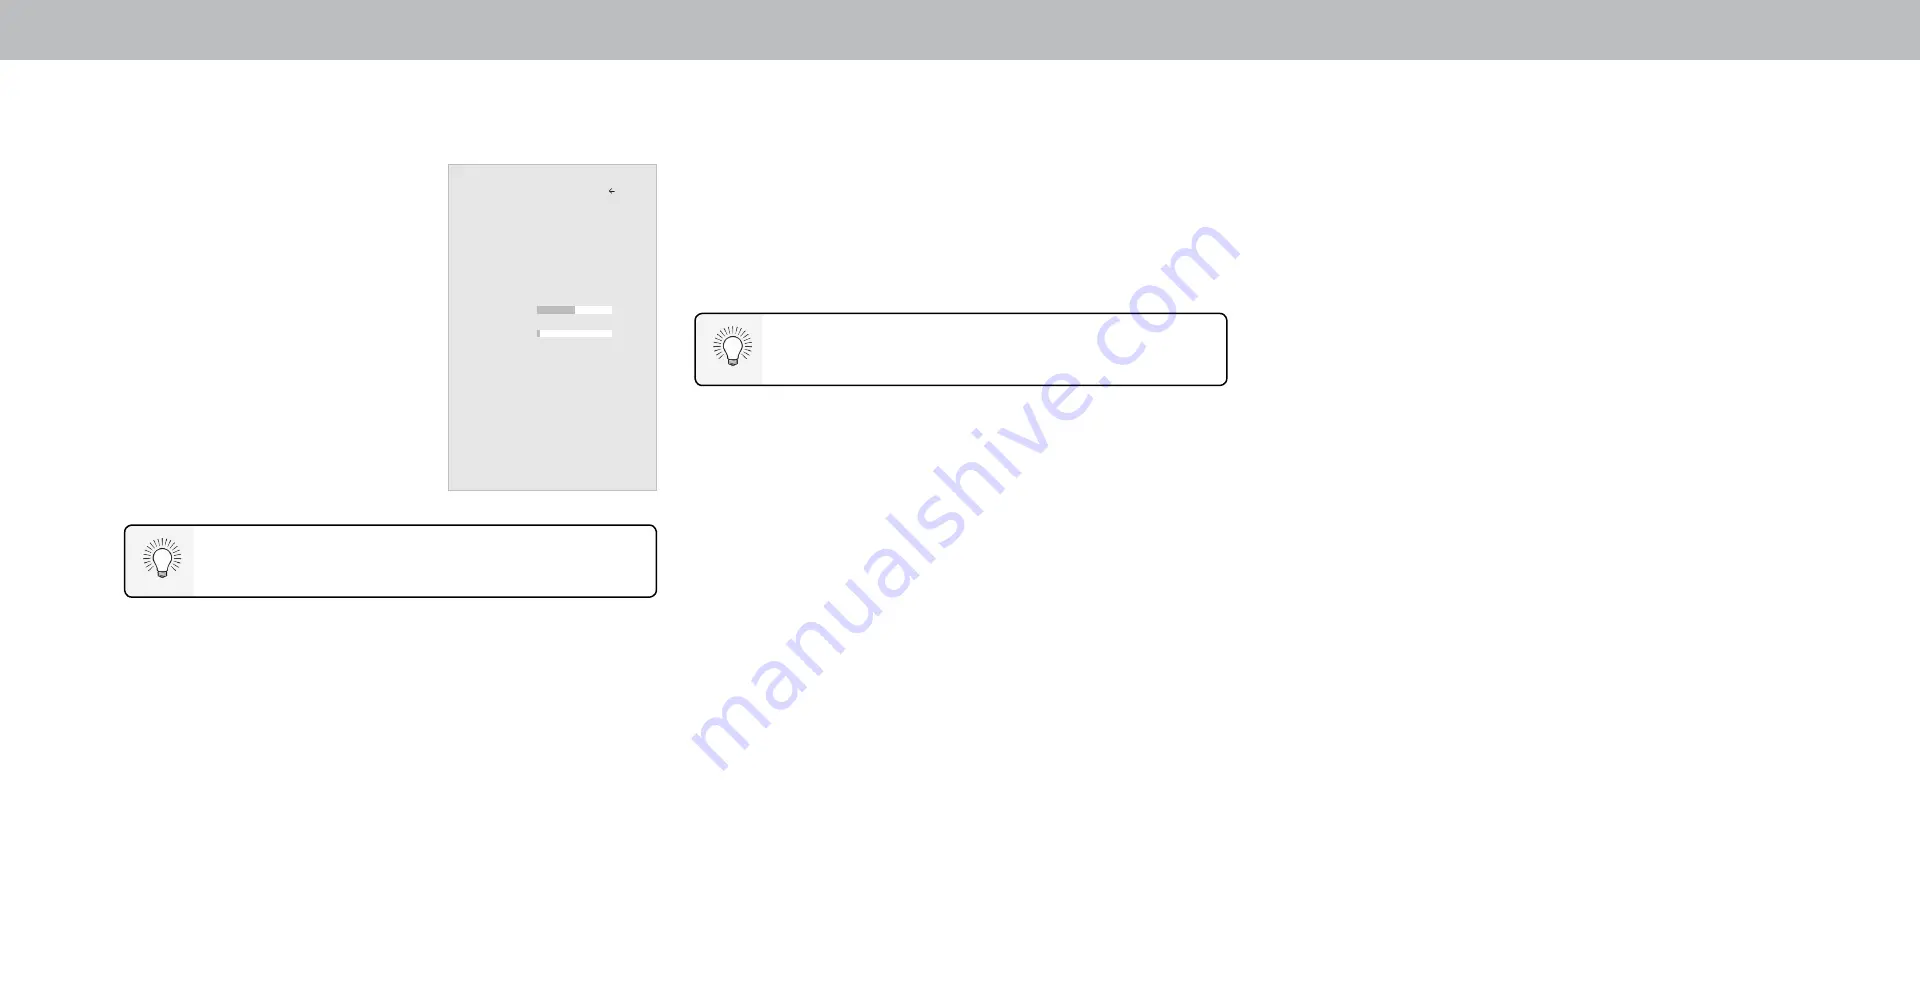
Audio

Speakers                                  Auto

Volume Control Display                On

Surround Sound                            On

Volume Leveling                            Off

Balance                                              0

Lip Sync                                             0

Digital Audio Out                         Auto

Analog Audio Out                      Fixed

Back

Содержание P55-F1

Страница 1: ...USER MANUAL Models P55 F1 P65 F1 and P75 F1...

Страница 2: ...et Protect the power cord from being walked on or pinched particularly at plugs convenience receptacles and the point where they exit from the apparatus Only use attachments accessories specified by t...

Страница 3: ...ol or injure the operator Do not expose batteries to excessive heat such as sunshine fire or the like If any of the following occurs contact the dealer The power cord fails or frays Liquid sprays or a...

Страница 4: ...information with regard to proper grounding of the mast and supporting structure grounding of the lead in wire to an antenna discharge unit size of the grounding conductors location of antenna dischar...

Страница 5: ...Manufactured under license from DTS Inc DTS the Symbol DTS and the Symbol together and DTS Studio Sound II are registered trademarks and or trademarks of DTS Inc in the United States and or other cou...

Страница 6: ...Alternate Audio 26 Changing the Analog Audio Language 26 Parental controls 27 Using Parental Controls 27 Enabling or Disabling Program Ratings 27 Locking and Unlocking Channels 27 Blocking and Unbloc...

Страница 7: ...remote aim it directly at this sensor The power indicator flashes on when the TV turns on then goes out after several seconds To keep the power indicator on as long as the TV is on see Turning the Po...

Страница 8: ...ly and may be subject to change The actual number of ports and their locations may vary depending on the model Volume Press to increase or decrease the TV volume level Ethernet Connect an Ethernet cab...

Страница 9: ...sure the surface is clear of debris that can scratch or damage the TV 3 Remove the stands by loosening and removing the screws 4 Attach your TV and wall mount to the wall carefully following the instr...

Страница 10: ...ries that came with this remote with two new Duracell AAA alkaline batteries 1 REMOTE CONTROL USING THE REMOTE 1 Input Change the currently displayed input 2 Power Turn Television on or off 3 App Laun...

Страница 11: ...nstalled and the power cord should be connected to an electrical outlet If you have a wireless network have the network password ready If you are connecting to your network with an Ethernet cable conn...

Страница 12: ...t button will close the on screen menu CHANGING THE INPUT SOURCE External devices such as DVD players Blu ray Players and video game consoles can be connected to your TV To use one of these devices wi...

Страница 13: ...of the image is not stretched but the sides of the image are extremely stretched If you are watching widescreen 1 85 1 or 2 35 1 content with black bars on the top and bottom the black bars will still...

Страница 14: ...s Control The auto brightness control detects the light levels in the room and automatically adjusts the backlight for the best picture Select Off Low Medium or High Backlight Adjusts the LED brightne...

Страница 15: ...ium or High Reduce Block Noise Reduces pixelation and distortion for mpeg files Select Off Low Medium or High Game Low Latency Select On to reduce video delay lag when gaming Film Mode Optimizes the p...

Страница 16: ...Edit settings 1 From the Picture menu use the Arrow buttons to highlight Picture Mode Edit and then press OK The Picture MODE EDIT menu is displayed 2 Use the Arrow buttons to highlight the setting yo...

Страница 17: ...OK 3 Press the Exit button to exit the menu screens Resetting a Picture Mode A preset picture mode that has been edited can be restored to the factory default settings To reset a customized preset pic...

Страница 18: ...row buttons to adjust the value When you are finished press the OK button to save the setting 3 When you have finished press the Exit button 11 Point White Balance Gain Red Green Blue 5 0 0 0 Adjustin...

Страница 19: ...then press the Left Right Arrow buttons until the RAMP TEST PATTERN menu is displayed 2 Use the Arrow buttons on the remote to highlight Off Use the Left Right Arrow buttons to select the color for t...

Страница 20: ...l the UNIFORMITY ANALYZER TEST PATTERN menu is displayed Uniformity Analyzer Test Pattern Off 2 Use the Arrow buttons on the remote to highlight Off Use the Left Right Arrow buttons to highlight On to...

Страница 21: ...veling may artificially suppress volume increases making it difficult to hear dialog or flattening sudden noises If this occurs turn volume leveling off When the TV speakers are set to On DTS signals...

Страница 22: ...enu highlight Manual Setup and press OK The MANUAL SETUP menu is displayed 2 To change the settings manually use the Arrow buttons on the remote to highlight DHCP and then use the Left Right Arrow but...

Страница 23: ...rd then highlight Connect and press OK 4 Press the Exit button on the remote Testing Your Network Connection To test your network connection 1 From the NETWORK menu highlight Test Connection and press...

Страница 24: ...er 10 minutes without a video or audio signal This feature can be deactivated To set the Auto Power Off feature 1 From the TIMERS menu use the Up Down Arrow buttons on the remote to highlight Auto Pow...

Страница 25: ...Skip Channels Analog Audio Stereo Digital Audio English Parental Controls Back Find Channels Channels Found Digital Analog 45 Complete Cancel Back Skipping Channels After a channel scan is completed y...

Страница 26: ...with Secondary Audio Programming To use the Analog Audio feature 1 From the CHANNELS menu highlight Analog Audio and press OK The ANALOG AUDIO menu is displayed 2 Select Stereo SAP secondary audio pr...

Страница 27: ...The CHANNEL LOCKS menu is displayed 2 Highlight the channel you want to lock or unlock and press OK 3 When a channel is locked the Lock icon appears locked The channel is not accessible unless the pa...

Страница 28: ...w buttons to highlight Digital Style and press OK 2 Use the Left Right Arrow buttons on the remote to select Custom The DIGITAL STYLE menu appears as shown 3 Use the Up Down Arrow buttons on the remot...

Страница 29: ...ext appears This is the typical As Broadcast mode Opaque background and window in the same color When text appears the entire line fills with color at once In the example below the closed caption text...

Страница 30: ...GS menu is displayed 3 Highlight the input device that you want to rename and press OK 4 To use a preset input name a Highlight the Input Port row and press OK b Highlight the input name you want to u...

Страница 31: ...wn Arrow buttons to scroll through the system information 5 When you are finished reviewing the system information press the Exit button on the remote Changing the On Screen Menu Language Your TV can...

Страница 32: ...r details To enable disable or adjust CEC settings 1 Set up your audio device and connect it to the HDMI 1 HDMI Arc input on the TV 2 On your audio device select the HDMI ARC input 3 Press the Menu bu...

Страница 33: ...settings changes and adjustments using the remote in English 4 Speech Rate Adjusts the rate in which Text to Speech is spoken Select Slow Normal Default or Fast 5 Zoom Mode Enlarges a section of the...

Страница 34: ...actory default settings as well as access other system settings Using the RESET ADMIN you can Reset the TV to factory settings Force the system to power off and on Turn the LED Power indicator On or O...

Страница 35: ...havior taken by devices associated with the IP Address we collect Viewing Data also enables our authorized data partners to deliver advertising relevant to your profile that you might find useful both...

Страница 36: ...ed by pressing the Info button on the remote Press the Info button one time to display the TV name current input picture mode network name and time INFO WINDOW Time Network Name Current Input TV Name...

Страница 37: ...TVSM Browse and launch top tier apps directly from the big screen using the included remote Stream content directly from the home screen with a single button press Stream high quality entertainment i...

Страница 38: ...and begin playing content on its own OR Select USB from the bottom streaming icons on the SmartCast Homepage Removing the USB Drive from the TV To safely remove your USB drive from the TV 1 Turn off t...

Страница 39: ...d USB devices Current Folder Playback Controls Use to control audio playback Highlight Play Pause Previous or Next and press OK Toggle Music Photos Toggle between viewing all content and only viewing...

Страница 40: ...USB devices Current Folder View All or View Folders VIDEO PLAYER Folders File Date Duration Family Vacation California 00 23 43 1 26th Birthday Party 00 38 18 2 Japan 2017 00 41 08 3 Aby s Graduation...

Страница 41: ...ils Folders Adjust Slideshow Settings Start Fullscreen Slideshow Browse Music View Music Files Back Button Highlight this button and press OK to return to the previous screen Folder Contents This area...

Страница 42: ...Product Setup Connecting Your Devices Technical Problems Product Updates And More You can also contact our award winning support team at Phone 877 698 4946 TOLL FREE Live Chat Support Available Do Yo...

Страница 43: ...ISTER YOUR VIZIO PRODUCT NOW Customized Support Get assistance quickly with your information on hand News Offers Take advantage of the latest news and special offers from VIZIO Safety Satisfaction Sta...

Страница 44: ...e to a window for the best signal The sound is flat or dialog is not audible Turn off Volume Leveling See Adjusting the Audio Settings The colors on the TV don t look right Adjust the Color and Tint s...

Страница 45: ...tructions to download the VIZIO SmartCast App How do I watch Cable Antenna TV channels If you subscribe to cable or satellite simply connect an HDMI cable not included to the receiver If you use exter...

Страница 46: ...60 UHD LCD Backlight Full Array LED Full Array LED Full Array LED Refresh Rate 240 Hz effective refresh rate 240 Hz effective refresh rate 240 Hz effective refresh rate Dynamic Contrast Ratio 50M 1 50...

Страница 47: ...ly approved by the party responsible for compliance with the FCC Rules could void the user s authority to operate this equipment Caution Always use an AC DC power adapter that is properly grounded Use...

Страница 48: ...determines that a product is covered by this warranty VIZIO will at its option repair or replace it or refund the purchase price to you There will be no charge for parts or labor during the warranty...

Страница 49: ...n you may pursue a claim in small claims court in your county of residence if in the United States or in Orange County California In such case the provisions of the section titled Binding Arbitration...

Страница 50: ...trademarks and or trademarks of DTS Inc in the United States and or other countries DTS Inc All Rights Reserved Dolby DolbyAudio DolbyVision andthedouble Dsymbolaretrademarks of Dolby Laboratories Ma...

Страница 51: ...2018 VIZIO INC ALL RIGHTS RESERVED 180221 ET...

Отзывы: