


1
VistaPoint 3.1 QuickStart
and Instructions for Use
VistaPoint is a software Graphical User Interface
intended for use by healthcare professionals to display
physiological data collected by the Vista Solution
wireless remote monitoring system in home and
healthcare settings. VistaPoint is a secondary, adjunct
patient monitor and is not intended to replace existing
standard-of-care patient monitoring practices.
Pacemaker Precautions
The following precaution applies when using the
VitalPatch described in VitalPatch Instructions for Use
(IFU-06): “The VitalPatch may be used on patients with
pacemakers. However, ECG data, heart rate, and
respiration rate will not be measured and displayed if a
pacemaker is indicated as present.”
Contraindications (When not to use)
Do not use the VistaPoint application as a standalone
diagnostic monitor. However, the data may be applicable
for use in diagnosis.
Indications for Use
IFU-26 Rev. D
Contents
Welcome
This guide will help you start monitoring using the
VistaPoint
™
and the VitalPatch
®
biosensor.
The VitalPatch biosensor (referred to as “VitalPatch” in
this document) is an adhesive device worn on the chest
to measure and record vital signs. Refer to the VitalPatch
Instructions for Use for detailed clinical instructions.
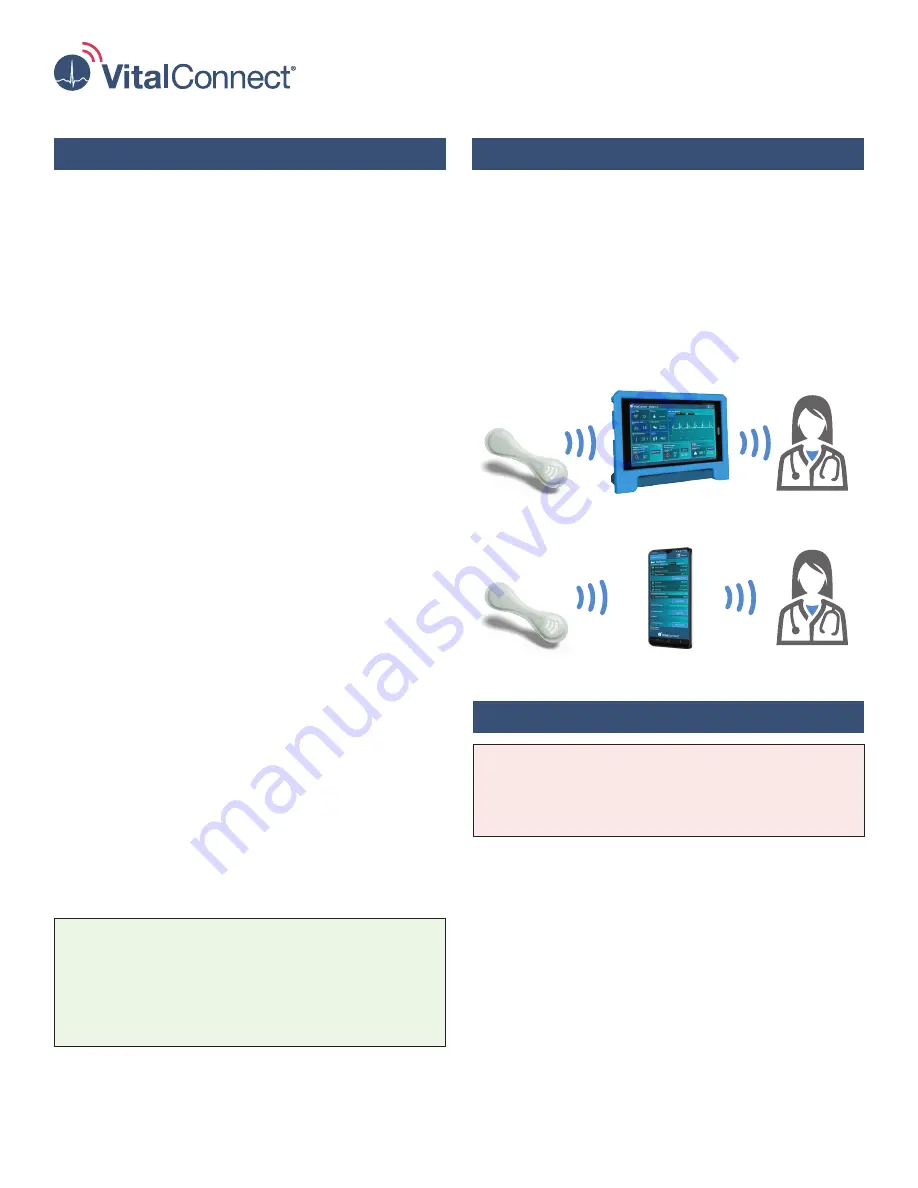
The VistaPoint application collects and uploads vital
signs from the VitalPatch and approved third-party
devices to your care team. VistaPoint runs on the
portable VistaTablet
™
or VistaPhone
™
device.
VitalPatch
VitalPatch
VistaPoint on VistaTablet
VistaPoint on VistaPhone
Care Team
Care Team
Welcome . . . . . . . . . . . . . . . . . . . . . . . . . . . . . . . . . . 1
Indications for Use . . . . . . . . . . . . . . . . . . . . . . . . . . 1
Getting Started
Setting Up VistaTablet or VistaPhone . . . . . . . . . . . . 2
Checking Device Battery Level and Patch Hours . . . 3
Viewing and Changing Device Name. . . . . . . . . . . . . 3
Removing Previous VitalPatch. . . . . . . . . . . . . . . . . . 4
Applying the VitalPatch . . . . . . . . . . . . . . . . . . . . . . . 4
Wearing the VitalPatch. . . . . . . . . . . . . . . . . . . . . . . . 5
Applying the Adhesive Overlay . . . . . . . . . . . . . . . . . 6
Monitoring Using VistaPoint
Pairing VitalPatch with VistaPoint . . . . . . . . . . . . . . . 7
Using the VistaPoint Dashboard . . . . . . . . . . . . . . . . 9
When Monitoring is Complete . . . . . . . . . . . . . . . . . 11
Reporting a Symptom . . . . . . . . . . . . . . . . . . . . . . . 11
Making a Video Call or Appointment . . . . . . . . . . . 11
Routine Events During Monitoring. . . . . . . . . . . . . . 12
Recalibrating Automatic Body Temperature . . . . . . 14
Entering Body Temperature Manually . . . . . . . . . . . 14
Changing Pacemaker Status . . . . . . . . . . . . . . . . . . 14
Entering Vital Signs Manually
Oxygen Saturation. . . . . . . . . . . . . . . . . . . . . . . . . . 15
Blood Pressure . . . . . . . . . . . . . . . . . . . . . . . . . . . . 15
Weight . . . . . . . . . . . . . . . . . . . . . . . . . . . . . . . . . . . 15
Uploading Vital Signs Using Bluetooth
Oxygen Saturation (Berry BM1000/BM2000A) . . . . 16
Oxygen Saturation (Masimo MightySat) . . . . . . . . . 18
Oxygen Saturation (Nonin 3150) . . . . . . . . . . . . . . . 20
Oxygen Saturation (Nonin 3230) . . . . . . . . . . . . . . . 22
Blood Pressure . . . . . . . . . . . . . . . . . . . . . . . . . . . . 23
Weight . . . . . . . . . . . . . . . . . . . . . . . . . . . . . . . . . . . 24
Troubleshooting
. . . . . . . . . . . . . . . . . . . . . . . . . . . . 25
Getting Help
Tap the Menu button in the upper-right corner of the
screen and then tap Help. You can read instructional
documents or watch tutorial videos.
Press the Home button to return to monitoring.


