29
Set the Number of Axles
and Check the Weigh Mode
Access the Setup menu as previously described and select the
“Vehicle Config” option.
Check that “Weigh Mode” is set to “Multi axle”. If it requires
changing scroll to Weigh Mode and press the Edit button
to cycle through the available options until “Multi-Axle” is
displayed.
Scroll the cursor down to select the “Number of Axles” item
and using the Edit button, cycle through the available options
of 2, 3 and 4 as required for the vehicle. Note: air axle groups
count as 1 axle. An air group is two or more axles that share
a common air circuit.
Press exit 3 times to return to the main weighing screen and
cycle the meter power off and on.
Set the Overload Alarm
Set Points
There are overload warning alarms for: Gross vehicle weight,
Net weight and for individual axle gross weights.
The alarms are normally set to the GVWR figure on the trucks
rating plate for both the overall truck gross weight and each
individual axle gross weight.
Access the Setup menu as previously described and select the
“Alarms” item.
In this screen you can edit each alarm set point individually.
Use the edit keys to edit the values as previously described.
At the top of the Alarm menu there is a setting “Alarms” that
can be set to Manual or Auto. In the event of any active alarm
being silenced by the user, this setting dictates the method for
resetting that alarm:
• Manual – alarm will need to be manually reset by the user
before it becomes active again.
• Auto – alarm will automatically reset when the weight in
question falls below 50% of the alarm set point.
At the bottom of the alarm menu there is a setting “Alarm
filter”. The purpose of this is to prevent false alarm triggering.
The weight must exceed the alarm set point for that number of
seconds before the alarm actually sounds.
Press “Exit” three times to exit to the user weighing screen.
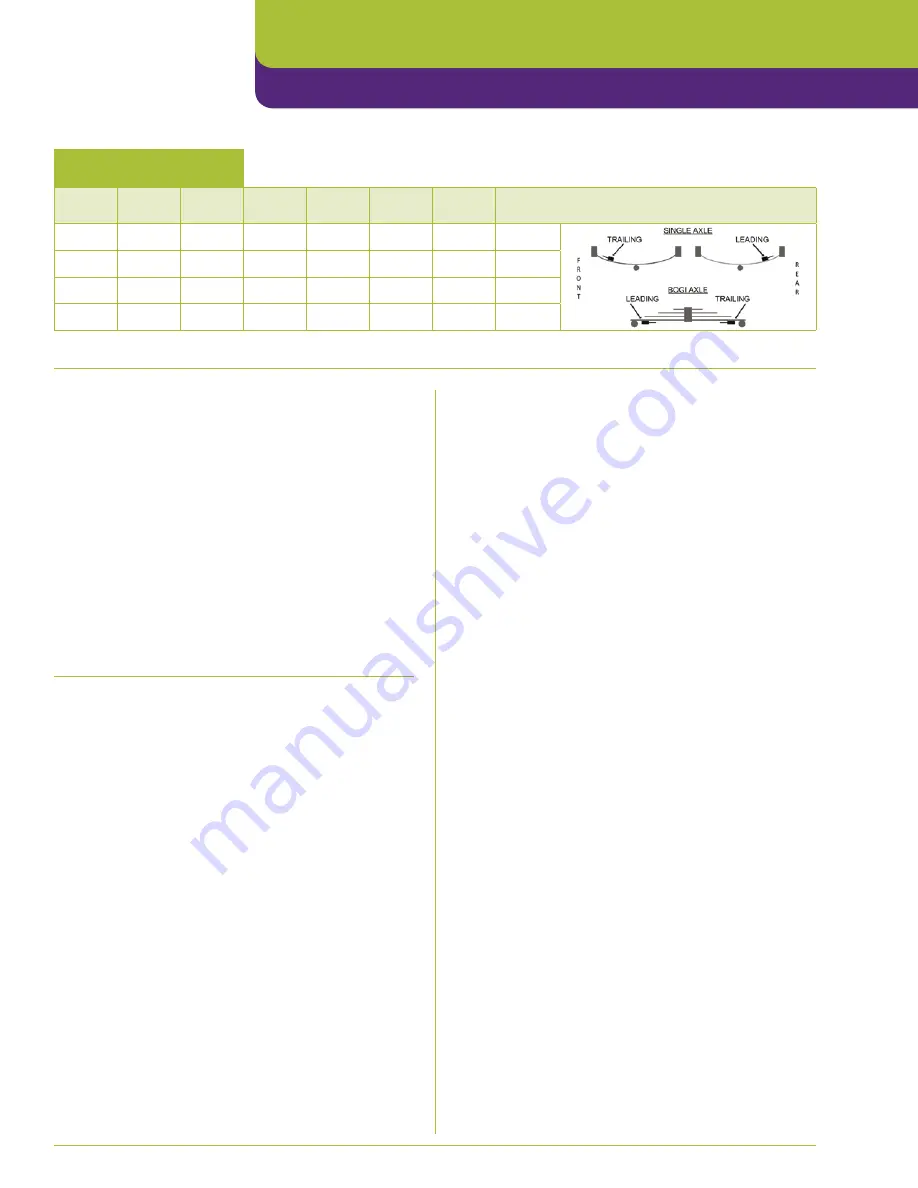
Vehicle Specific Information
Junction
Box
4 Way
CAN
6 Way
CAN
Dual
CAN Air
Single
CAN Air
Mode
Bogi
Position
Slope Compensation
Trailing (T), Leading (L), Fixed (F) or None (N)
1
2
3
4
Set the Meter’s Time
and Date
Access the Setup menu as previously described and select the
“Set Time/Date” option. Use the edit keys to edit the values as
previously described.
The “Select” button will change the item you are editing.
Press “Exit” and when prompted to confirm press “Yes”
to confirm setting the time/date.
Press “Exit” twice to exit to the user weighing screen.
Fig 2.11
Setup
SI Onboard TruckWeigh™ Manual
Содержание VPG On-Board Weighing SI Onboard TruckWeigh
Страница 5: ...5 Installation SI Onboard Installation SI Onboard TruckWeigh Manual Installation ...
Страница 23: ...23 Setup Setup SI Onboard TruckWeigh Manual ...
Страница 36: ...36 Installation SI Onboard SI Onboard TruckWeigh Manual Setup ...
Страница 37: ...37 Calibration Calibration SI Onboard TruckWeigh Manual ...
Страница 42: ...42 SI Onboard TruckWeigh Manual Calibration ...
Страница 43: ...Appendices Appendices SI Onboard TruckWeigh Manual ...
Страница 58: ...58 SI Onboard TruckWeigh Manual Notes ...
Страница 59: ......


