56
Appendix A - Installing 3rd Spindle on 100 Discs Capacity Model
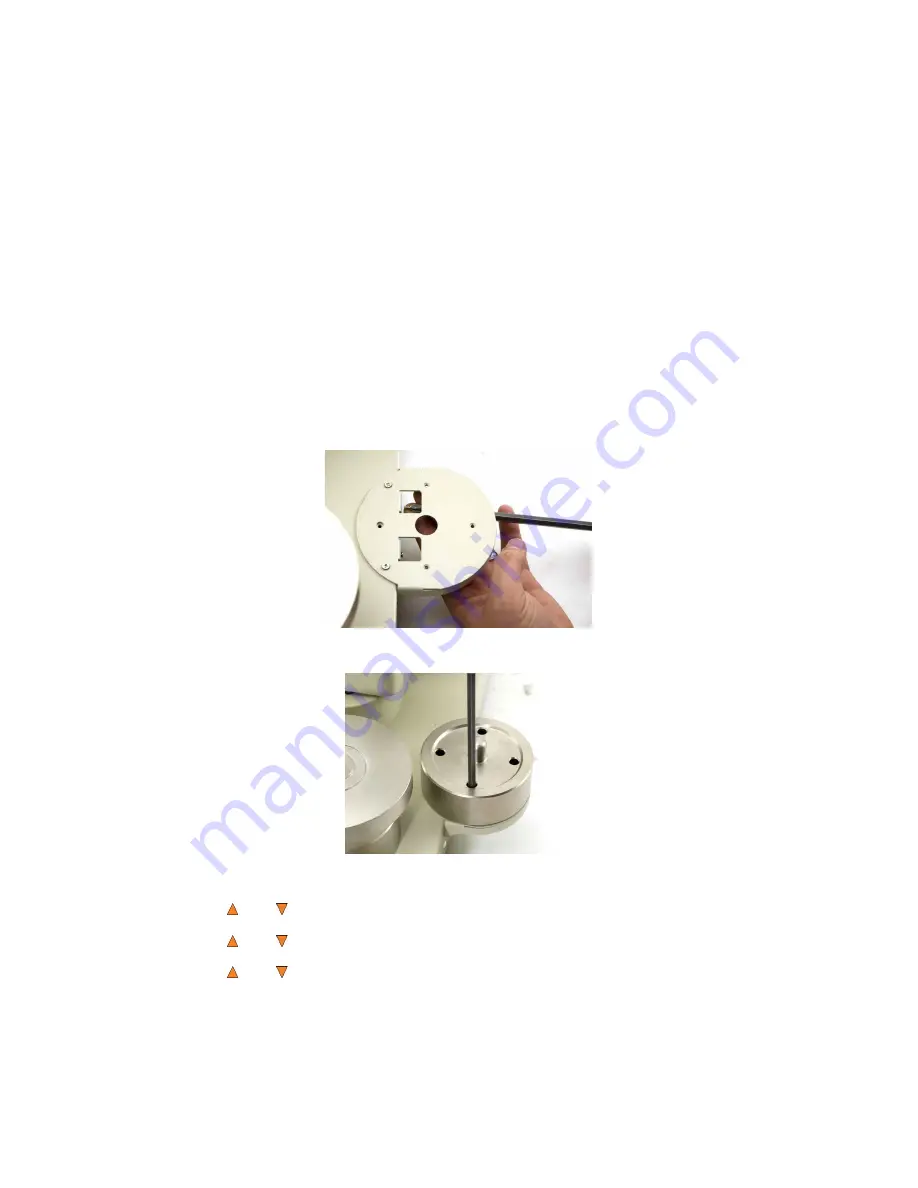
Due to shipping precautions Spindle 3 is not pre-attached to the autoloader. Spindle 3 easily attaches to
the
right of Spindle 2 (see Figure 1-4) and for your convenience we have pre-drilled the necessary screw holes.
The only tool you will need is a Philips screw driver. Please make sure the contents of the carton match.
Contact your vendor if there are any damaged, missing or incorrect parts.
Parts Included:
Short Philips Screw x 4pcs
Long
Philips
Screw
x
4pcs
Supporting
Base/Bracket,
1pc
Disc
Spindle,
1pc
Tools Required (Not Included):
Philips Screw Driver
Step 1:
Align the pre-drilled screw holes with the screw holes on the Supporting Base/Bracket. Use the 4
Short Philips Screws to fasten the bracket into place, 2 on the side and 2 on top.
Note:
there are 3 pre-drilled holes on Top of the base; the 2 small screws will go into the outer holes,
leaving the center one free.
Step 2:
Align the base of the Spindle with the 4 holes on the top of the Supporting Base/Bracket. Mount it by
screwing in the 4 Long Philips Screws into the corresponding 4 holes in the base.
Step 3:
Boot up the system and change the
“Robot Capacity”
setting to 200 by performing the below
operation:
Press
Up or
Down
button to
“Loader Utilities”
menu
Press
ENT/Enter
button once to enter the menu.
Press
Up or
Down
button to
“Robot Capacity”
Press
ENT/Enter
button once to enter the setting.
Press
Up or
Down
button to set it to 200.
Press
ENT/Enter
button once to enter the setting.
Systems
will
automatically
restart
to apply the change. If not, then you may need to recycle the
power manually for the update to take effect.
Содержание ROBOTIC AUTOLOADER 3.6.0
Страница 1: ...User s Manual v3 6 0...


