background image

- 11 -

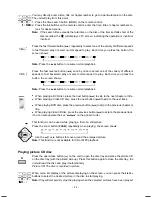
You may directly enter a time, title or chapter number to go to a particular point on the disc.
The unit will play from this point.
1. Press the time search button (

GOTO

) on the remote control.

2. Press the 

0-9

 buttons on the remote control, enter the time, title or chapter numbers to

look for desired scene.

Note:

If the search time exceeds the total time on the disc or the item set falls short of the
disc recorded, the “ ” will display on TV screen, indicating the operation is invalid or
incorrect.

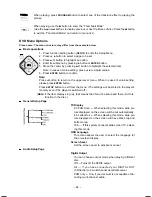
Press the fast forward button (

C

) repeatedly to select one of the variety of different speeds

to fast forward play or select normal speed to play. Each time you press the button, the
screen shows.

Note:

 Press the 

BF

 button to resume normal playback.

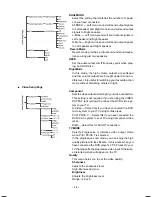
Press the fast reverse button (

D

) once by once to select one of the variety of different

speeds to fast backward play or select normal speed to play. Each time you press the
button, the screen shows.

Note:

 Press the 

BF

 button to resume normal playback.

l

When playing a DVD disc, press the next button (

G

) to skip to the next chapter or title.

l

When playing a Video CD disc, press the next button (

G

) to skip to the next track.

l

When playing DVD disc, press the previous button (

H

) to skip to the previous chapter or

title.

l

When playing Video CD disc, press the previous button (

H

) to skip to the previous track.

(You can also operate the key “

G

,

H

” on the panel of unit.)

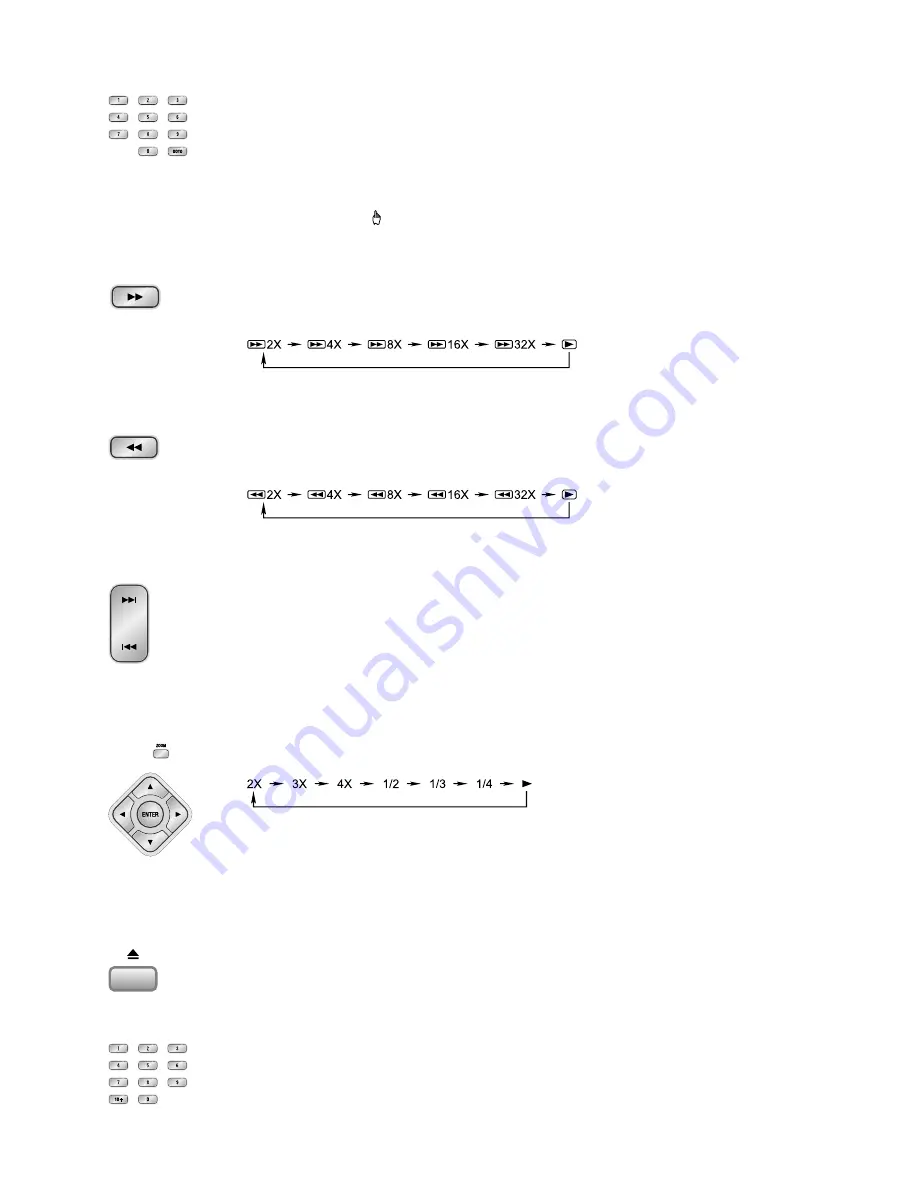
This function can be used while playing a film or a still picture.
Press the zoom button (

ZOOM

) repeatedly when playing, the screen shows:

* Use the 

p

,

q

,

t

u

 buttons to move around the enlarged picture.

Note:

 This function is not available for CD or MP3 playback.

Playing picture CD disc

Press the open/close button (

K

) on the unit to open the disc tray and place the picture CD

on the disc tray (with the printed side up). Press this button again to close the disc tray, the
unit will read the disc and play it automatically.

Picture CD: The disc is recorded in picture

When menu list display or the picture displaying on the screen, you can press the 

0-9,10+

buttons to select the desired picture in the disc to start playing.

Note:

 Play will temporarily stop the playing when the selected pictures have been played.

1503D-e.p65

2008-1-18, 10:06

11

Содержание VMD500

Страница 1: ......

Страница 2: ...ier with digital signal input terminal 5 Connecting the AC Power Cord 5 Control Locations 6 The Unit 6 Remote control 7 Installation of Batteries in the Remote Control 8 Turning the Power On and Off 8 Button Functions 8 General Operate 8 Playing picture CD disc 11 DVD Menu Options 12 Use the USB 15 Listening to Radio Broadcasts 16 RDS Radio Data System Reception 17 Clock Timer Functions 17 Setting...

Страница 3: ...t your dealer 5 The ventilation should not be impeded by covering the ventilation openings with items such as newspaper table cloths curtains etc 6 The apparatus shall not be exposed to dripping or splashing and that no objects filled with liquids such as vases shall be placed on the apparatus 7 To prevent fire or shock hazard do not expose this equipment to hot places rain moisture or dust 8 Don ...

Страница 4: ... system setting of TV select the colour system in the TV Display function setting If the unit is connected to a wide screen TV then set the TV display to Wide in the function setting menu If the unit is connected to a TV then set TV display to Normal PS or Normal LB in the function setting item Connecting the Speakers Connect the speaker cords between the terminals as shown below Connection precau...

Страница 5: ...ce equipment This DVD player has a groups of audio input terminals you can use signal line to connect au dio input terminals of this unit and audio output terminals of assistance equipment respectively then you can hear the sound sources This unit also has a group of audio output terminals you can use signal line to connect this unit s audio output terminal and assistance equipment s audio input t...

Страница 6: ...sert one side of AC power cord into AC adapter and other side into a wall outlet and your system is at your command Caution Be sure to unplug the power cord from the outlet when going away or when the system is not in use for an extended period of time With digital signal input terminal s Dolby Digital signal decode amplifier With digital signal input terminal s Dolby Digital signal decode amplifi...

Страница 7: ... 9 Remote Sensor 10 VFD Display Lens 11 Volume Control Knob Button 12 Next Button Channel Select Forward Button 13 Previous Button Channel Select Backward Button 14 Mode Button 15 Scart Socket 16 Coaxial Output Terminal 17 Video Output Terminal 18 DC Jack 19 Speaker Output Terminals L R 20 FM Antenna Socket 21 AUX Input Terminals L R 22 S Video Output Terminal 23 Component Output Terminals 24 Line...

Страница 8: ...Button MONO Stereo Select Button 18 Number Buttons 19 Mute Button 20 USB Function Button 21 AUX Function Button 22 Loudness Button 23 Super Bass Button 24 Zoom Button 25 Vocal Mode Select Button Language Select Button 26 PBC Button Root Button 27 Confirm Button 28 Direction Button u 29 Sleep Button Timer Button 30 Volume Up Button 31 Volume Down Button 32 Stop Button 33 Fast Forward Button Tuning ...

Страница 9: ...t cover 2 Insert two batteries size AAA correctly so that the and polarities match the polarity diagrams in the battery compartment About half a year of normal operation can be expected when using standard batteries When the batteries are exhausted the remote will not function Replace both batteries at the same time with new ones Don t mix old and new batteries Don t mix different types of batteri...

Страница 10: ...reset equalizer button P EQ will select one of the following different preset equalizations Press the OSD button to display the playing information of the disc on the TV screen l If the Video CD has a menu you can set the playback control function to PBC ON mode by pressing the menu button MENU The unit reads the disc and the menu will display on the TV screen then use the number buttons to select...

Страница 11: ...edly press the subtitle button SUBTITLE to select the subtitle language to display on the TV screen if available In play mode press the title button TITLE to go back to the title menu l When playing a the Video CD you can choose MONO Mono Left Mono Right STEREO or Mix Mono audio output by pressing vocal mode select button AUDIO l When playing DVD disc recorded with several languages you can repeat...

Страница 12: ...laying a DVD disc press the next button G to skip to the next chapter or title l When playing a Video CD disc press the next button G to skip to the next track l When playing DVD disc press the previous button H to skip to the previous chapter or title l When playing Video CD disc press the previous button H to skip to the previous track You can also operate the key G H on the panel of unit This f...

Страница 13: ...ses of value setting please press ENTER button Press SETUP button to exit from the menu The settings will be stored in the player s memory even if the player is switched off Note If the item displays in gray that means that it can t be setup and there isn t this function in the disc l l l l l General Setup Page TV Display 4 3 PAN Scan When selecting this mode wide pic ture displayed on the screen ...

Страница 14: ...l l l l l Video Setup Page Component Sets the video output according to your video connection This setting is not required if you are using the VIDEO OUTPUT jack yellow to connect the DVD micro sys tem to your TV S Video Select this if you have connected the DVD micro system to your TV using S Video jack Pr Cr Pb Cb Y Select this if you have connected the DVD micro system to your TV using Componen...

Страница 15: ...ill change the video signal of a PAL disc and output in NTSC format Audio Subtitle Disc Menu Only available if the disc supports that function Audio disc s soundtrack Subtitle disc s subtitles Disc Menu disc s menu Parental Some DVDs may have a parental level assigned to the complete disc or to certain scenes on the disc This feature lets you set a playback limitation level The rat ing levels are ...

Страница 16: ...ON OFF Password Select this item to set new password for this unit fol low the screen s indication and enter a password The original password is 1234 Use the USB By connecting a USB mass storage device including USB flash memory USB flash players or memory cards to the Hi Fi system you can enjoy the device s stored music through the powerful speakers of Hi Fi system 1 Insert the USB device s USB p...

Страница 17: ...M stations l Tune in the desired station then press the memory button PROGRAM l Use the H button or G button on the remote control once by once to select the preset number You can also operate the key G H on the panel of unit l Press the memory button PROGRAM to store the station After 1 second the VFD returns to the broadcast frequency display Note If the system is unplugged or if a power failure...

Страница 18: ...uring PS display press the RDS display button RDS on the remote control repeatedly to select the CT PTY or Frequency They will be displayed for 3 seconds then the PS display returns Clock Timer Functions Setting the Clock The built in clock shows the correct time in the display In stanby mode press the clock button CLOCK hour indicator will blink Set the hour with the VOL button or VOL button Pres...

Страница 19: ...n standby mode repeatedly press the timer button TIMER until the ON will display on the VFD then you can set the daily timer to OFF by pressing the VOL button or VOL button the daily timer will be cancelled Turning off the system also cancels the daily timer Setting the Sleep Timer l Use the sleep timer to turn the system off after a some time when playing By setting the sleep timer you can fall a...

Страница 20: ... select suitable system Place a disc Place the disc with the printed side up Clean or replace the disc Take out the disc turn on the unit for about an hour Reconnect the antenna securely Extend FM wire antenna to the best reception position Clean or replace the disc Put the disc in with the label side up Cancel the pause function Remove the obstruction Replace the batteries Unplug the system then ...

Страница 21: ...esponse 20Hz 20kHz 3dB Video output 1 VP P Horizontal definition 500 TV Disc Size F80mm F120mm Frequency response 20Hz 20kHz 1 3dB S N Ratio 65dB FM Frequency range 87 5 108 MHz FM Noise limit sensitivity 20mV FM S N 46dB Speaker Impedance 8W Input power 20W Sensitivity 80 4dB Frequency response 80Hz 16kHz Dimensions 115W x 155 H x 220 D mm Remote Distance 6m Angle 30O ...

Страница 22: ...a 1 Speaker box connect line 2 A V signal line 1 Adapter 1 Power line 1 SCART Adapter 1 Stand 1 Battery 2 Remote control 1 Instructions manual 1 Note Design and specifications are subject to change without prior notice 41006260 ...

Страница 23: ......

Отзывы: