4. Configuration
Once the electrical connections have been made, and the battery monitor has been powered up, it needs to be configured to be
suitable for the system it is used in.
This chapter describes how to configure the battery monitor by making the basic settings. See the
chapter for all settings and features.
4.1. How to change settings
4.1.1. The VictronConnect app
The VictronConnect app can be used to change all settings and to update the firmware.
Ways to connect to the battery monitor:
• Locally via built-in Bluetooth.
• Remotely via a GX device, using VictronConnect "Remote" feature. For more information, see the
chapter in the VictronConnect app manual.
How to connect with the VictronConnect app to the battery monitor:
• Open the VictronConnect app.
• Ensure that the battery monitor is powered.
• Look for the battery monitor to appear in the device list in the "Local" or the "VRM" tab.
• Click on the battery monitor.
• enter the default PIN code: 000000. After entering the default PIN code, the VictronConnect app will ask you to change the PIN
code. This is to prevent unauthorized connections in the future. It is recommended that you change the PIN code on the first
installation. This can be done in the product info tab; see paragraph
.
• When successfully connected the “Bluetooth” light stays on.
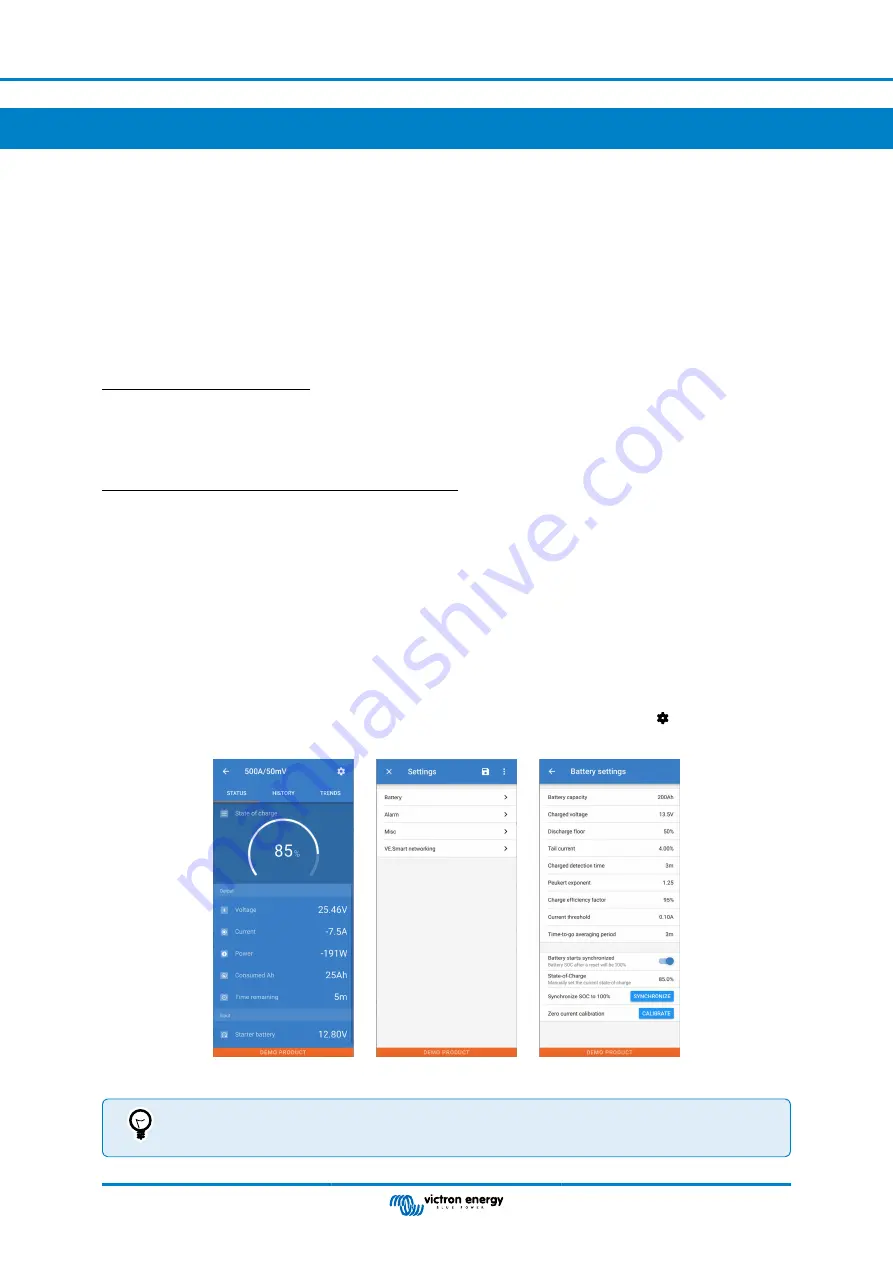
To view and/or change battery monitor settings, navigate to the settings page by clicking on the cog icon at the top right of the
home screen.
The battery monitor monitoring and setting screens in the VictronConnect app.
Note that this manual only covers the items that are specific to the battery monitor. For more general
information about the VictronConnect app, like how to use it and where to download it, or how to connect, see
the VictronConnect app
.
Manual - SmartShunt IP65
Page 8
Configuration


