


Chapter 2
Setting up the system
Using Smart Access Anywhere
ONA-800 Getting Started Guide
August 2020
22142812, D1 R004
Page 17
Using Smart Access Anywhere
Smart Access Anywhere allows you to view and control the instrument’s user interface
from a remote location using a workstation. In addition to configuring the instrument and
performing tests, you can transfer files to and from the instrument using the instru
-
ment’s file manager utility. You can also rename and delete files, or create, rename, and
delete directories.
“Using Smart Access Anywhere” on page 13
Enabling software options
Software options may be available on the unit or purchased separately. For information
about purchasing software options, contact the VIAVI Solutions Sales Office for your
region.
Viewing available software options
To view available software options, select
System
on the menu bar, and then select
System Info
. Available options are listed in the
Base Options
pane. An icon indicates
the status of each option.
Enabling purchased software options
1
Select
System
on the menu bar, and then select
System Info
.
2
Connect the USB stick to a USB port on top panel of the unit.
3
Select
Import Options from USB
below the
Base Options
pane.
Table 2
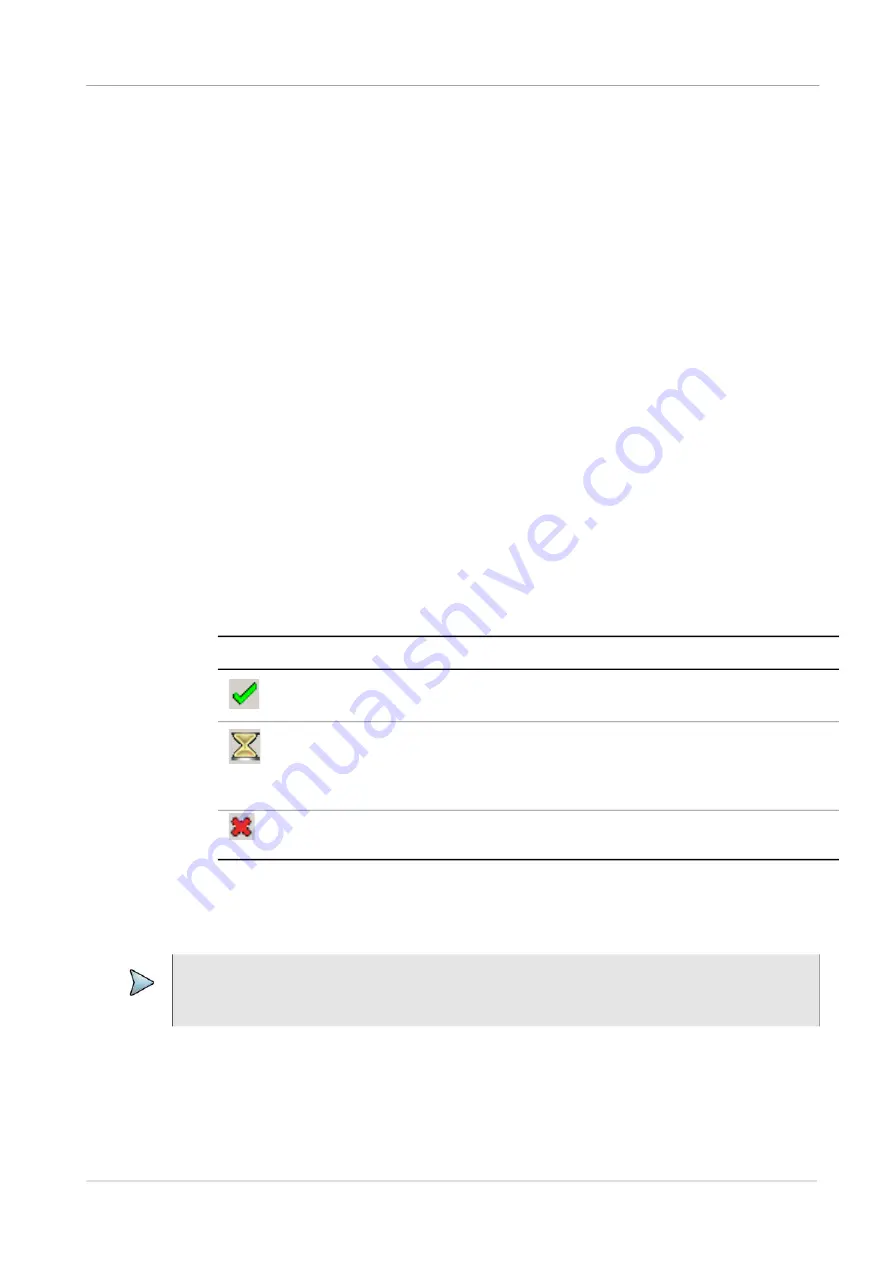
Software Option Status Icons
Icon
Status
Option is enabled.
Free-trial period for an option is expiring. When the trial period ends, a
warning message appears. If a test is running when the trial period
ends, the test will continue, but an expiration warning appears continu
-
ously until a license code is entered or a reset is performed.
Option is not enabled. Contact the VIAVI Solutions Sales Office for the
region for information about enabling it.
IMPORTANT
Before beginning this procedure, ensure that the USB stick on which software option
files are saved is available.


