12
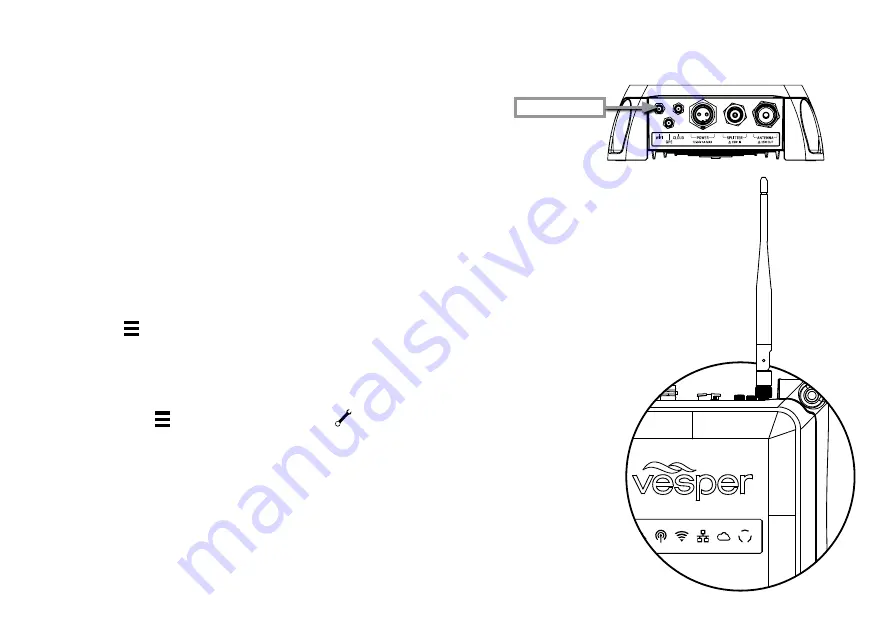
> Connect the WiFi Antenna to the M1
port labeled WiFi.
> Tighten clockwise. Do not over torque.
> Adjust the angle of the WiFi antenna to
be as close to vertical as practical.
HINT - Install the WiFi Antenna last to allow
sufficient room for fingers to first access and
install the other SMA size connectors attached
to the External GPS and optional cellular
antenna for cloud connectivity.
External WiFi Antenna (recommended)
Consider these WiFi requirements when choosing a position:
- Allow enough clearance space when installing the M1 for the
External WiFi Antenna to be positioned in a vertical position to
increase WiFi range.
- Do not place the External WiFi Antenna near or in the path
of radar, HF and/or high power satellite communication (such as
Iridium Go) antennas.
- Consider the distance between the handset and M1 onboard.
Some objects and materials such as steel, aluminum and carbon
composites may provide interference to degrade the WiFi signal
strength.
External Wifi Antenna Configuration
Cortex Onboard App:
> Menu (
) > Settings
> Device Settings > Networks > WiFi...
> Use external antenna (select on/off)
Cortex handset:
> Main Menu (
). Touch on the wrench icon (
) to open
the Configuration Menu.
> Networks > WiFi...
> External Antenna (select on/off)
WiFi signal strength is checked via the WiFi icon on the handset
status bar or the WiFi signal on your device.
Note - The M1 includes an internal WiFi antenna for installations
where the external antenna is not required.
External WiFi Antenna installation
WiFi Antenna
HINT - Installations where an M1
is mounted in close proximity
to an H1 (with little or no
interference to the WiFi
signal) may not require
fitment of the External
WiFi Antenna.


