


68
AG-7.2.B1-092414 • Restricted - customer use only
The status of each Probe and Encoder is displayed in text to the right of the name next to a color
coded icon,
green
checkmark – all is well,
red
X Stopped or not accessible.
Hovering anywhere on the Probe line turns the background
blue
and display three icons in the upper
right corner:
Sync, Edit and Delete.
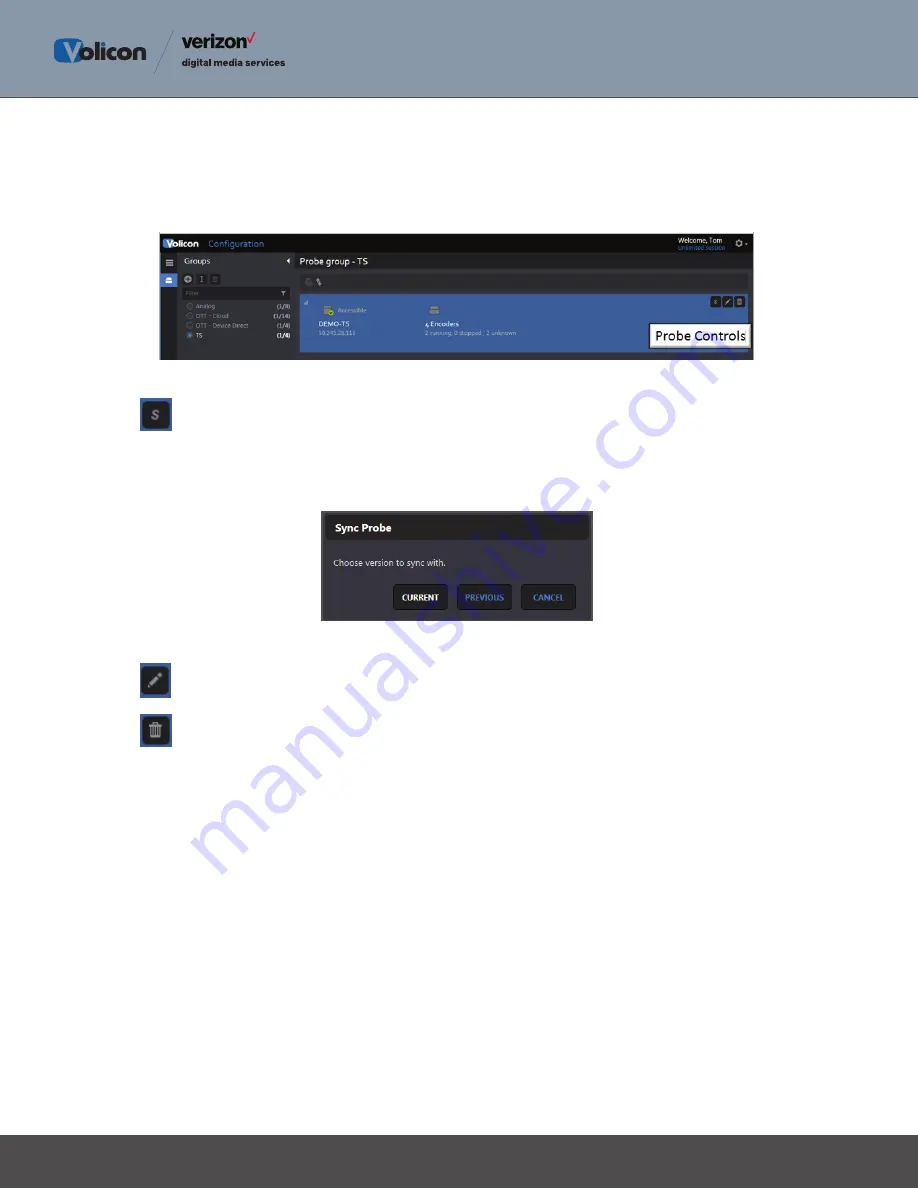
Figure: Probe Controls
Sync – synchronizes the Probe. A pop up asks if you want to sync with
Current or Previous.
Selecting
<Current> updates the Probe with the changes you just made to its configuration. Selecting
<Previous> allows you to revert to the old Probe configuration. This comes in handy if the changes
you made did not yield the desired results.
Figure: Probe Sync
Edit Probe – same a clicking on the Probe name. This opens the Probe Edit window.
Delete – Removes entire Probe. This only applies to empty Groups when no Probes have been
assigned.
11.2.1
Create a Probe Group
The top of the
Groups dashboard has three icons: Add, Rename and Delete. Selecting <Add>
allows you to create and name an empty group. Once created the next step is to assign one or more
Probe servers to the group.
To create a new Probe Group press the
<Add> icon to open the Create Probe Group dialog box. Type
the desired name and press
<OK>. MIP will display confirmation at the top of the page once the
Probe Group has been saved.


