Puma Disc Inkjet Printer
ZZ 004 833 - 10 -
Caution!
Always use the Power button to turn the printer on and off. Using a power strip,
surge protector, or a wall-mounted switch to turn the printer on and off may cause
printer failure.
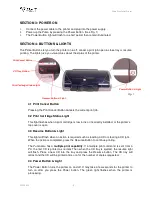
4.5 CD Tray Button
Pressing this button will slide the CD tray back and forth into the printer.
SECTION 5: INSERTING A CD INTO THE PRINTER
5.1 Standard (120mm) CDs & DVDs
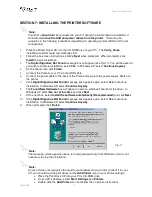
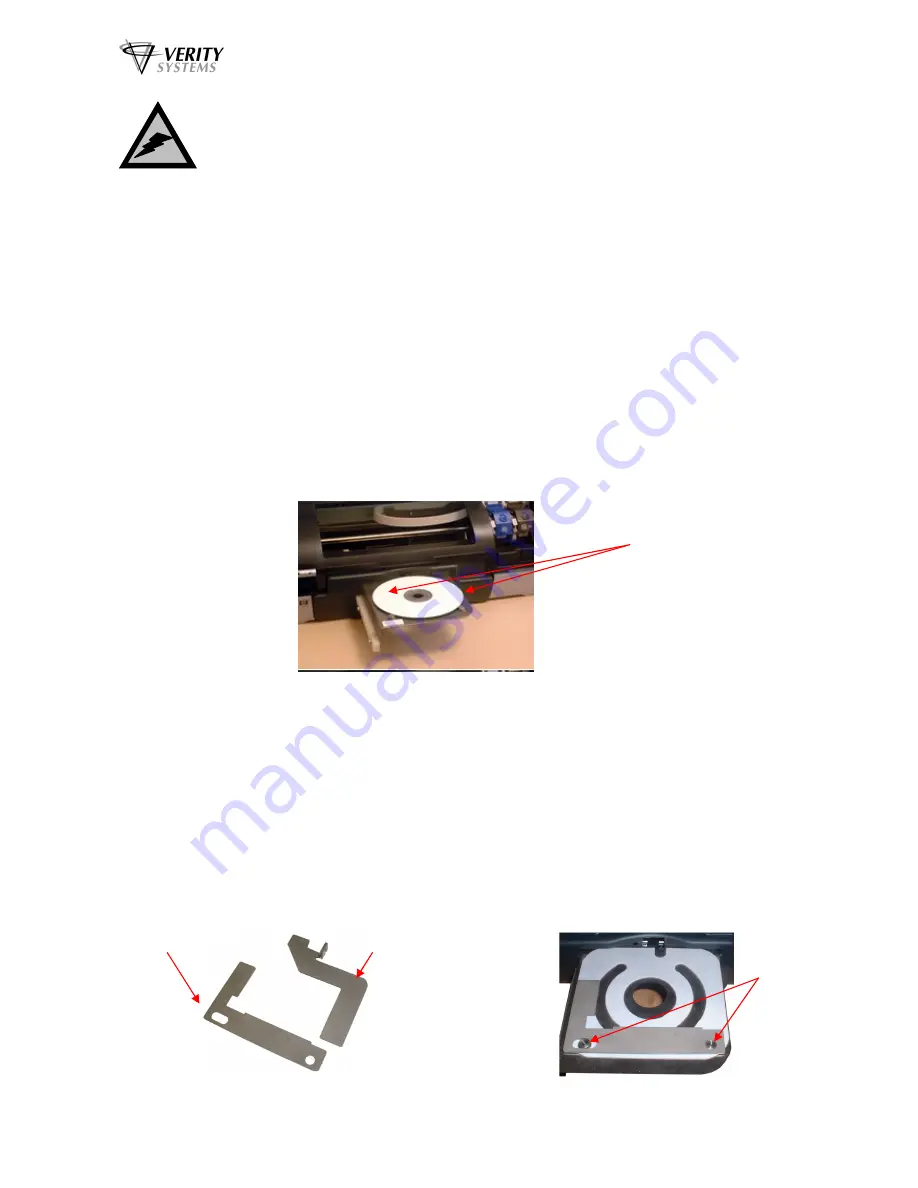
With your Puma switched on, push the CD Tray Button on the front of the printer (see Fig.1
on the previous page) and the CD tray will slide out. Place a CD onto the tray ensuring that
the disc sits against the two pins at the front of the tray as shown below in Fig. 2
When you send your image to printer, the CD Tray will tray slide back into the printer and
printing will commence.
5.2 CD Business Cards & Mini Discs (option)
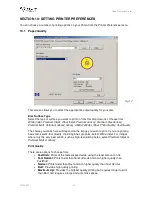
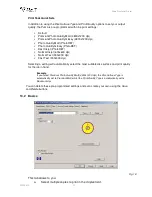
The Puma will also print directly onto inkjet printable CD Business Cards (rectangular and
saddle/hockey rink) and Mini Discs, via the special adaptors (Fig. 3), which can be
purchased separately (see your dealer for details). The adaptors come in two parts.
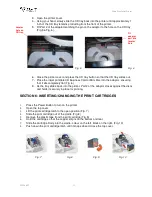
1. Open the CD tray by pressing the CD tray button on the front of the printer.
2. Place Part 1 of the adaptor onto the CD tray making sure that the 2 pins on the tray
fit snugly into the corresponding holes on the adaptor part (Fig. 4).
Position the CD so that the
edge of the CD sits against the
edge of the two pins
.
Fig. 2
Fig. 3
Part 1
Part 2
Fig. 4
Fit Part 1
onto the 2
locating
pins on
the CD
tray


