


21-0421E rev1.1
VeDVR User Guide
37
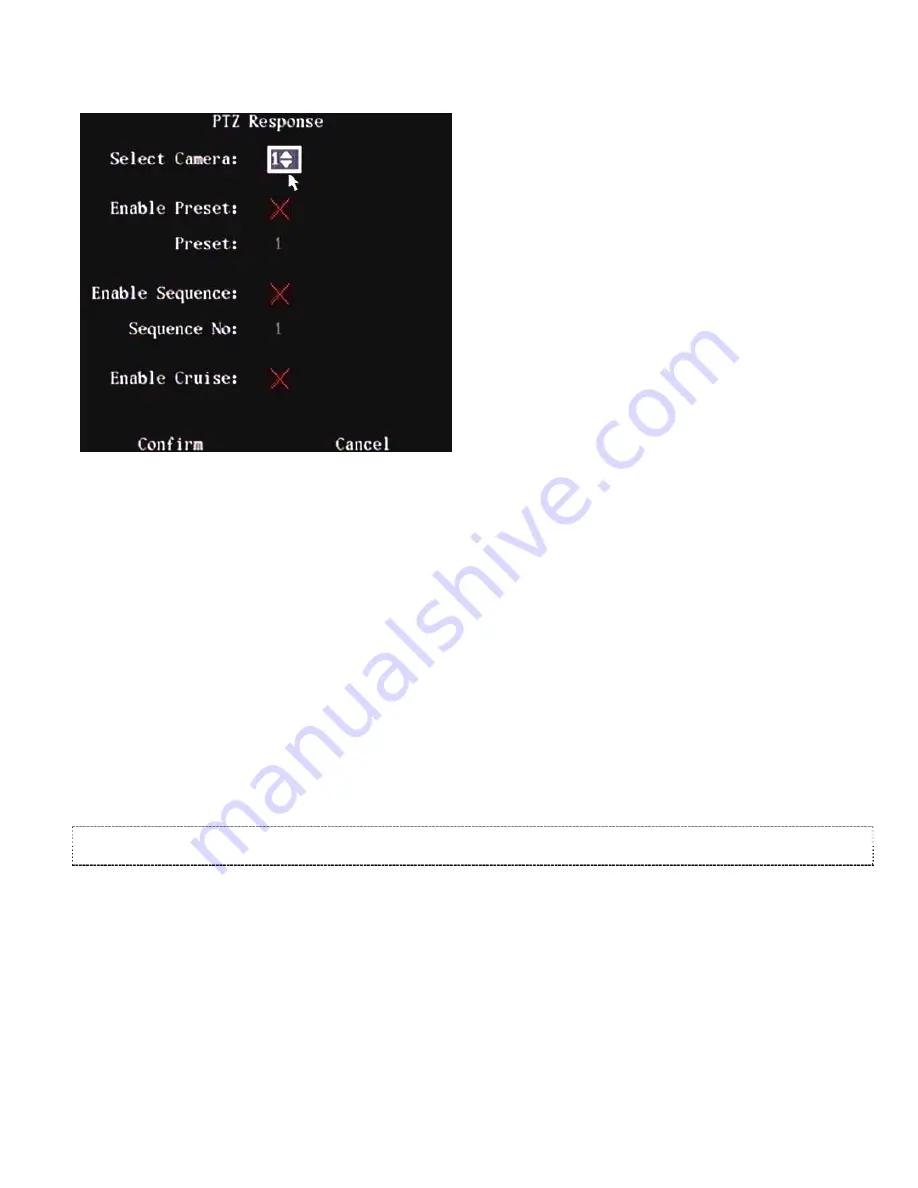
PTZ Response
Highlight the PTZ Response button. Press “ENTER” at the DVR controls, remote control or left click a mouse to open
the PTZ related response menu:
Select Camera
Select a PTZ camera connected to the DVR.
Enable Preset
Change the selection to “
9
” to enable preset.
Preset
In the Preset number selection box, choose one Preset number that has been configured. Refer to the PTZ Menu for
more information.
Enable Sequence
Change the selection to “
9
” to enable Sequence.
Sequence No:
In the Sequence number selection box, choose one Sequence number that has been configured. Refer to the PTZ
Menu for more information.
Enable Cruise
Change the selection to “
9
” to enable Sequence. Refer to the PTZ Menu for more information.
Press the Confirm button to save and return to the Alarms Menu. Press the Cancel button or “ESC” to prevent the
changes from being saved and return the Alarms Menu.
NOTE: Confirm that the PTZ camera being used supports Preset, Sequence and Cruise functions. One external alarm
input can turn on multiple PTZ cameras by the PTZ Response selections.
Copy to Alarm In
•
Select another alarm input to copy the current alarm input selections to and press Copy.
Alarm Out
Select one of the DVR alarm Outputs.
Time:
(output delay after alarm)
The amount of time the alarm output will continue after the alarm has cleared. The time options are:
•
5 Seconds (default selection)
•
10 Seconds
•
30 Seconds
•
1 Minute
Содержание VeDVR
Страница 1: ...DVR User Guiderev1 1...
Страница 2: ......
Страница 6: ......
Страница 8: ......
Страница 64: ...56 VeDVR User Guide 21 0421E rev1 1 Press the MoreInfo rmation button again for more search information...
Страница 69: ......


