WEATHER CAB SETUP INSTRUCTIONS
Setup - 23
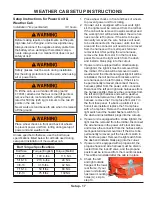
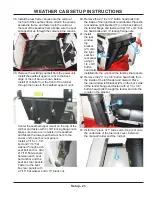
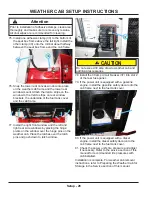
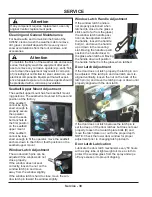
50. Remove the right
front window
(emergency exit)
and the right and
left rear side
windows. Lift up
on the handle to
unlatch and push
to open the win-
dow. Pull the
handle toward the
rear of the cab
until it can be
removed from the
latch pin.
Remove the windows from the cab by lifting the
windows off the hinge pins.
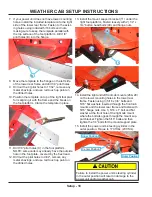
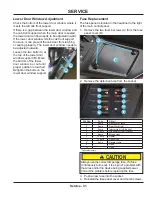
51. Remove the fuel tank cover from the cab.
52. Install desired cab accessories at this time.
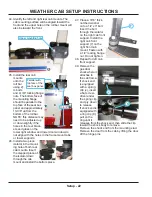
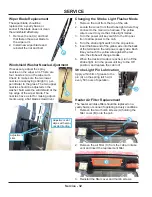
53. Lift the weather cab and position it over the
power unit.
To lift the cab, use a Ventrac lift sling (part #
47.0381) attached at the four corner lift points or
remove the cab roof and attach a lifting device
rated for 500 lbs (226 kg) minimum to the two lift
points in the cab roof.
Never walk or stand beneath cab when it is raised
off the ground.
Lift points in
cab roof
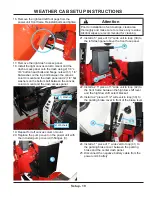
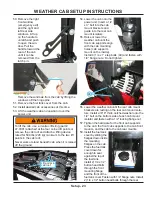
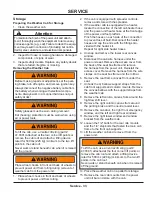
54. Lower the cab onto the
power unit. Insert a 1/2
x 3” bolt into the cab
mount brackets and
guide into the rear cab
mount isolators.
55. Raise or lower the
weather cab until the
front cab supports align
with the cab mounting
holes (cab supports
mount on the inside).
Install 4) 1/4 x 1” step bolts (49) and fasten with
1/4” flange nuts. Do not tighten.
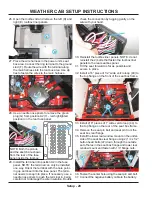
56.
49
Lower the weather cab until the rear cab mount
brackets are resting on the rear cab mount isola-
tors. Install a 3/16” thick, notched washer onto the
1/2” bolt on the bottom side of each cab mount
isolator and fasten with a 1/2” locking flange nut.
57. Tighten the hardware for the front cab supports
to the cab, the front cab supports to the cab front
mounts, and the cab to the cab rear mounts.
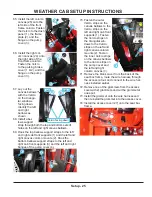
58. Install the fuel tank
cover by sliding the
flanges down inside
the mounting
flanges on the cab.
Press the fuel tank
cover down far
enough to seal
against the top of
the fuel tank.
Install 2) 1/4 x 1/2”
button head bolts
through the front
mounting flange
and the front of the
fuel tank cover. Fasten with 1/4” flange nuts. Install
2) 1/4 x 1/2” button head bolts through the rear


