CCTVPROMT1
V. 01 – 25/02/2016
13
©Velleman nv
Note:
To make a video backup with audio, make sure the camera which supports the audio function is
connected to the video-in channel and audio-in channel. For example, the audio data from audio channel 1 will
be recorded with the video data from video channel 1.
9.4
Video Backup
Notes:
This function is only available for SUPERVISOR users.
Before using a USB flash drive, format it to FAT32 format first. For a list of compatible USB flash drives,
please refer to the appendices in the full user manual.
For video backup, use a USB flash drive or back up your data via internet. Do not connect the HDD to your
PC directly.
To back up recorded data, proceed as follows:
1.
Select
(SYSTEM) > BACKUP DATA (USB).
SYSTEM
ACCOUNT
START DATE
2009/NOV/19
TOOLS
START TIME
08:30:21
SYSTEM INFO
END DATE
2009/NOV/19
BACKUP DATA
END TIME
17:59:29
BACKUP LOG
CHANNEL
3 SELECTED
REGULAR REPORT
ALL
CH1
CH2
CH3
CH4
CH5
HARD DISK
ALL HDD
OUTPUT FILE FORMAT
AVI
TARGET DEVICE
USB DEVICE
BACKUP
SUBMIT
REQUIRE SIZE: 554MB
SUBMIT
EXIT
AVAILABLE SIZE: 3788.0MB
2.
Fill in START DATE, START TIME, END DATE, and END TIME to define the period of time for the video data
that you want to back up.
3.
Select the video channel(s) that you want to back up.
4.
In REQUIRED SIZE, select SUBMIT to calculate the file size of the data selected for backup.
5.
In BACKUP, select SUBMIT to start backing up to your USB flash drive.
6.
Wait until the “backup successful” message appears.
9.5
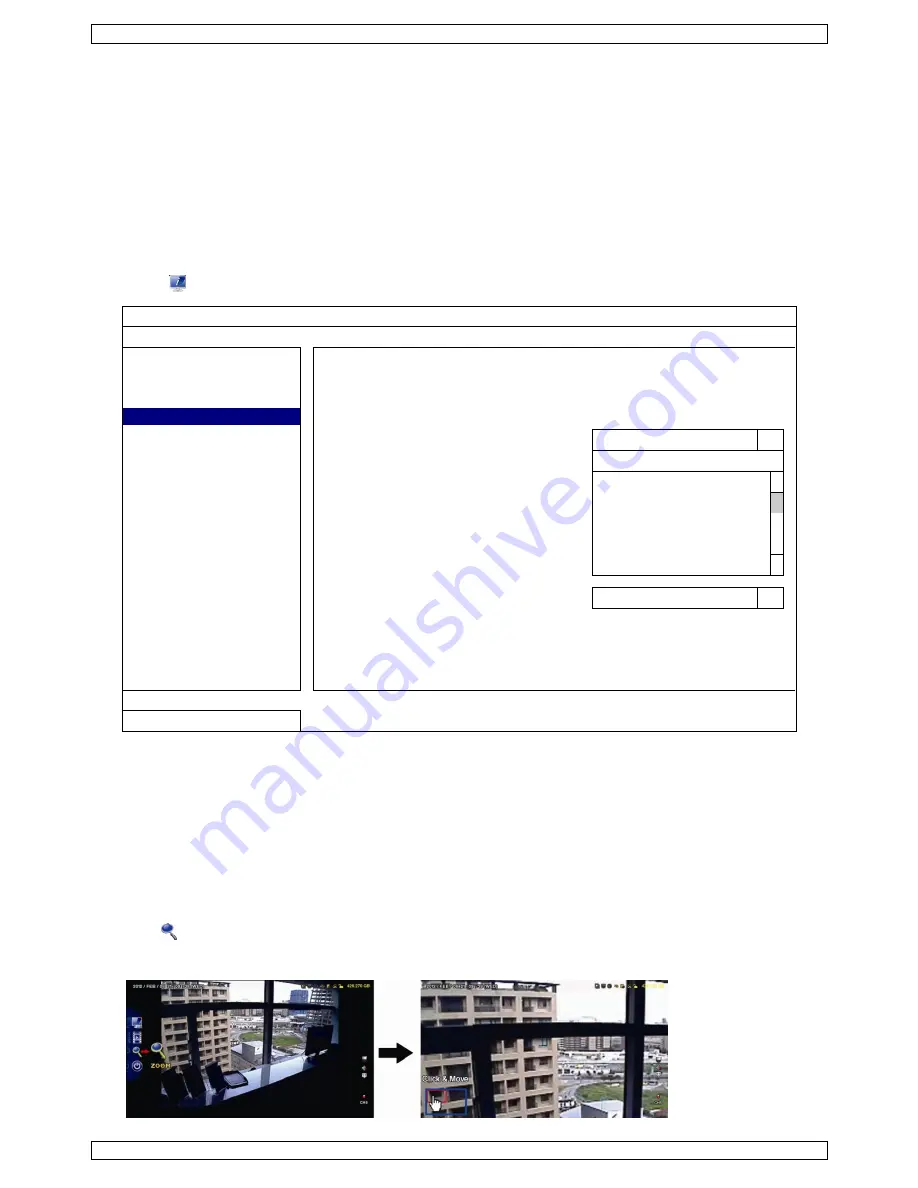
Digital Zoom
1.
Switch to the channel you want to zoom in on, and move the cursor to the left side of the screen to display
the quick start bar.
2.
Click
to enter zoom mode.
3.
In zoom mode, click and drag the red frame at the bottom left of the screen to move to the area you want
to see.


