


CAMIP7
13.01.2011
©
Velleman nv
15
•
Check the ‘Upload Image on alarm’ checkbox to upload images to an FTP server when an alarm is
detected. Make sure to fill out all fields on the ‘FTP Service Settings’ page (see above). When this
option is checked, you can also set the upload interval (in seconds).
•
Check the ‘Scheduler’ checkbox to open the day schedule. Click on the schedule to set the time
during which alarm service must be enabled. Horizontal axis = hours, divided per 15 minutes and
Vertical axis = day of the week.
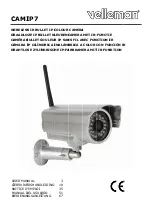
Upgrade Device Firmware
•
Only use this option when problems with the current version are noticed. Do not upgrade if the
camera works fine.
•
Caution
: when the upgrade process is interrupted or a wrong version is installed the camera
might not work anymore.
•
When clicking on Upgrade Device Firmware or Embedded Web UI (User Interface), a brower
window is opened. Locate and select the new firmware/web UI.
Backup & Restore settings
•
Use this option to create a backup or restore your system configuration.
•
To create a backup, click
submit
and choose a location to store the backup file.
•
To restore a previously made backup, click
Browse
to locate the backup and click
Submit
to
start restore.
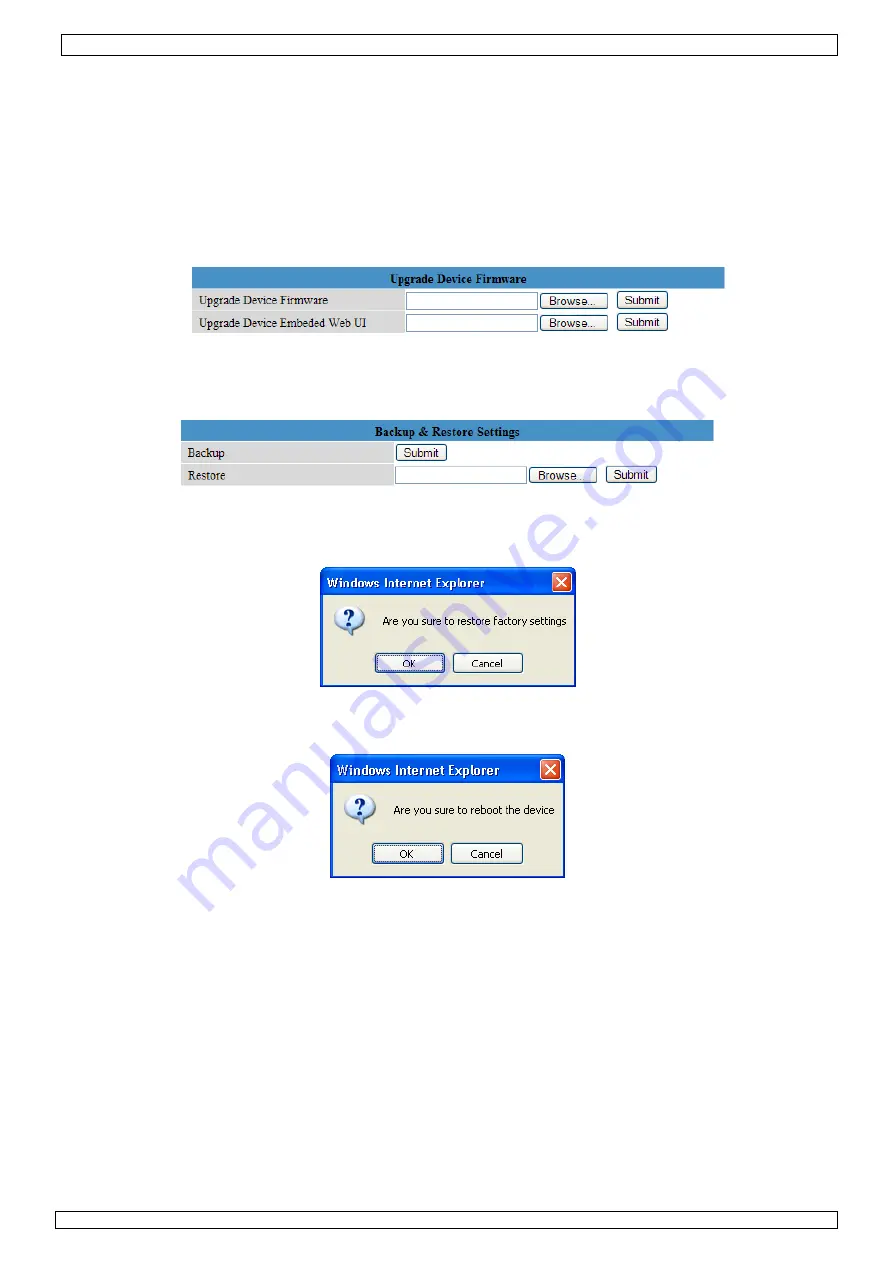
Restore Factory Settings
•
Selecting ‘OK’ will clear the memory and reset the device to factory settings. All settings, e.g.
user settings, mail and FTP settings, alarm schedule… are lost.
Reboot Device
•
Select ‘OK’ to reboot the camera.
Note:
this will reset the system time. Refer to
Date&Time settings
.
Содержание CAMIP7
Страница 2: ...CAMIP7 13 01 2011 Velleman nv 2 Figure...


