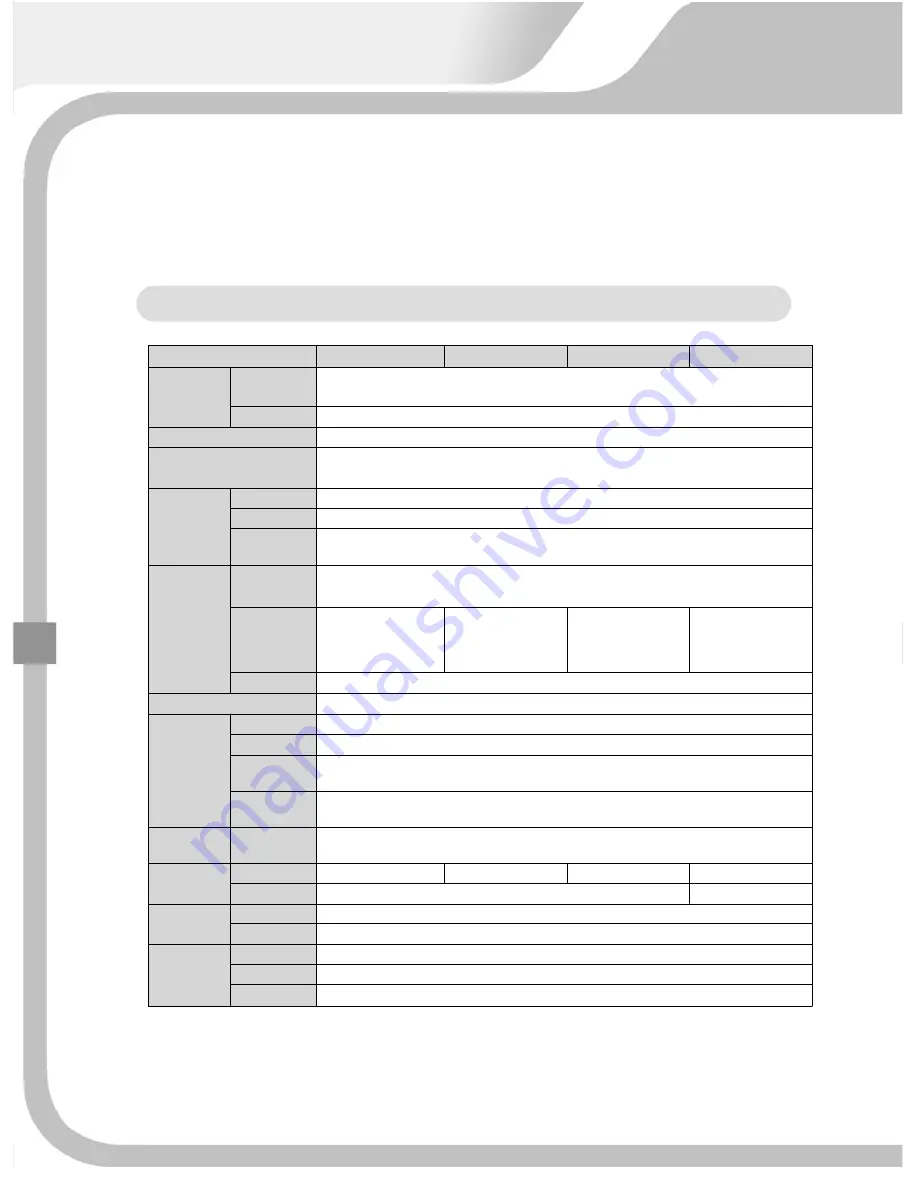
STANDARD
DVR
Model
SVR
‐
1648S
SVR
‐
1624S
SVR
‐
824S
SVR
‐
412S
Video
Signal
Video
Input
16/8/4
Channel
Input(BNC)
NTSC
/
PAL,
1V
75
Ohm
Video
Output
5
Outputs
(Composite
BNC,
VGA,
S
‐
Video,
Loop
through,
Spot)
Compression
Enhanced
MPEG
‐
4,
M
‐
JPEG
Pentaplex
Operation
Real
Time
Watching
/
Recording
/
Playback
/
Networking
/
Back
‐
Up
Archiving
Display
Resolution
NTSC
–
704X480
/
PAL
–
704X576
Speed
Real
Time
Display
Mode
16,
13,
9,
6,
4,
1
screen
PIP,
Auto
Screen
Recording&
Playback
Resolution
NTSC
–
704X480,
704X240,
352X240
PAL
–
704X576,
704X288,
352X288
REC
&PB
Speed
CIF
480ips/400ips
HD1
240ips/200ips
D1
120ips/100ips
CIF
240ips/200ips
HD1
120ips/100ips
D1
60ips/50ips
CIF
240ips/200ips
HD1
120ips/100ips
D1
60ips/50ips
CIF
120ips/100ips
HD1
120ips/100ips
D1
60ips/50ips
Mode
Continuous,
Schedule,
Event(Motion,
Sensor
)
Search
Search
by
Calendar
Search
List,
Event
List,
Time
List
Backup
Internal
HDD
2
Internal
DVD
1
External
Backup
USB
Network
Backup
TCP/IP(Backup
Browser)
Serial
Interface
Pan/Tilt,
Zoom,
Preset
RS
‐
485,
RS
‐
232
Alarm
Control
Sensor
Input
16port
16port
8port
4port
Relay
Out
4
port
1port
Audio
Audio
Input
4
Channel
Input
Audio
Output
1
Channel
Out
Network
Interface
TCP/IP
Protocol
STATIC,
DHCP,
PPPoE
Browser
Functional
Remote
Client
Software,
Web
Viewer(HTTP
/
IE),
CMS
22
Содержание Premium?series
Страница 17: ...PREMIUM STANDARD DVR 8CH 4CH 16...
Страница 27: ...INSTALLATION 3 1 TOTAL CONNECTION DIAGRAM 26...
Страница 72: ...5 3 CAMERA 5 3 1 CHANNEL 1 16 Select camera No to set up 71...
Страница 75: ...5 3 6 PTZ SPEED 0 1 2 3 4 To control the speed of PTZ camera 5 3 7 PTZ ID 0 255 To set up PTZ camera ID 73 74...
Страница 102: ...5 8 SYSTEM 5 8 1 LANGUAGE Select language to use and convert to the selected one when pressing ENTER button 101...
Страница 103: ...5 8 2 DATE TIME On the receipt of this DVR set the current time correctly and start recording 99 102...
Страница 109: ...To exit from this menu press INFO button again USB Model No DVD RW Model No 105 108...
Страница 116: ...Press Next button Press Next button 115...
Страница 119: ...Click Finish button and Net viewer is uninstalled 2 Program removal by Window s Program additional and removal 115 118...
Страница 120: ...6 2 3 NETVIEWER FUNCTION Double click the icon and the program is displayed on screen as follows 119...
Страница 123: ...2 Login Make sure of setup values saved in setup menu and press OK button CONNECT DISCONNECT Click 119 122...


