


▌
Firmware
download
from
Internet
Explorer
Type
in
the
address
below
on
internet
explorer.
Do
not
change
any
letter
and
input
it
as
it
is.
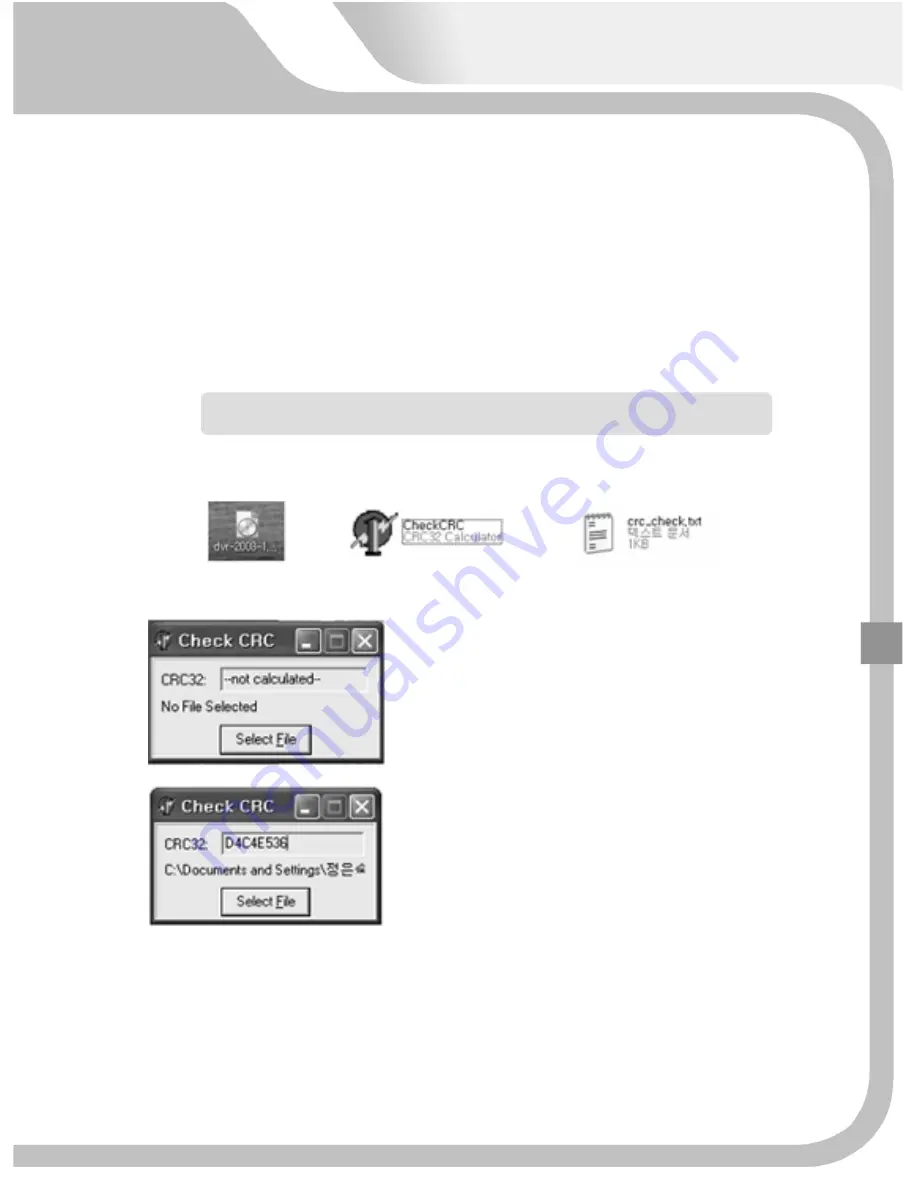
Unzip
downloaded
file
from
the
address
and
three
files
appears.
[Firmware
file]
[Firmware
size
check
program]
[Firmware
size
indicator
file]
HTTP://videonetserver.com/UPGRADE
‐
MH/kpro/dvr.zip
A.
Open
"crc_check.txt"first
and
check
firmware
file
size.
(ie.
D4C4E536)
.
Install
"CheckCRC"
program.
B.
Click
"Select
File"
button
and
select
firmware
file.
C.
It
shows
the
file
size
(ie.
D4C4E536).
The
file
size
of
every
firmware
version
has
its
own
size.
When
the
size
is
same
as
one
of
firmware
file,
full
size
of
firmware
is
downloaded
properly.
If
there
is
a
discrepancy,
you
have
to
try
to
download
it
again.
Create
"update"
folder
(small
letter)
in
USB
memory
stick
and
copy
the
firmware
checked
by
"CheckCRC"
program
into
the
folder.
111
Содержание Premium?series
Страница 17: ...PREMIUM STANDARD DVR 8CH 4CH 16...
Страница 27: ...INSTALLATION 3 1 TOTAL CONNECTION DIAGRAM 26...
Страница 72: ...5 3 CAMERA 5 3 1 CHANNEL 1 16 Select camera No to set up 71...
Страница 75: ...5 3 6 PTZ SPEED 0 1 2 3 4 To control the speed of PTZ camera 5 3 7 PTZ ID 0 255 To set up PTZ camera ID 73 74...
Страница 102: ...5 8 SYSTEM 5 8 1 LANGUAGE Select language to use and convert to the selected one when pressing ENTER button 101...
Страница 103: ...5 8 2 DATE TIME On the receipt of this DVR set the current time correctly and start recording 99 102...
Страница 109: ...To exit from this menu press INFO button again USB Model No DVD RW Model No 105 108...
Страница 116: ...Press Next button Press Next button 115...
Страница 119: ...Click Finish button and Net viewer is uninstalled 2 Program removal by Window s Program additional and removal 115 118...
Страница 120: ...6 2 3 NETVIEWER FUNCTION Double click the icon and the program is displayed on screen as follows 119...
Страница 123: ...2 Login Make sure of setup values saved in setup menu and press OK button CONNECT DISCONNECT Click 119 122...