


Wanner Engineering, Inc.
4
United States
Instant Information: www.vectorpump.com
(61) 33-5681 Fax (61) 33-6937 VEC-991-400A
Replacing Worn Hose
Remove Old Hose
1. Turn off and lock out all power to pump motor.
2. Remove front cover from pump (four screws).
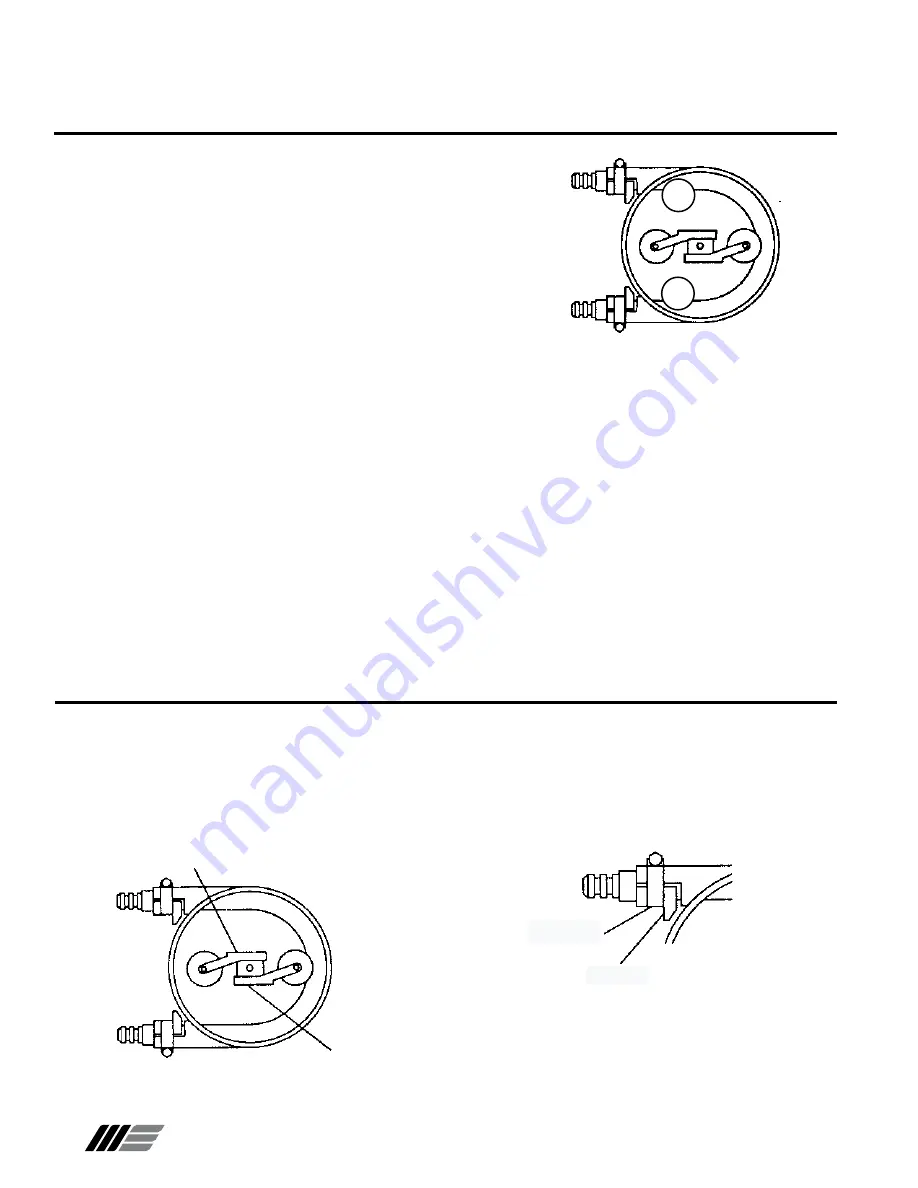
3. See Figure 4. Position pressure rollers as shown.
4. Loosen screw(s) that secure mounting bracket of pressure
roller which is compressing hose. To maintain correct hose
compression adjustment,
DO NOT
loosen opposite roller’s
mounting bracket.
5. See Figure 5. Loosen hose clamp bolts. Remove hose
supports and clamps that secure both ends of hose.
6. Remove hose from pump casing.
Service (Models 2002, 2003, 2004, 2005)
Vector Series Installation
Troubleshooting
If the hose fails prematurely, check for:
• Chemical attack. If the hose becomes soft, spongy, or harder
than when originally supplied, chemical attack may be the
problem.
• Improper hose selection for the fluid being pumped.
• Improper roller setting. If flow fluctuates back and forth or up
and down in the discharge line, the rollers may not be adjusted
with equal pressure on the hose.
• See Figure 3. If the hose fails in area A, this may occur from
operating the pump at a discharge pressure higher than the
hose is rated for, or with a closed discharge line. If the hose
fails in area B, this may occur from operating the pump under
a higher vacuum or higher inlet pressure than the hose is
rated for, or with a closed suction line.
• Line system problems — debris, closed valves, or a clogged
or packed line.
• Fluid temperature too high.
• Abrasive material being pumped, or solid size too large.
• Hose connector becomes loose:
- Wrong size connector.
- Suction pressure too high
W0458
Loosen screw(s) that
secure this bracket.
Do not
loosen screw(s)
for this bracket.
Figure 4
W0456
DISCHARGE
INLET
A
B
Figure 3
Hose Support
Hose Clamp
W0459
Figure 5
7. Pull (cut hose if needed) hose connectors from worn hose.
Clean if reusable.
8. Carefully clean pump casing and front cover.
Routine Maintenance
Periodically inspect hose for signs of failure caused by chemical
attack, material fatigue, etc.
Check non-petroleum silicone lubricant on hose, and reapply
if worn off.
Inspect roller bearings for damage, and replace if necessary
(See Parts List, item 11).
Check that all fasteners are properly tightened.


