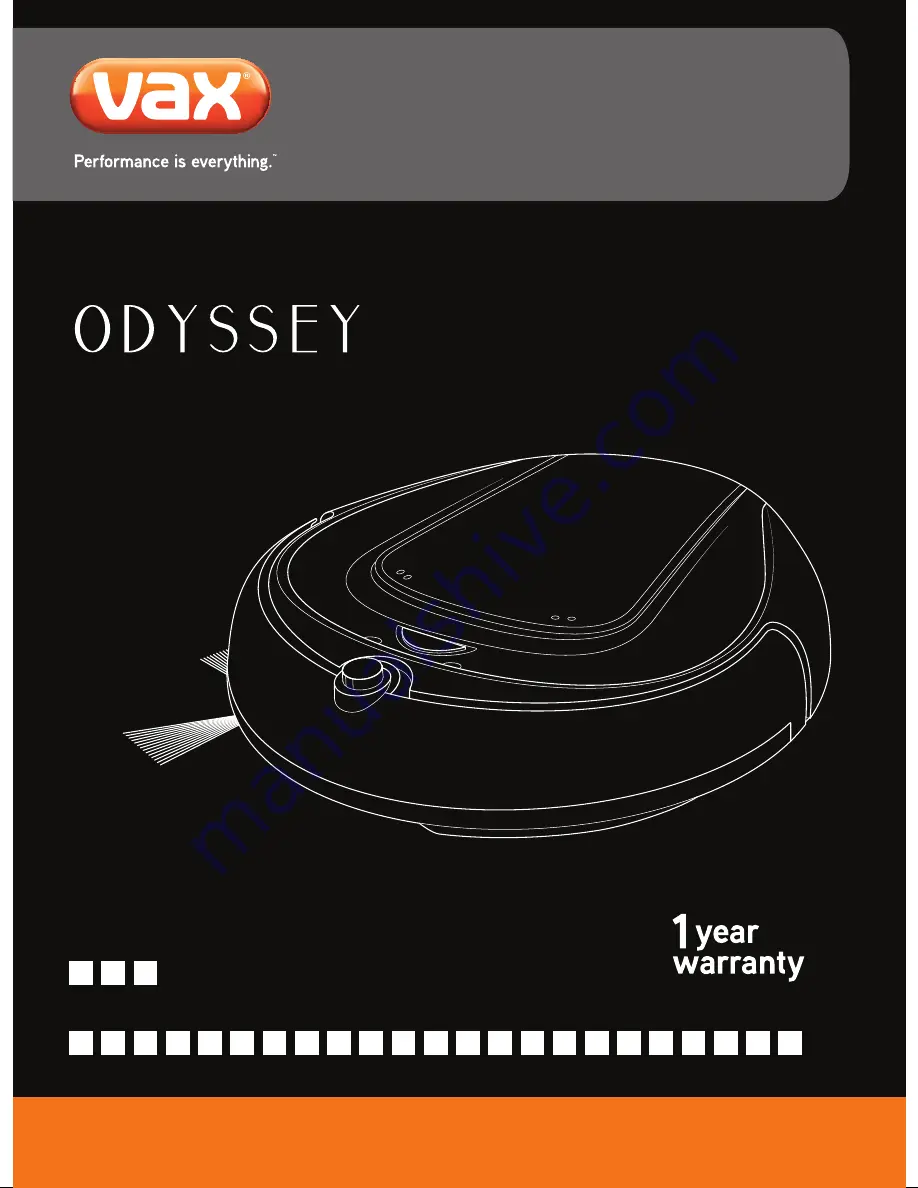
manualshive.com logo in svg
background image

Robotic Cleaner

Get Cleaning...

What’s your Vax’s model number?

What’s your serial number? 

(Located on the base of the robotic cleaner)

Note these down in case you need them in future.  Please keep instructions for further use.

VX2

User Guide

Vax Careline: AU: 1300 361 505 

NZ: 0800 800 900

V

X

2

vax.com.au 

vax.co.nz

Содержание VX2

Страница 1: ...l number What s your serial number Located on the base of the robotic cleaner Note these down in case you need them in future Please keep instructions for further use VX2 User Guide Vax Careline AU 1300 361 505 NZ 0800 800 900 V X 2 vax com au vax co nz ...

Страница 2: ...AU 1300 361 505 NZ 0800 800 900 v v 1 Machine Overview 7 2 1 3 6 5 4 8 1 Remote control 2 Robotic cleaner 3 AC adapter 4 AC adapter cord 5 AC adapter plug 6 Docking station 7 Virtual wall 8 Batteries 2x type C 1 5V ...

Страница 3: ... not in the robot indicate if the cliff sensor detects a cliff indicate if the bumper got stuck indicate if the motor is overloaded Also see Troubleshooting on page 19 4 On Off key switches the appliance on or off if pressed longer than 1 second starts cleaning if the appliance is switched on and pressed less than 1 second 5 Upper cover covers dust bin module and covers battery compartment 6 Bumpe...

Страница 4: ... NZ 0800 800 900 v v 3 Machine Overview 4 3 2 1 1 Upper cover 2 Dust bin cover 3 Filter 4 Dust bin Hidden battery compartment cover Hidden battery pack in battery compartments located next to the dust bin Dust bin module in detail ...

Страница 5: ...er window with integrated LED lights up when plugged in flashes during charging process 2 Front button 3 Charging Pins 4 Socket for AC adapter plug Hidden 4 rubber feet underneath Virtual wall 5 Virtual wall transmitter 6 Power switch 7 LED lights up if switched on 8 Receiver 9 Battery cover ...

Страница 6: ...l or carry the AC adapter via its power cord use cord as a handle close a door on cord or pull cord around sharp edges or corners as this can damage the cord and can increase the risk of fire or electric shock Do not abuse the power cord 7 Ensure that the AC adapter s power cord is not bent pinched rolled over and that it does not come into contact with heat sources 8 Only charge the appliance if ...

Страница 7: ...r on raised surfaces such as tables and furniture or next to heat sources 21 Do not use with any opening blocked keep openings free of dust lint hair and anything that may interfere with the brushes 22 Do not put objects on top of the appliance 23 Do not modify or repair the appliance yourself Please contact Vax for details of an authorised repair agent 24 Do not use robotic cleaner to vacuum a Wa...

Страница 8: ...the docking station in close proximity to a mains socket 3 Position the docking station against a wall or a piece of furniture so it will not be moved by the robot 4 Make sure that there is a space of at least 1 m x 1 m in front of and next to the docking station Fig 1 5 Now remove the 4 protective films from the rubber feet underneath the docking station Fig 2 and position it in a stable manner C...

Страница 9: ...emove the plastic film from the remote control s battery compartment Fig 5 1 Open the battery compartment cover 2 Insert the 2 supplied batteries type C 1 5 V as indicated and make sure you position them correctly Fig 6 NOTE When changing batteries be sure not to mix batteries of different types or of those that are fully charged with those that are partly charged Connecting the docking station Ac...

Страница 10: ...to I position 3 Place your robot manually onto the docking station Fig 8 4 Ensure that the charging pins of the docking station and the charging pins on the bottom of the robot make contact 1 Fig 8 Red LED is lit and blue LED is flashing A short beep occurs If not it is not correctly positioned In that case try again 5 Now charge your robot for approx 4 to 5 hours until a short tune is played and ...

Страница 11: ...e appliance USE REGULARLY NOTE Your robot can only take up limited amounts of dirt due to dust bin capacity It does not replace a traditional vacuum cleaner Clean particularly dirty areas with a vacuum cleaner beforehand Use your robot regularly so that large amounts of dirt cannot accumulate REMOVE OBSTACLES NOTE Your robotic cleaner vacuums more efficiently if it encounters as few obstructions a...

Страница 12: ... Off key or the Go key on the remote control to start the robot A tune is played The red LED turns off The blue LED is still lit Your robot starts in power mode If you want to adapt the cleaning rate see Switching between power or silent mode on page 13 Based on certain conditions such as the underlying surface room geometry obstacles and so on your robot will switch between cleaning patterns to a...

Страница 13: ...iminishes your robot searches for the signal of the docking station docks on and charges for approx 4 to 5 hours Once charged the LEDs turn off and the robot can then be used If it for any reason does not succeed in docking onto the docking station you have to lift it manually onto the docking station see Charging the battery pack for the first time on page 9 NOTE Cliff sensors detect stairs and o...

Страница 14: ... than in silent mode and therefore your robot consumes more power Switching between power or silent mode 14 How to position the virtual wall 0 5 m 0 5 m 0 5 m 0 5 m 15 16 17 18 1 Position the virtual wall such that the light beam runs parallel to the boundary green dashed line This is achieved by placing the wall at least 0 5m from the door frame Fig 15 2 Make sure the light beam does not shine in...

Страница 15: ...ass the virtual wall 1 Erect a virtual wall as described above 2 Press the key on the remote control to activate smart virtual wall Fig 20 A short beep occurs An invisible smart virtual wall is built up 3 Now power on the robot Your robot will completely clean the room it is in and only when this is done will pass the virtual wall to clean the adjacent room NOTE To deactivate the smart virtual wal...

Страница 16: ...in 1 2 4 or 8 hours If you press the key once You will hear one beep sound Then the appliance will start cleaning after 1 hour If you press the key twice You will hear two beep sounds The appliance will start cleaning after 2 hours If you press the key three times You will hear four beep sounds The appliance will start cleaning after 4 hours If you press the key four times You will hear eight beep...

Страница 17: ...ot it is now in standby Press the key on the remote control for about 2 seconds This will turn the robot off Lift the robot It will stop within 1 second NOTE If you lift the appliance while it is in operation the motors will switch off automatically after approx 1 second without floor contact However in the case the appliance is not switched off blue LED flashing slow red LED flashing fast switch ...

Страница 18: ...re that the appliance is switched off no LED is lit 2 Remove the robot s upper cover Fig 23 It might be necessary to press firmly Fig 23 arrows to release the cover from its locked position 3 Carefully pull the dust bin module out of the appliance Fig 24 4 Remove the dust bin cover Fig 26 5 Take out the filter Fig 27 6 Tap lightly to knock out both parts and remove coarser debris with your hand 7 ...

Страница 19: ...s or brushes with hard bristles 2 Thoroughly rinse out the dust bin by hand under cold running water or lukewarm water 3 Thoroughly rinse out the filter by hand under cold running water or lukewarm water until all the dirt is removed 4 Let both the dust bin and filter dry for at least 24 hours at room temperature until they are completely dry 5 Insert the filter back into the bin Fig 27 and put th...

Страница 20: ...on with 30 seconds of short beeping The dust bin is not installed or not installed correctly Switch off your robot via the On Off key or the key on the remote control and insert dust bin module correctly refer to Emptying the dust bin module on page 17 Blue LED is lit and red LED is blinking fast in combination with 2 long beeps Drive wheel side brush or main brush stuck Switch off your robot via ...

Страница 21: ...to Connecting the docking station on page 8 The toggle switch underneath the robot is not switched to on position 0 It is in the off position Switch the toggle switch to on position I refer to Charging the battery pack for the first time on page 9 The operating time is becoming increasingly shorter Drive wheel side brush or main brush stuck Switch off your robot via the On Off key or the key on th...

Страница 22: ...d spare parts Part no Content Part no Content 029791003001 1 docking station 029791003005 2 side brushes 029791003002 1 virtual wall 029791003006 1 remote control 029791003003 1 AC adapter 029791003007 1 battery pack rechargeable 029791003004 1 filter 029791003008 1 main brush 1 support brush ...

Страница 23: ...brush 5 Remove the main brush as indicated Fig 31 6 Clean main brush and support brush thoroughly of hairs and lint NOTE If necessary carefully use scissors or tweezers NOTE If the brush is excessively dirty it might be useful to replace it see Ordering accessories and spare parts on page 21 7 Re insert the main brush as indicated Fig 32 8 Put the support brush back into place 9 Screw in the 3 scr...

Страница 24: ...worn out battery Keep these batteries away from children Refer to Inserting batteries into the virtual wall on page 8 WARNING Danger of injury Never use or charge a defective appliance If the robot or power cord of the AC adapter is damaged it must be replaced by the manufacturer the manufacturer s customer service or a similarly qualified person in order to avoid danger If the appliance has been ...

Страница 25: ... position Never short circuit batteries i e never touch both poles simultaneously especially with metal objects Never take the battery pack apart never deform it and never expose it to high temperatures Improper handling can lead to liquid leaking from batteries Avoid any contact with such liquid 1 Hide the robot s docking station so that it cannot recharge 2 Run the robot until the battery pack i...

Страница 26: ...en the battery cable plug Fig 40 9 Take out battery pack and wiring If you want to replace the worn out battery pack with a new original battery pack order one refer to Ordering accessories and spare parts on page 21 Dispose of the worn out battery pack 10 Reinstall new battery pack battery compartment cover and battery compartment cover screws 11 Reinstall dust bin and upper cover 38 39 40 ...

Страница 27: ...ntal conditions 10 C 40 C Dimensions 320 x 320 x 75 mm Max speed power mode 20 cm s AC adapter input 100 240 V 50 60 Hz AC adapter output 19 V DC 600 mA Rechargeable batteries in the appliance Ni MH 12 V DC 1500 mAh replacement available only through Vax Operating time including charging reserve Power mode approx 60 minutes might also be affected by conditions of the room Silent mode approx 80 min...

Страница 28: ...x com au vax co nz Distributed by Techtronic Industries Australia Pty Ltd Level 1 660 Doncaster Road Doncaster Australia 3108 www vax com au Careline AU 1300 361 505 www vax co nz Careline NZ 0800 800 900 ...

Отзывы: