


2-20
Installing and Setting up the Machine > Energy Saver function
Energy Saver function
If a certain period of time elapses after the machine is last used, the machine automatically enters sleep mode, which
minimizes power consumption. If the machine is not used while in sleep mode, the power automatically turns off.
Sleep and Auto Sleep
Sleep
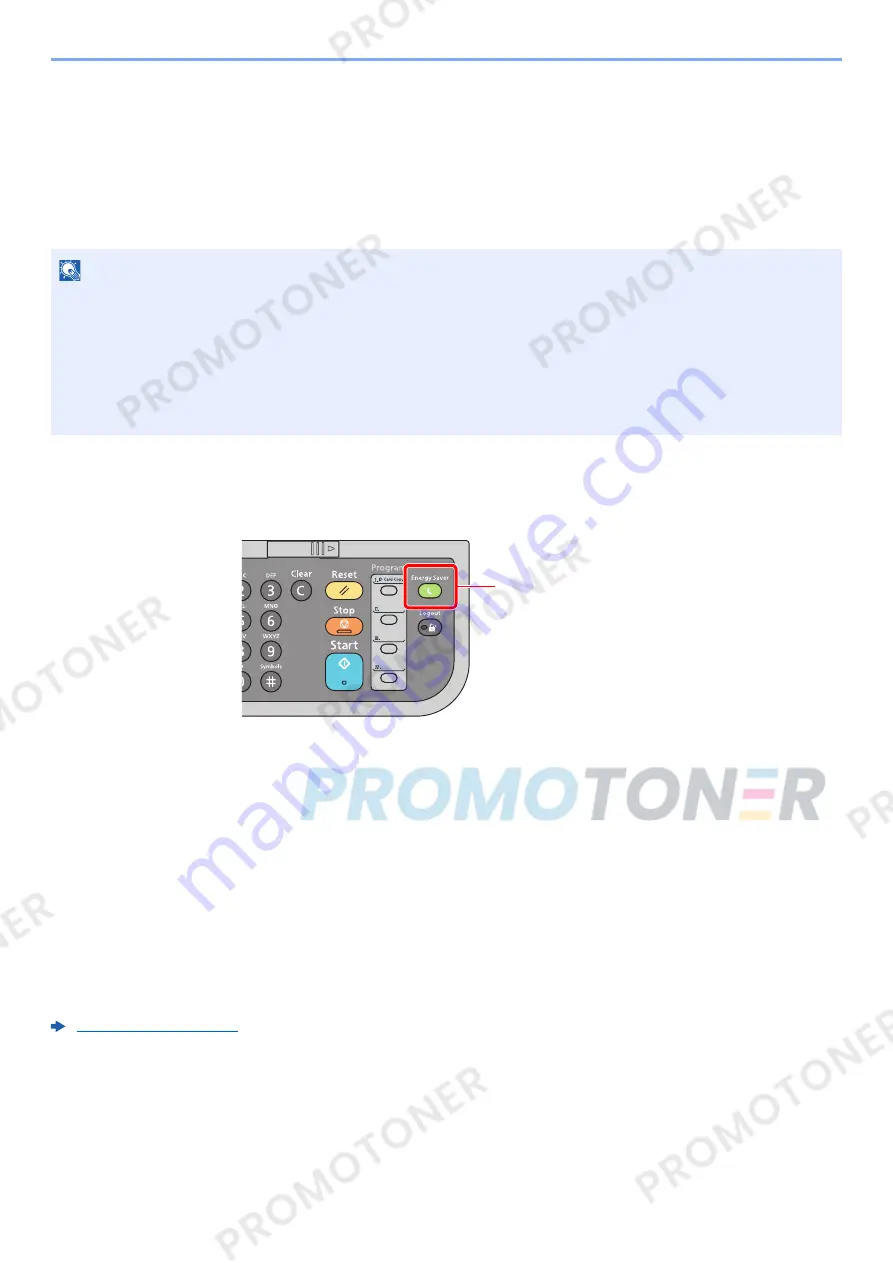
To enter Sleep, select the [
Energy Saver
] key. Message display and all indicators on the operation panel will go out to
save a maximum amount of power except the Energy Saver indicator. This status is referred to as Sleep.
If print data is received during Sleep, the machine automatically wakes up and starts printing.
Also when fax data arrives while the machine is in Sleep, the machine automatically wakes up and starts printing.
To resume, perform the following actions.
• Select any key on the operation panel.
The machine will be ready to operate within 17 seconds.
Note that ambient environmental conditions, such as ventilation, may cause the machine to respond more slowly.
Auto Sleep
Auto Sleep automatically switches the machine into Sleep if left idle for a preset time.
The default preset time is 1 minute.
To change the preset sleep time, refer to the following:
Sleep Timer (page 8-18)
Follow the steps below to set the sleep timer for the machine to go into sleep mode when not in use.
1
Display the screen.
[
System Menu/Counter
] key > [
▲
] [
] key > [
Common Settings
] > [
OK
] key > [
▲
] [
] key >
[
Timer Setting
] > [
OK
] key > [
▲
] [
] key > [
Sleep Timer
] > [
OK
] key
NOTE
If user login administration is enabled, you can only change the settings by logging in with administrator privileges.
If user login administration is disabled, the user authentication screen appears. Enter a login user name and
password, and select [
Login
].
The factory default login user name and login password are set as shown below.
Login User Name:
3000
Login Password:
3000
Energy Saver indicator
Содержание 1102NW3UT0
Страница 1: ...Operation Guide P C3060 MFP P C3065 MFP ...
Страница 48: ...2 3 Installing and Setting up the Machine Part Names 17 Handles 18 Rear Cover 1 17 18 ...
Страница 325: ...10 6 Troubleshooting Regular Maintenance 5 6 7 IMPORTANT Do not touch the points shown below 5 6 5 6 ...
Страница 356: ...10 37 Troubleshooting Troubleshooting 3 4 5 6 ...
Страница 360: ...10 41 Troubleshooting Troubleshooting 2 3 4 ...
Страница 363: ...10 44 Troubleshooting Troubleshooting 4 5 6 A2 A2 ...
Страница 365: ...10 46 Troubleshooting Troubleshooting 4 5 6 7 A2 A2 A3 ...
Страница 366: ...10 47 Troubleshooting Troubleshooting 8 Document Processor 1 2 3 ...
Страница 367: ...10 48 Troubleshooting Troubleshooting 4 5 ...
Страница 368: ...10 49 Troubleshooting Troubleshooting Clearing a Staple Jam 1 2 3 ...
Страница 408: ......


