Smart 1-Line
TM
Page 11
3.1.2
Designer Mode
3.1.2.1 Designer Mode Password
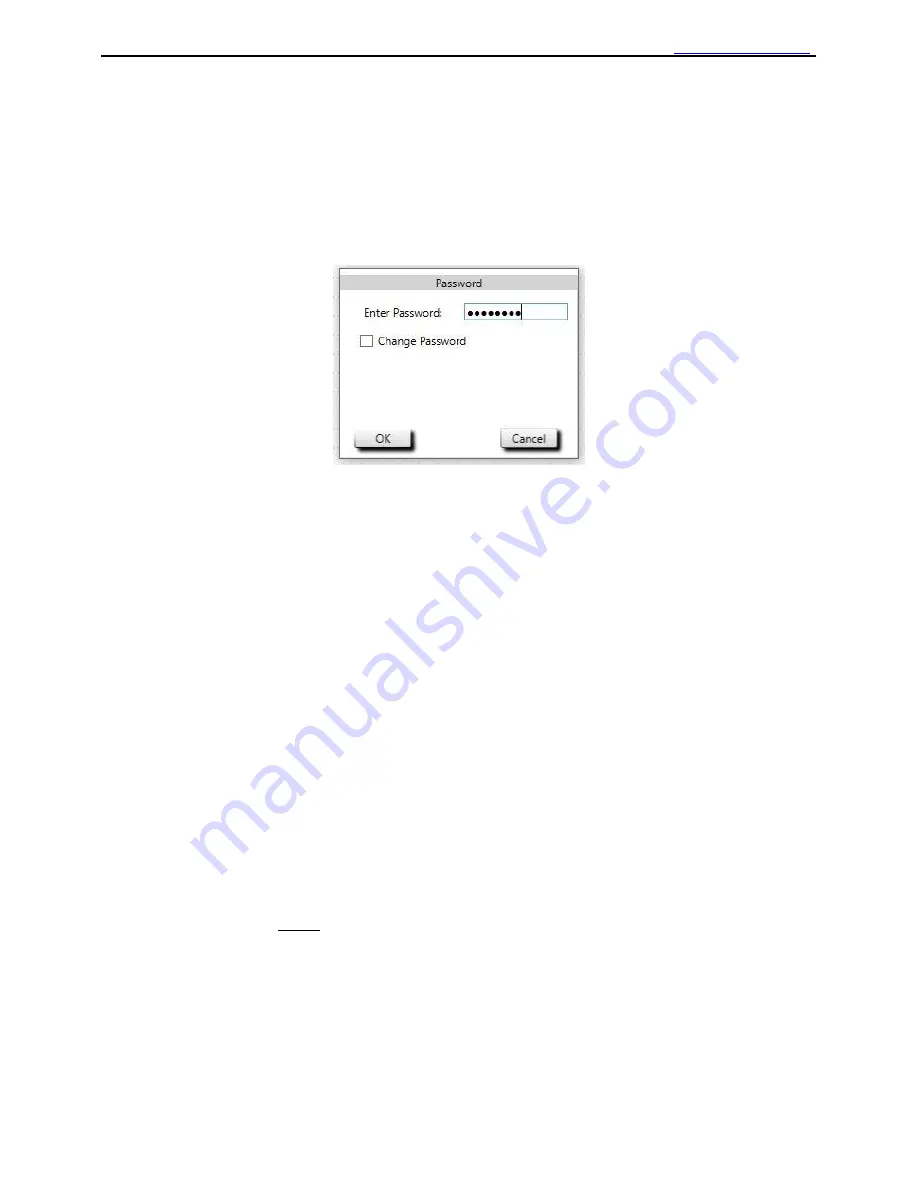
After clicking the
“Designer” button, you will be prompted for the Designer Mode password.
Use the password provided by URC.
To change your password, check the Change Password box, and you will be prompted
to follow the instructions.
Figure 10: Designer Mode Password
3.1.2.2 Drawing your 1-Line
After entering the Designer Mode password, you can start building or editing your 1-line diagram.
If you are entering Designer Mode for the first time, the drawing area will be blank.
The Designer Mode toolbar contains all of the items and settings required to setup your system.
3.1.2.3 Adding items
In Designer Mode: To add items to your Smart 1-Line, simply tap or click an item in the toolbar, and
then tap or click in the drawing area.
3.1.2.4 Rotating items
In Designer Mode:
The Breaker and Transformer items can be rotated 90 degrees by double-tapping or double-clicking.
The Bus items can be stretched and rotated
using the “grips” on each end of the line.
3.1.2.5 Removing items
In Designer Mode:
Items can be removed by dragging them off the screen to the right.
3.1.2.6 Power Distribution System Changes
The Smart 1-Line MUST be updated if power distribution system changes occur. Examples are
replacing breakers, exchanging breakers, new breakers or loads, switchgear modifications, etc. For
example, if breakers are exchanged, trip unit addresses, breaker names, load descriptions, etc. must
be reviewed and changed accordingly.
In addition, if breakers are known to be out of service for an extended period, temporarily clear the
Smart 1-Line address fields for those breakers, or temporarily remove those breakers from the Smart
1-line drawing. The reason for this is: if these breakers/addresses are left in the Smart 1-Line
drawing, then the Smart 1-Line will try to communicate with these units. The communications
system performance is slowed down when the Smart 1-Line attempts to communicate with units that
are out of service and not responding.


