Hardware installation
Making connections on the front panel
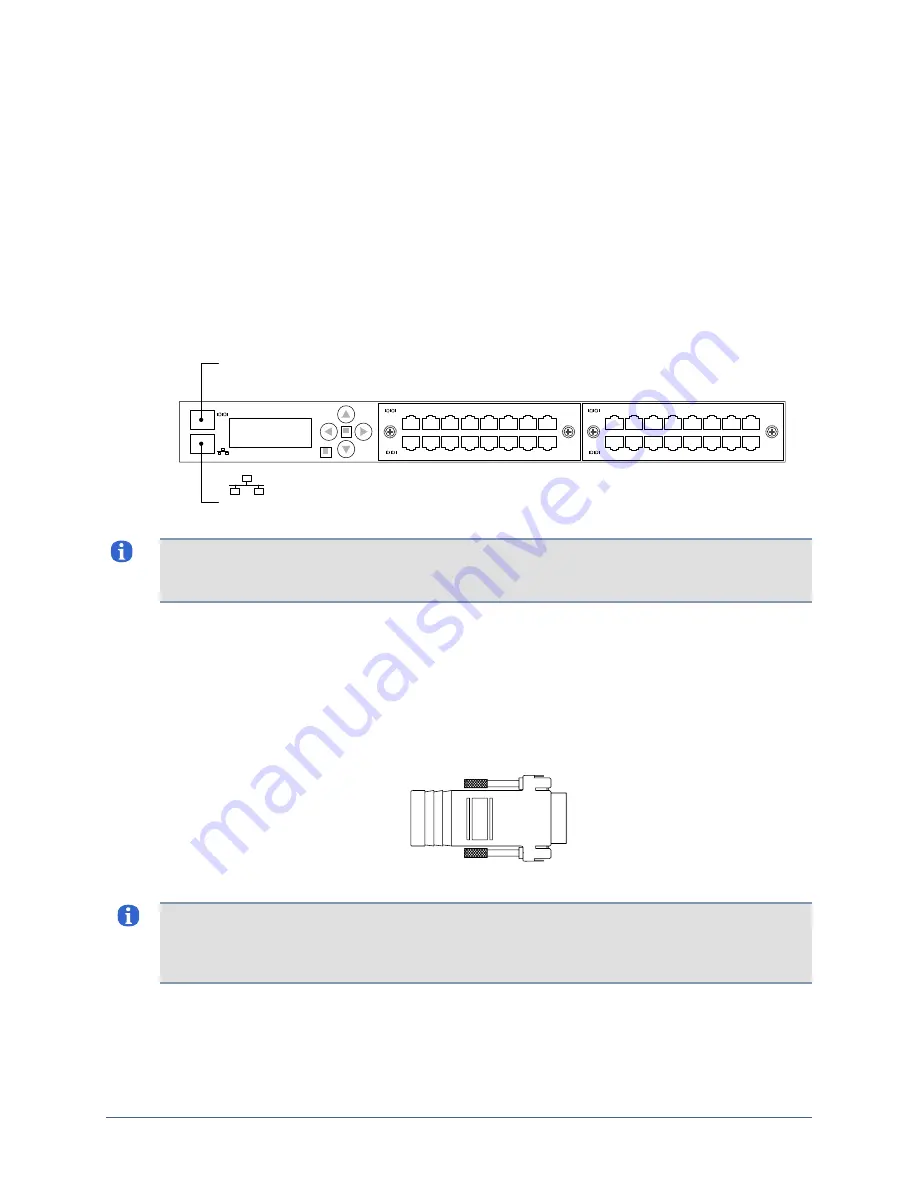
Front panel connections include:
Management Ethernet
Management console
Devices to be managed
Making the management Ethernet and console connections
To manage the 32-port appliance and attached devices in-band through the network, connect
the management Ethernet port on the front panel to your Ethernet network. Speed and
duplexing default to autonegotiation.
Connect to the network for in-band management
IOIOI
Connect to the console workstation’s serial port
for out-of-band management
2
1
10
9
8
7
6
5
4
3
16
15
14
13
12
11
2
1
10
9
8
7
6
5
4
3
16
15
14
13
12
11
Note:
After you power on the appliance, one of the indicators on the RJ-45 Ethernet port will
light when low-level connectivity is established. If after connecting this port, both indicators
remain dark, try combining the crossover dongle to one side of the connection.
You may wish to make a secondary management Ethernet connection through the Aux port
on the back of the appliance, below the power controller connector. The main and secondary
management Ethernet connections must be on the same subnet, but can be through separate
switches for redundancy. If you are working with a later model appliance that was shipped
before mid-November 2007, this capability may be unavailable.
To manage the appliance and attached devices using the TTY console, connect the RJ-45 to
DB-9 adapter to your computer’s serial port, and connect the RJ-45 cable from the appliance
to the adapter.
The default settings for the console port are 9600, 8, N, 1.
Note:
Link status is indicated by one of the LEDs on the RJ-45 Serial port. If neither light
glows after connecting a device using one of the supplied white Cat 5e cables, the port should
be changed to use DTE. The rolled console cables (often flat) provided with network devices
usually require this change as well.
Installation Guide for Uplogix Secure Remote Management Appliances
9


