11
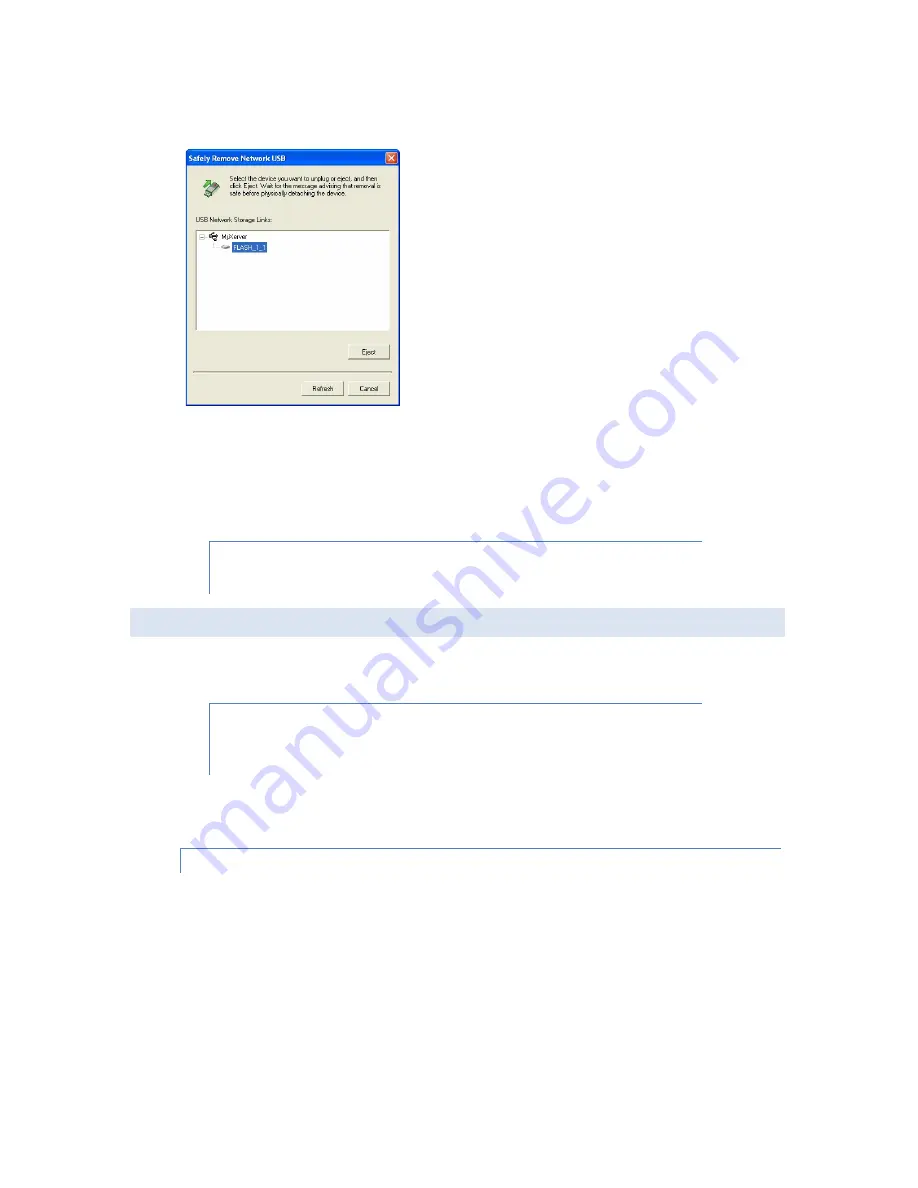
1. Right click on the Flash Map icon in the system tray.
2. Select Safely Remove USB Device
3. Select the desired NAS and USB device, and click Eject button.
4. Wait for the message to appear, telling you it is safe to remove the device.
Note: If the USB device is not removed, it will not be reconnected. You must remove
and re-insert the USB device to have it re-connected.
C.
CONFIGURING YOUR NAS
Now that everything is connected and powered on, you are ready to configure your NAS so that it is accessible to
the users on your network.
This procedure only needs to be done ONCE, by the NAS Server's Administrator. Other
LAN users should follow the Client PC Setup procedure described in the following
chapter.
The initial configuration can be done either by using the Setup CD (Windows only), or by using a web browser. Use
the Setup CD method if you have more than one unit of MyXerver™ on your network.
METHOD 1 – USING THE SETUP CD (WINDOWS ONLY)
1. Insert the MyXerver™ MX3600 Setup CD into your CD-ROM drive of your computer.
2. Run the program NAS_Setup.exe which is located at the root (top) folder of your CD-ROM. The Welcome
screen will be displayed.


