Image Switching sub men
Auto Switch
Off
Switch Mode
Cut
Take
▶
1 VGA1
1280
╳
1024 60Hz
━━━━━━━━━━
TAKE
2 DVI
1920
╳
1080 60Hz
Cut
EFFECT
Auto
Switch
Off
Auto switch function is closed.
Window1 If the image 1 input signal effective, the image 1 is on the top.
Window2 If the image 2 input signal effective, the image 2 is on the top.
Signal*
The effect input signal picture is on the top.
Switch Mode 20 kinds of switch mode.
Take**
From this to enter the image switch shortcut interface (will force to close the
auto switch function).
*
:
Signal priority options, used when the two picture input signals is invalid, the first effective
picture is located in the top, the next effective picture will no longer make the layer change.
**
:
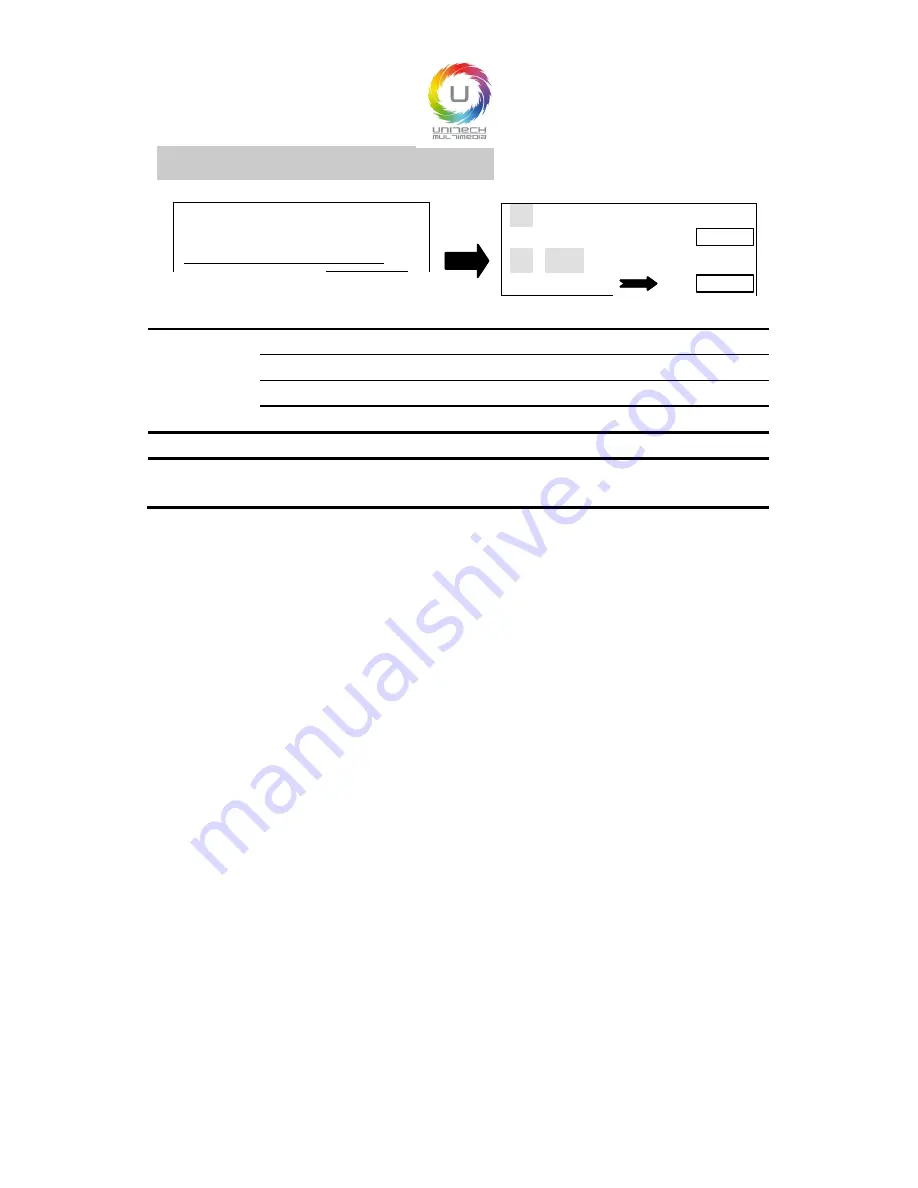
All the operation could be accomplished in the shortcut menu of the picture switching. As
the above the right shows, the first interface is the input port of image 1 and input signal prompt;
The third line is image 2 input port and input signal prompt; The second line is separator and
switch button prompt ("TAKE" button, it will be the same effect to press "OK" and "TAKE" in
the interface); The fourth line is a switch mode information, the left character is used to display
the current switching mode, the right is the key prompt ("EFFECT" key), to short press
"EFFECT" key, switching mode will change as the forward direction, long press "EFFECT"
key, switch mode will change as the reverse direction.
In the fast switching interface, can use the INPUTS key to switch the bottom
layer picture(the un-highlighted picture of the interface) input port, when it
shows the effective format of the input signal, to press "TAKE" can display the
input signal on the top in seamless switching.
Note: if the bottom picture input signal is invalid, advise to use the "Cut" and
"Fade" effect, and press the "TAKE", the invalid signal will be switched to the
top shows at the form of blank screen.
21


