| 31
C64.65201 Issue 3
Jun 2019
or if there is insufficient space to fit the camera, the procedure is undertaken when
the door is removed
Do not reposition the adaptor block on the scope as this will invalidate the
scope alignment which can only be reset on the manufacturing jig
Door Preparation
Note the assembly order of any fasteners removed in the instructions below, to
ensure correct re-assembly sequence.
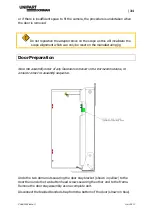
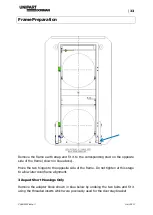
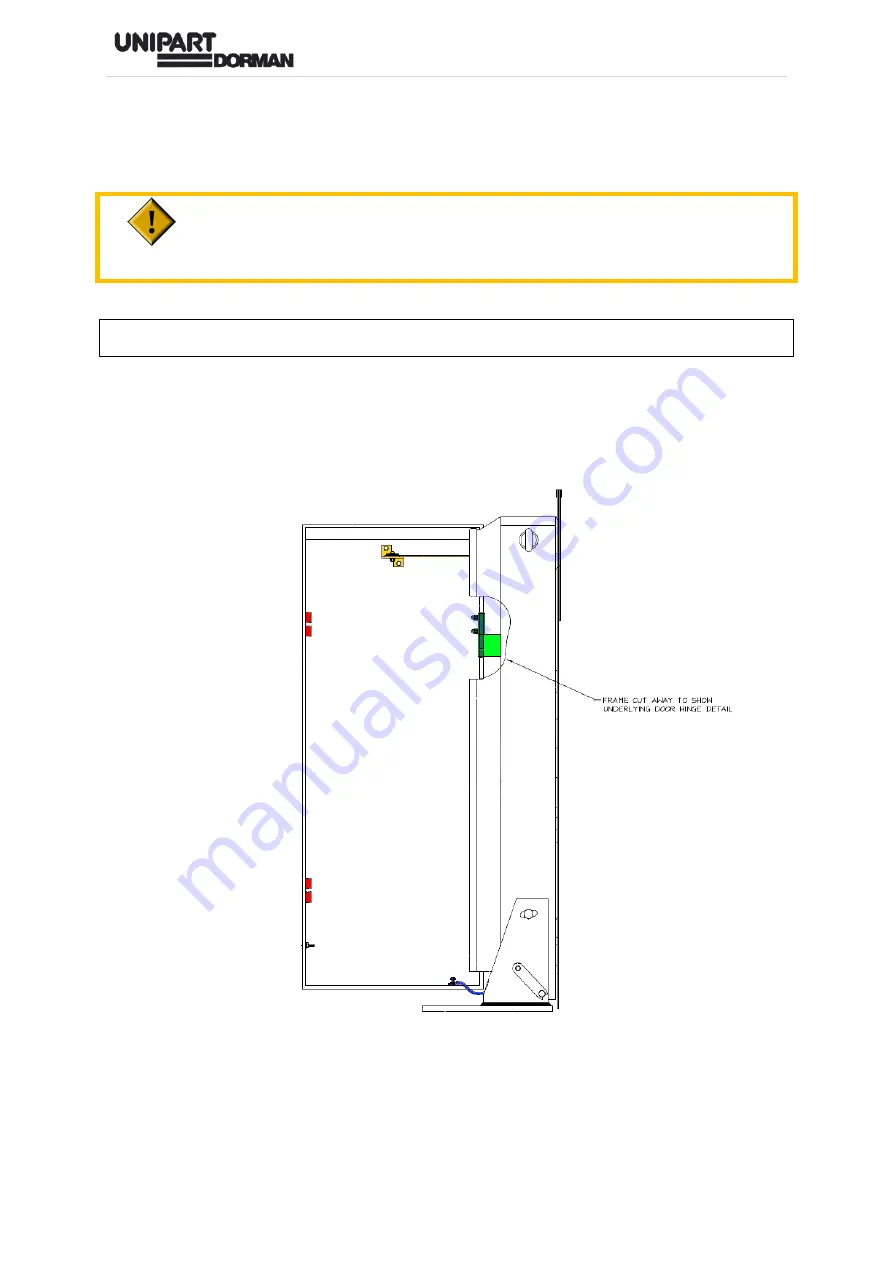
Undo the two dome nuts securing the door stay bracket (shown in yellow) to the
door then undo the two button head screws securing the other end to the frame.
Remove the door stay assembly as one complete unit.
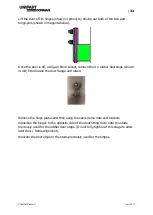
Disconnect the braided bonded strap from the bottom of the door (shown in blue)

