6
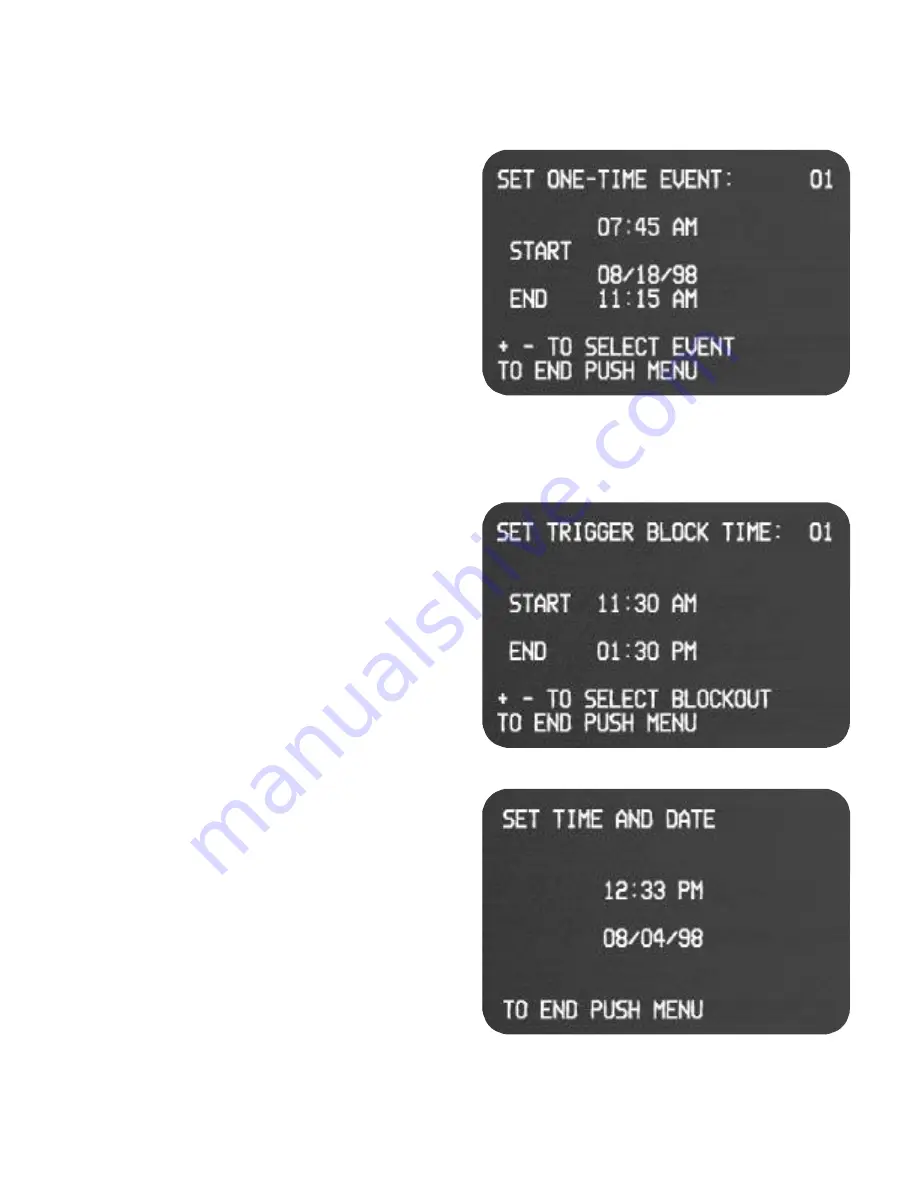
SET ONE-TIME EVENT MENU (MAIN MENU /2/2)
Set a one time event (occurs one time only) by setting
the start time, the start date, and the end time. To set
additional one time events after entering the first one,
toggle forward with the + key on the remote. Up to five
separate one time events may be set. You can review
each One Time Event by pressing the -/+ buttons on
the remote. Observe the number of each event set in
the upper right hand corner of the menu screen. An
entire event can be cleared by pressing the CLEAR
button on the remote during review. Up to five seperate
events can be set. SEE
OPERATIONS AND USE
“FUNCTIONAL DESCRIPTIONS”
for additional
requirements.
SET TRIGGER BLOCK TIME MENU (MAIN MENU /2/3)
Set a trigger block to disable all normally open and nor-
mally closed event triggers from starting the record func-
tion. Trigger blocks
DO NOT
disable a PANIC RECORD
trigger. To set additional trigger block times after enter-
ing the first one, press the + button on the remote. Up to
three separate trigger block times may be set. You can
review each trigger blocksetting by pressing the -/+ but-
tons on the remote. Observe the number of each block
set in the upper right hand corner of the menu screen.
An entire trigger block can be cleared by pressing the
CLEAR button on the remote during review. SEE
OPER-
ATIONS AND USE “FUNCTIONAL DESCRIPTIONS”
for additional requirements.
SET TIME AND DATE MENU (MAIN MENU /3)
Enter the current time (as a four digit number, ie. 0433
= 4:33 or 1210 = 12:10) A request for AM or PM will
appear after the time portion is entered. If you enter an
incorrect digit, pressing the clear button will move you
back through your entry. After setting the clock and
ending all the way out of all menus, the recorder will
display “STANDBY” for a few seconds while it initializes
the internal clock.


