18
Print core installation
To perform the setup steps, turn on the printer with the power switch at the back. The welcome wizard appears in the
display. Rotate the button to navigate through the menus and press the button to confirm your selection.
Installing print cores
The Ultimaker 3 has two print cores in the print head, which are interchangeable.
There are two types of print cores:
•
Type AA: for printing build material (PLA, ABS, CPE and Nylon)
•
Type BB: for printing support material (PVA)
Each Ultimaker 3 comes with two AA print cores - of which one is already installed in print head slot 1 - and one BB print
core. This means that it is possible to make prints with two build materials or with a build and support material.
The print cores contain information so that the printer always knows which print cores are installed and which materials
can be used with this print core.
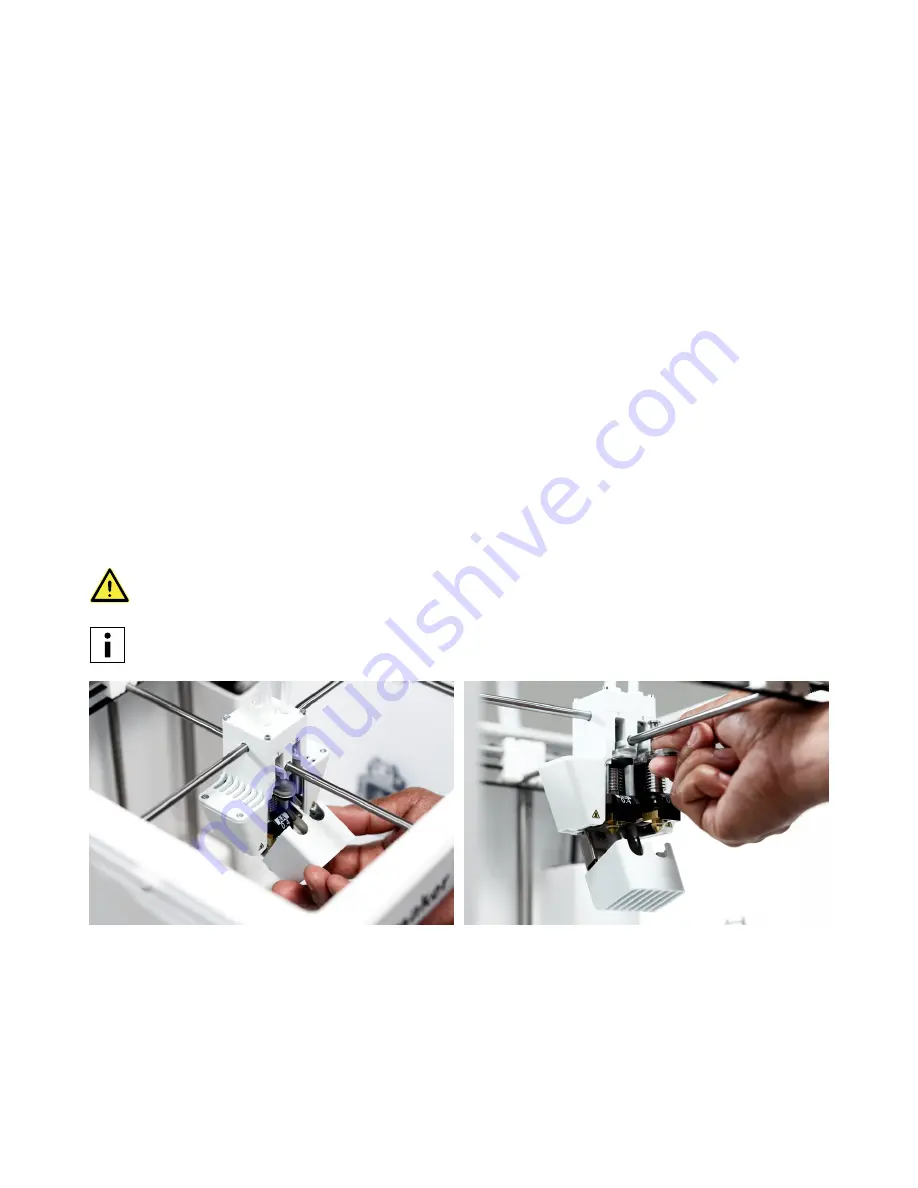
To install the second print core, follow the steps on the display of the Ultimaker 3:
1. Open the print head fan bracket.
2. The Ultimaker 3 will now automatically detect the print core (AA) that is placed in print head slot 1.
Confirm to continue.
3. Install the BB print core in print head slot 2 by squeezing the levers of the print core and sliding it into the print head.
4. The Ultimaker 3 should now automatically detect the print core (BB) that is placed in print head slot 2.
Confirm to continue.
5. Close the print head fan bracket and confirm to proceed with the setup procedure.
Do not touch the chip on the back side of the print core with your hands.
Make sure you keep the print core completely vertical while installing it so it will smoothly slide into the print
head.


