EN
D- USING YOUR PRODUCT
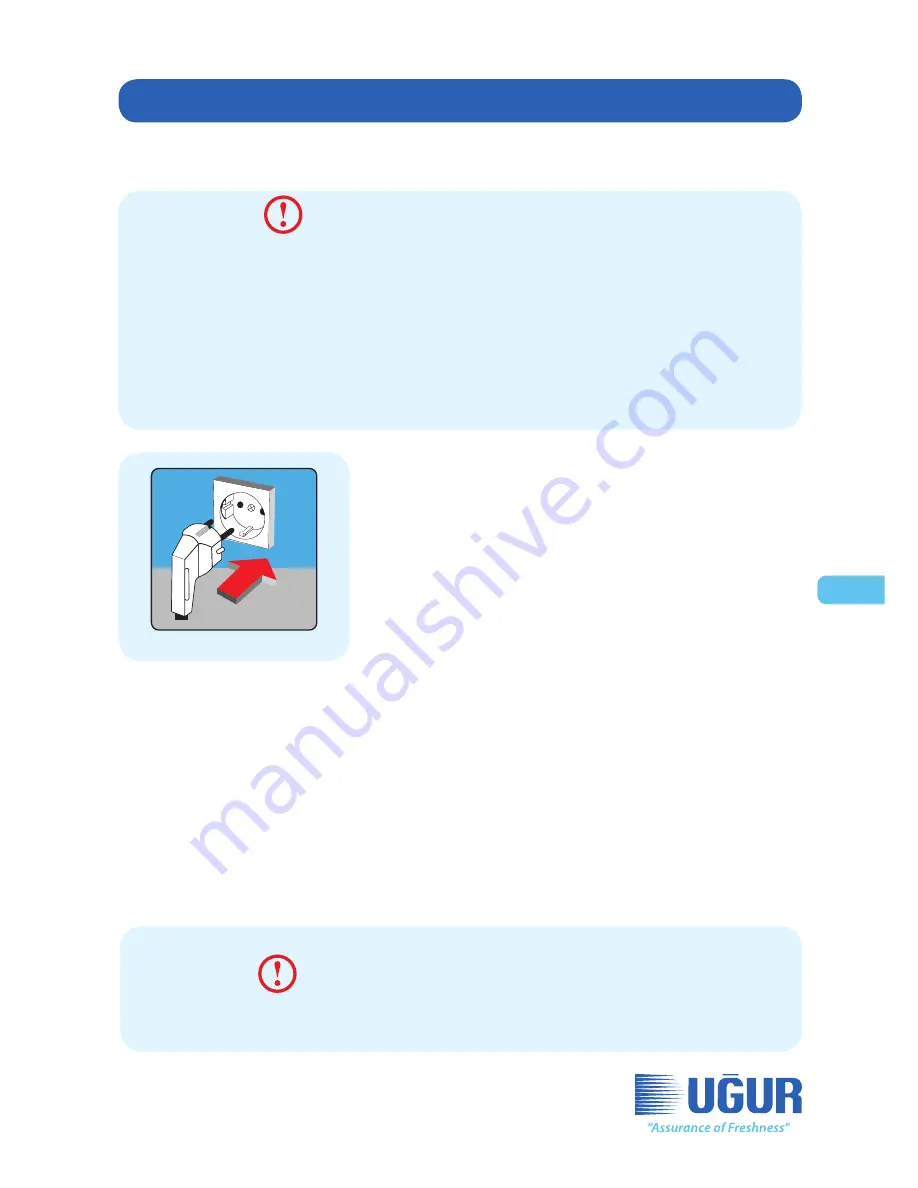
PICTURE 6
Start-up
WARNING!
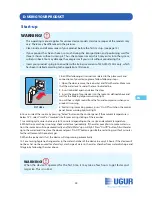
• This operating manual applies for various device models. Hardware scopes of the models may
vary. There may be diff erences in the pictures.
• Clean inside and all accessories of your product before the first start up. (see page 15).
• If your product has been shaken so much during the transportation and positioning, wait for
three (3) hours without running it. Thus, the compressor oil, which may enter into the system,
will return back. You may damage the compressor if you run it without considering this.
• Insert your product's plug into an outlet with alternative current of 220-240V/50 Hz only, which
has been installed according to the regulations. (Picture 6)
CihazıAfter following all instructions related to the placement and
connections of your device, please follow following steps.
1. Open the door, remove the ice basket and fill with water. Make sure
that the water level is under the level indicator line.
2. Insert ice basket again and close the door.
3. Insert the plug of your device into the socket as defined above and
wait for the blinking of power warning light.
You will hear a slight sound from the fan and compressor when your
product is running.
5. For starting ice making process, press “On-Off ” switch on the control
panel. Power warning light will light.
6. You can select the ice size by pressing “Select” button on the control panel. If the ambient temperature is
below 15°C, select “small” or “medium” size for preventing sticking of the ice cubes.
7. Ice making cycle varies between 6 to 15 minutes depending on the ice size and ambient temperature.
8. While the ice machine is running, check water level periodically. If the water pump fails to make water suc-
tion, the ice maker will stop automatically and “Add Water” sign will light. Press “On-Off ” button, fill with water
up to the water level line, close the door and press “On-Off ” button again. Before restarting, wait for 3 minutes
for the settlement of the coolant gas.
9. When the ice basket is full, the device will stop running automatically.
10. For ensuring hygiene, change water in the water chamber of the device in every 24 hours. If the device will
not be or has not been used for a few days, discharge all water in the water chamber from water discharge and
fill again by following the rules above.
WARNING!
When the device is operated for the first time, it may take a few hours to get faster and
larger ice. This is normal.
33
Содержание UBM 100
Страница 2: ...TR BU KULLANIM KILAVUZU A A IDA YAZILI MODELLER KAPSAMAKTADIR TR UBM 30 UBM 60 UBM 100 2...
Страница 10: ...TR Buz haznesi Kapak nox d g vde Havaland rma zgaras B BUZMAK NEN Z NGENELG R N 10...
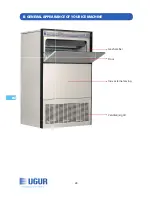
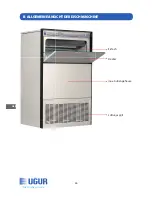
Страница 28: ...EN Ice chamber Door Inox external casing Ventilation grill B GENERALAPPEARANCEOFYOURICEMACHINE 28...
Страница 46: ...ALM 46 Die Frischegarantie Eisfach Deckel Inox Au engeh use L ftungsgrill B ALLGEMEINEANSICHTDEREISCHMASCHINE...
Страница 56: ...FR 56 UBM 30 UBM 60 UBM 100 TR FR CE GUIDE D EMPLOI CONCERNE LES MOD LES PRESENT S CI DESSOUS...
Страница 74: ...IT 74 Freschezza garanzia 74 UBM 30 UBM 60 UBM 100 QUESTO MANUALE COPRE I SEGUENTI MODELLI IT...
Страница 92: ...ES 92 Garant a de frescura UBM 30 UBM 60 UBM 100 ESTE MANUAL INCLUYE LOS MODELOS SIGUIENTES ES...
Страница 110: ...RU UBM 30 UBM 60 UBM 100 RUS 110...
Страница 111: ...RU U ur So utma A www ugur com tr 111...
Страница 112: ...RU R134 R404a R290 R600a 10 WEEE 112...
Страница 113: ...RU U ur So utma A U ur U ur 113...
Страница 114: ...RU U ur 114...
Страница 115: ...RU A B C D E F 115...
Страница 116: ...RU A TE H RREYONUNUZUKULLANMADAN NCEYAPILMASI GEREKEN LEMLER A WEEE 2002 96 EC U ur WEEE 220 240 50 1 2 20 116...
Страница 117: ...RU A U ur U ur U ur Ugur U ur R600a R290 U ur 117...
Страница 118: ...RU B 118...
Страница 120: ...RU C 1 2 30 55 100 10 200 20 1 2 3 4 5 6 7 3 8 1 5 1 2 120...
Страница 121: ...RU C 1 U ur 121...
Страница 122: ...RU C 3 4 5 220V 50Hz 16A 3 4 10 16 5 122...
Страница 123: ...RU D 6 15 3 220 240 50 6 1 2 3 4 5 6 Se 15 small medium 7 6 15 8 3 9 10 24 123...
Страница 124: ...RU D 2 2 5 2 120 125 psig 1 5 2 22 psig 124...
Страница 125: ...RU 7 7 D 125...
Страница 126: ...RU E 30 31 b c d e 20 30 f g 5 h i b c d 126...
Страница 127: ...RU U ur U ur U ur U ur F 127...
Страница 128: ...AR UBM 30 UBM 60 UBM 100 AR 128...
Страница 129: ...AR U ur So utma A www ugur com tr 129...
Страница 130: ...AR R404a R134a PCT CFCPCB R600a R290 10 130...
Страница 131: ...AR U ur So utma A 131...
Страница 132: ...AR 132...
Страница 133: ...AR 133...
Страница 134: ...AR A TE H RREYONUNUZUKULLANMADAN NCEYAPILMASI GEREKEN LEMLER 50 220 240 1 2 AEEE WEEE EC 2002 96 WEEE 134...
Страница 135: ...AR R290 R600a 135...
Страница 136: ...AR 136...
Страница 138: ...AR 1 2 55 30 10 100 20 200 1 2 3 4 5 6 3 7 1 5 8 1 2 138...
Страница 139: ...AR 1 139...
Страница 140: ...AR 3 4 5 220V 50Hz 16A 3 4 10 16 5 140...
Страница 141: ...AR 6 15 3 6 50 220 240 1 2 3 4 5 Se 6 Small 15 medium 15 6 7 8 A Kapa SuEkle 3 A Kapa 9 24 10 141...
Страница 142: ...AR 2 2 5 125 120 1 5 22 142...
Страница 143: ...AR 7 7 143...
Страница 144: ...AR 30 31 20 30 5 144...
Страница 145: ...AR 145...
Страница 146: ......

