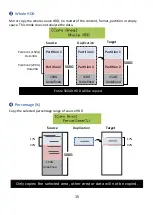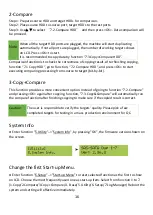
12
Utility Function
1.Copy
Step 1: Prepare a source HDD and target HDDs.
Caution
It’s strongly recommended the source and target are the same capacity.
SATA 1.0/2.0/3.0 HDD are all supported on the duplicator. Various
adapters are required to copy device with different interfaces, e.g. IDE,
eSATA, mSATA
Step 2: Place source HDD into source port, targets HDD to other ports.
Note
When all the target HDD ports are plugged, the machine will start duplicating
automatically. If not all ports are plugged, the number of working targets shows
on LCD. Press <OK> to start.
Step 3: Use
▲▼
keys to select “7.1.Copy HDD”, and then press <OK>. Duplication will start
to proceed.
Note
Press
▲▼
together for 5 seconds to stop operation on the slowest HDD.
It is able to use “On-Time Monitor” feature to check operation speed of
every port.
Step 4: Completion!
Quality of copy OK/Fail and duplication time would show on LCD after duplication completes.
During process of duplication, every port captures in real-time and message shown on LCD.
Before executing this function, users can go to "8.2.Copy Area" to set the copy area and copy
mode. After finishing these two settings, go back to function "7.1.Copy HDD" and press <OK>,
and the system will start copying.


