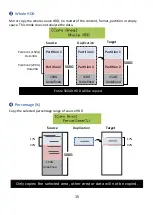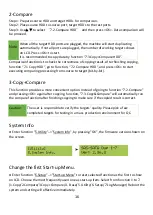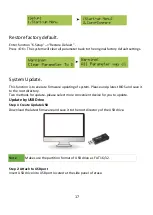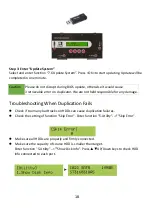
8
Note
Each port could do erase function asynchronously.
When tasks finished erasing HDD in any of the port, just swap to the
next HDD. After inserting the new HDD, press <GO> to continue
erasing task.
Each time pressing <OK> key to start, if no HDD is connected, the
TP400 will keep searching HDD ports for 15~18 seconds. LED light of
this port will stop flashing when no HDD is connected to this port.
Press <OK> or <GO> to start erasing tasks after plugging HDDs into
ports well.
Step 4: Completion!
Quantity of erasing OK/Fail and task time would show on LCD after the task completed.
Press
▲▼
keys to check the information of each port.
During process of erasing, press <Go> to check real-time status of each port.
Setting of Erase Function
There are 5 professional erase methods:
Quick Erase, Full Erase, DoD Erase, Secure Erase, 7 Full Erase.
Quick Erase
Prepare disposal HDDs. Insert disposal HDD to any port. Enter function
“
1.Quick Erase
”
.
Press <OK> or <GO> to start erasing.
Quick erase will only erase the index of the HDD. It is the quickest way to erase HDD. It will
damage the data in HDD. Please make sure you have backup all important data before using
this function. Use
▲▼
keys to the status of each port or erasing related information.
Full Erase (Entire HDD Area)
Prepare disposal HDDs. Insert disposal HDD to any port. Enter function
“
2.Full Erase
”
.
Press <OK> or <GO> to start erasing.
Full erase will erase the whole sectors on the target HDD. It will take longer time than quick
erase. Complies with NIST800-88 standards. Users can press <ESC> to cancel, but original
format and data might not be recoverable.


