Trust Ami Mouse Wireless 200
8
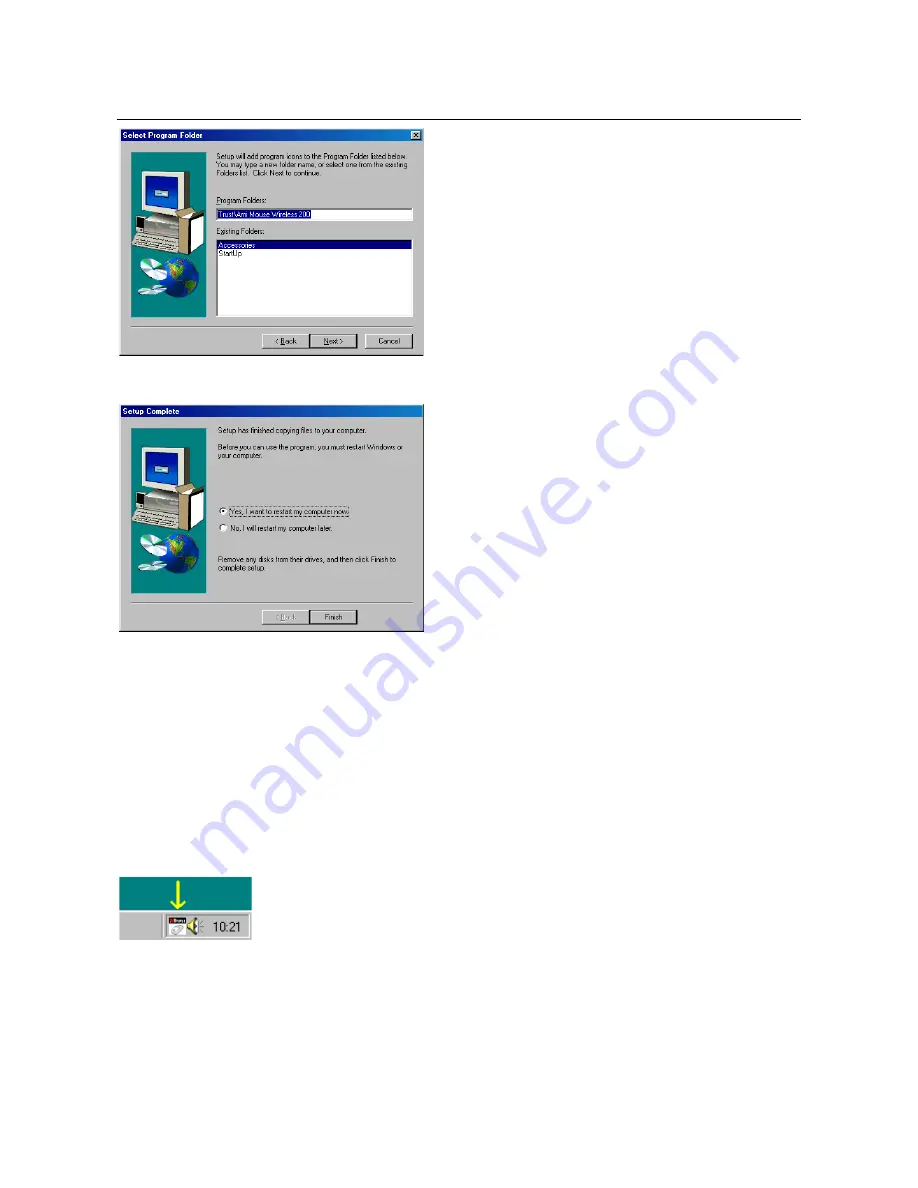
Figure 10: Selecting a program folder
6. Click on 'Next'. A number of files will be copied to your hard drive. Figure 11 will then appear.
Figure 11: Restarting the computer
7. Choose to restart your computer and then click on 'Finish'. The driver has now been successfully
installed.
8. Setting the mouse properties
The basic mouse functions are optimally set for the user. If you wish to change the mouse settings, refer to
the relevant chapter.
Double click on the icon in the taskbar (figure 12) to open the 'Mouse Properties' window. Figure 13 will be
displayed on your monitor.
Close the program if you wish to play a game using the mouse but do not wish to use the special mouse
properties. To do this, right click on the icon and select 'Close Trust Ami Mouse Wireless 200’.
Figure 12: Taskbar icon for Windows 95 / 98 / NT / 2000
8.1 'Buttons'
tab
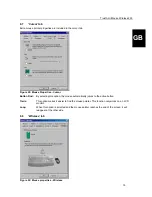
Click the 'Buttons' tab (figure 13) to assign a function to the mouse buttons.


