Shear Pins Storage (if so equipped)
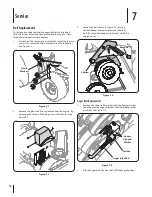
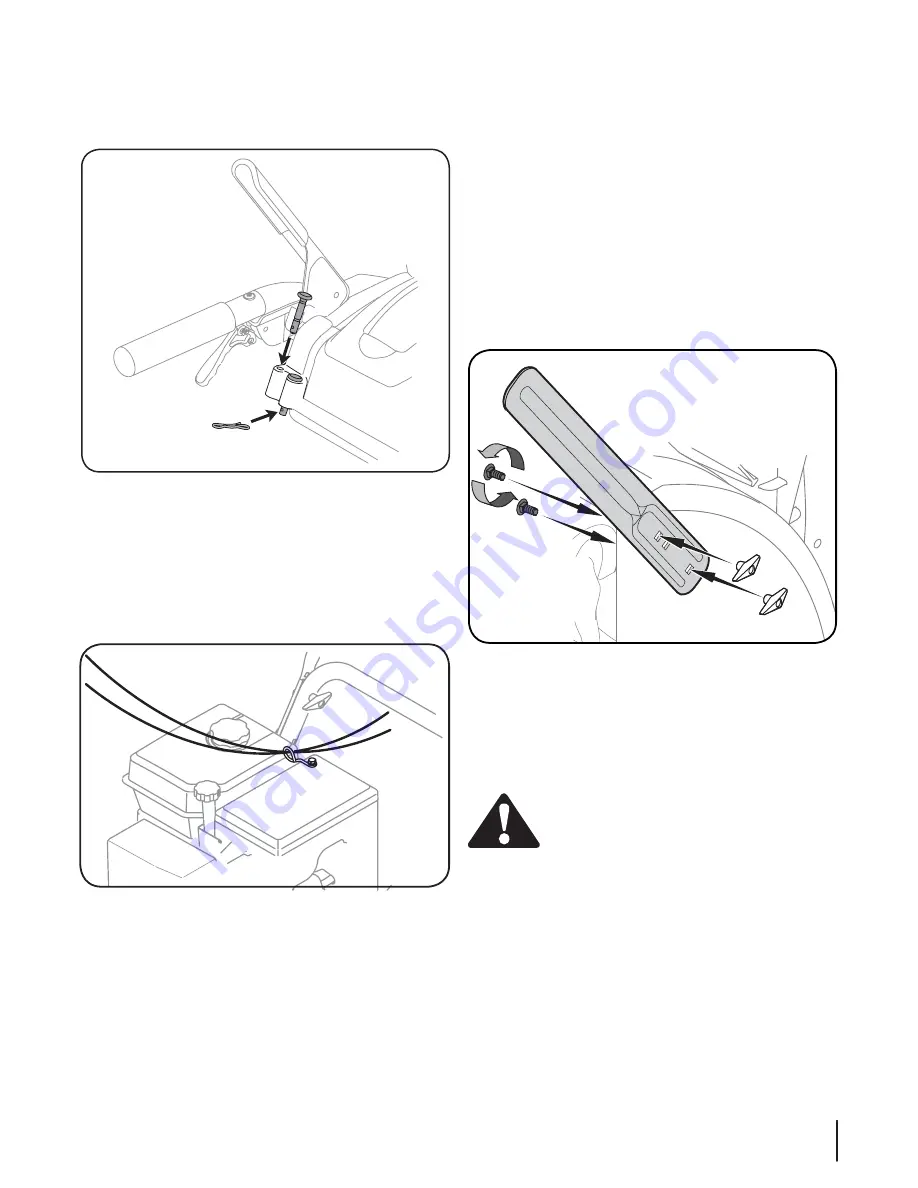
On some models an area for convenient shear pin storage is
locatetd at the rear of the plastic dash panel. See Fig. 3-7.
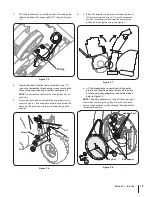
Normally the cable ties holding the steering cables against
•
the handle are lo
osely installed on each side of the lower
handle at the factory. Pull the cable ties tight to secure. Cut
the excess from the ends of cable ties.
If not already attached, slip the cables that run from the
•
handle panel to the discharge chute into the cable guide.
See Figure 3-8.
Fig. 3-7
Fig. 3-8
Drift Cutters
(If Equipped)
Drift cutters should be used when operating the snow thrower in
heavy drift conditions.
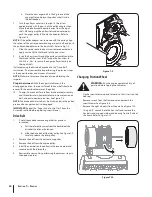
On models so equipped, drift cutters and hardware are
•
assembled to the auger housing inverted.
Remove the carriage bolts and wingnuts securing the drift
•
cutters to the housing.
Reposition drift cutters so they face forward as shown in
•
Figure 3-9. Secure with hardware previously removed,
wingnuts should be fastened on the
outside
of the
housing as shown.
If your unit is not equipped with drift cutters, you may contact
Customer Support as instructed on page 2 for information
regarding price and availability.
Tire Pressure
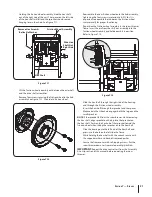
The tires are over-inflated for shipping purposes. Check the tire
pressure before operating the snow thrower. Refer to the tire side
wall for tire manufacturer’s recommended psi and deflate (or
inflate) the tires as necessary.
WARNING:
Under any circumstance do not
exceed manufacturer’s recommended psi. Equal
tire pressure should be maintained at all times.
Excessive pressure when seating beads may cause
tire/rim assembly to burst with force sufficient to
cause serious injury. Refer to sidewall of tire for
recommended pressure.
Fig. 3-9
9
S
ectioN
3 — a
SSeMbly
& S
et
-u
p


