MPRX
TransCore Proprietary
8–5
3. From the
Connect using
pull-down list, choose the
Com 1
option (or whichever com
port on the PC to which the RS-232 cable is attached) and click
OK
.
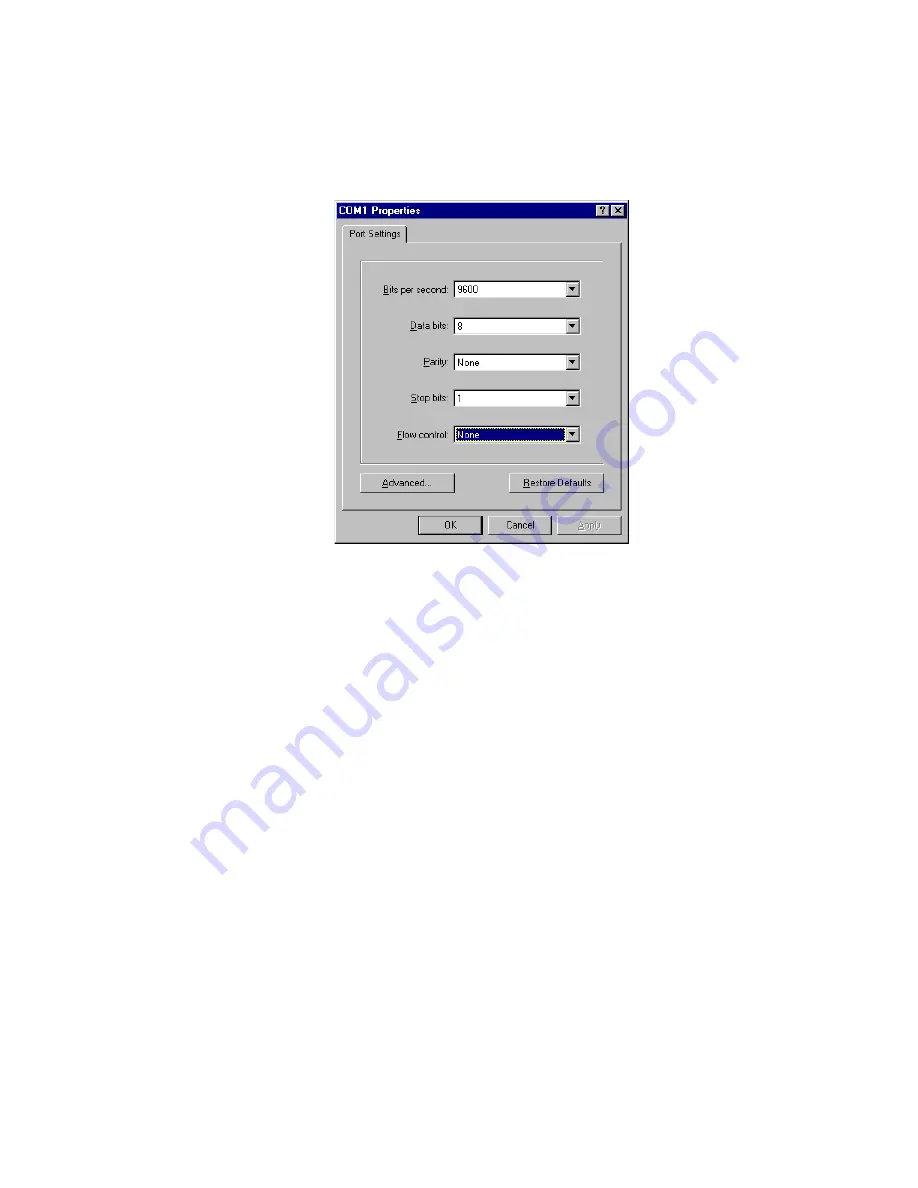
The application displays the COM1 Properties dialog box as shown in
.
Figure 8 – 3 COM 1 Properties Dialog Box
4. In the pull-down lists on the
COM1 Properties
dialog box, choose the following values:
•
Bits per second: 9600 baud
•
Data bits: 8
•
Parity: None
•
Stop bits: 1
•
Flow control: None
Click OK.
The application displays the configparms –Hyper Terminal main screen as shown in
Содержание MPRX
Страница 19: ...Chapter 1 Introduction...
Страница 23: ...MPRX TransCore Proprietary 1 5...
Страница 24: ...Chapter 2 Developing the Site Plan...
Страница 37: ...Choosing Installing and Removing Tags Chapter 3...
Страница 48: ...Installing the MPRX Chapter 4...
Страница 64: ...MPRX TransCore Proprietary 4 17...
Страница 65: ...General Software Information 5...
Страница 70: ...System Guide TransCore Proprietary 5 6...
Страница 71: ...Communication Protocols Chapter 6...
Страница 87: ...MPRX TransCore Proprietary 6 17...
Страница 88: ...Chapter 7 Commands...
Страница 127: ...Chapter 8 Configuring the MPRX...
Страница 146: ...Chapter 9 Troubleshooting and Maintenance...
Страница 152: ...System Guide TransCore Proprietary 9 6...
Страница 153: ...Chapter 10 Interface to Train Recording Unit...
Страница 158: ...Chapter 11 Check Tag to MPRX Assembly...
Страница 164: ...MPRX TransCore Proprietary 11 7...
Страница 165: ...Appendix A Glossary...
Страница 171: ...MPRX TransCore Proprietary A 7...
Страница 172: ...Technical Specifications Appendix B...
Страница 175: ...Wiring Diagram C...
Страница 179: ...Command Quick Reference Appendix D...
Страница 203: ...MPRX TransCore Proprietary D 25...
Страница 204: ...Compatible Tag Information E...
Страница 208: ...MPRX TransCore Proprietary E 5...


